Your Routine Didn’t Fail — Travel Changed the Rules
You can arrive somewhere new with every good intention intact and still find yourself standing in a hotel room, guest room, or airport lounge feeling oddly scrambled. Your neck is tight, your hips…
You can arrive somewhere new with every good intention intact and still find yourself standing in a hotel room, guest room, or airport lounge feeling oddly scrambled. Your neck is tight, your hips feel glued together, your brain is buffering, and even a simple stretch suddenly feels harder to start than it does at home.
That is the part of travel we don’t talk about enough: transition fatigue. It’s not exactly laziness, and it’s not always a motivation problem. It’s the strain of moving through unfamiliar spaces, time shifts, noise, decisions, lighting, social friction, and “where do I even put my body here?” energy.
When your environment changes, your movement cues often disappear with it. At home, your mat, your corner, your lamp, your favorite prop, even the amount of floor space by the bed all quietly tell your nervous system what happens next. In temporary spaces, that familiarity vanishes. If you liked my piece on building a tiny home movement corner that gets used, this is basically the travel version: less about creating an ideal ritual, more about giving your body a few recognizable anchors.
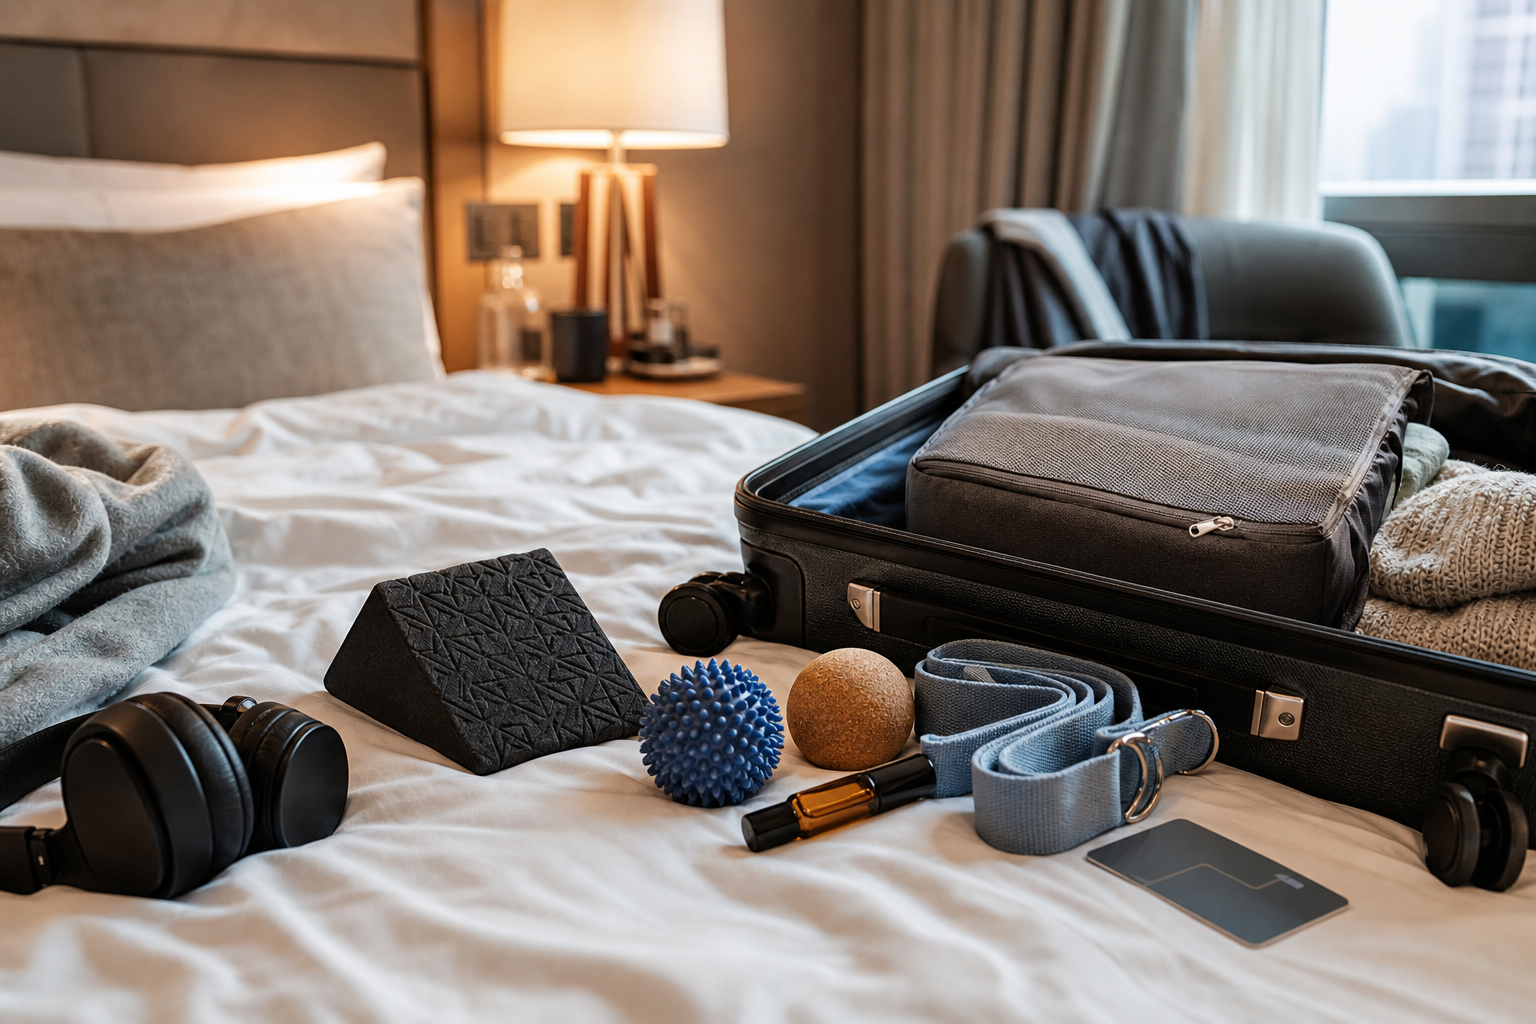
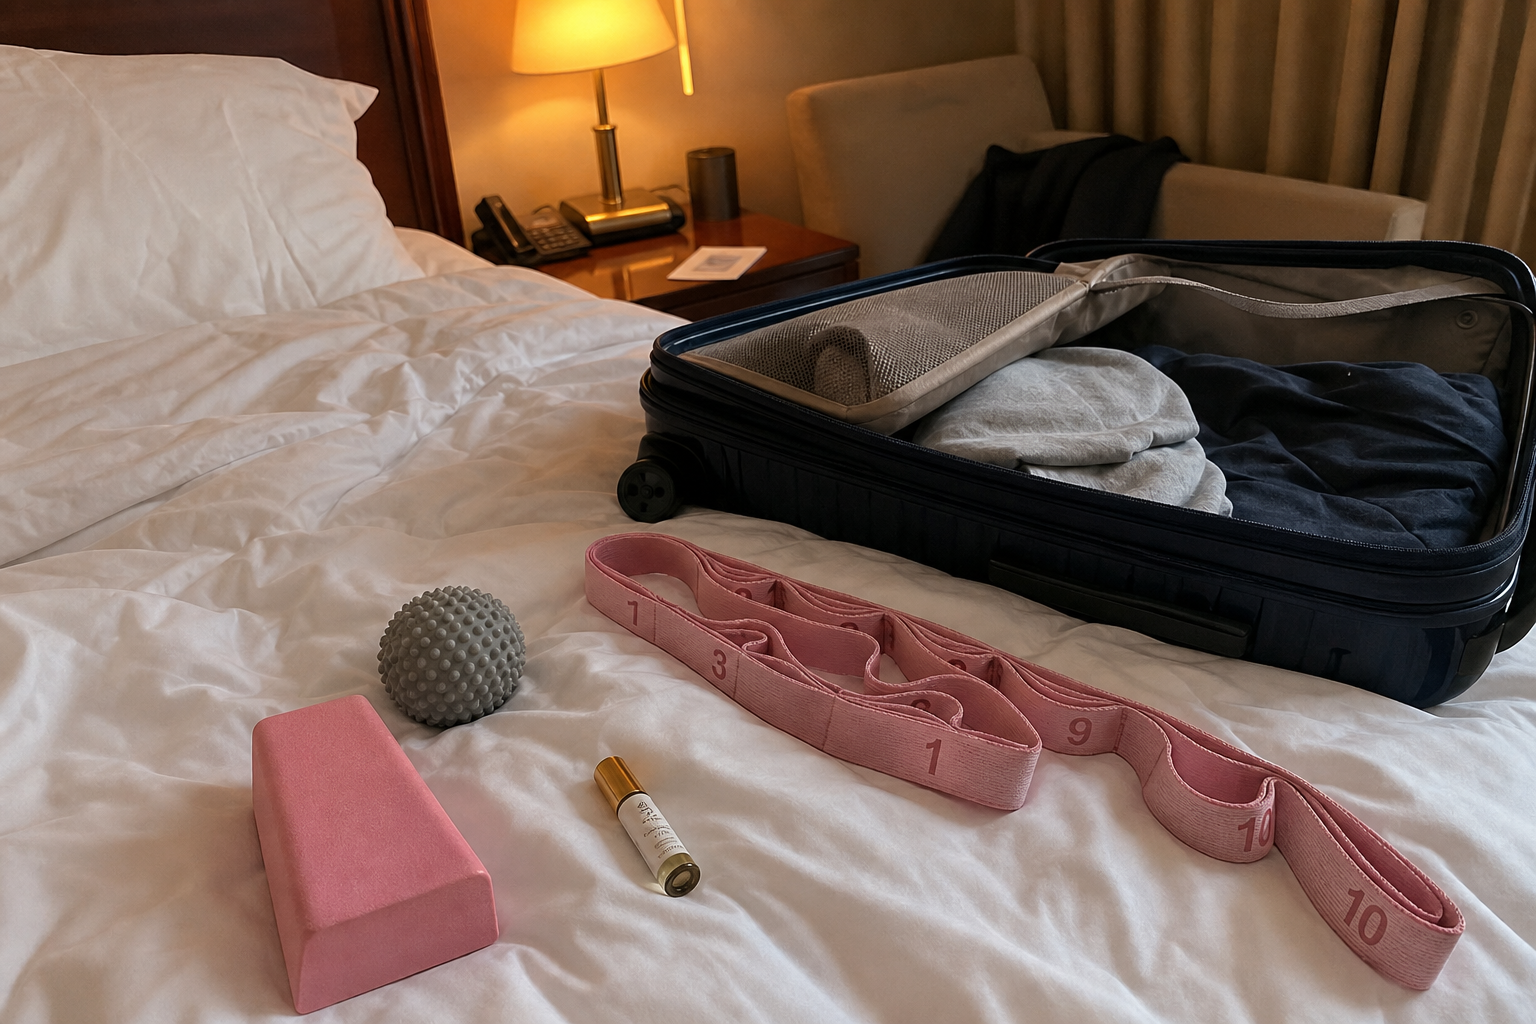
The goal of a travel-proof mobility kit is simple: preserve body familiarity when everything else feels temporary. I’m not trying to recreate a full practice on the road. I’m trying to make the first 3 to 6 minutes feel obvious.
Step 1: Build the kit around four portable cues
I like to keep this setup very small. One item from each category is enough.
- One foldable support to change joint angles and make cramped tissues feel less stuck.
- One textured recovery tool to give your nervous system a clear sensory signal.
- One lightweight strap or band to create range of motion without needing much floor space.
- One calming sensory item that tells your system, “we know this sequence.”
This is not about packing the most gear. It’s about choosing a few cues your body can recognize fast.
Step 2: Choose one foldable support
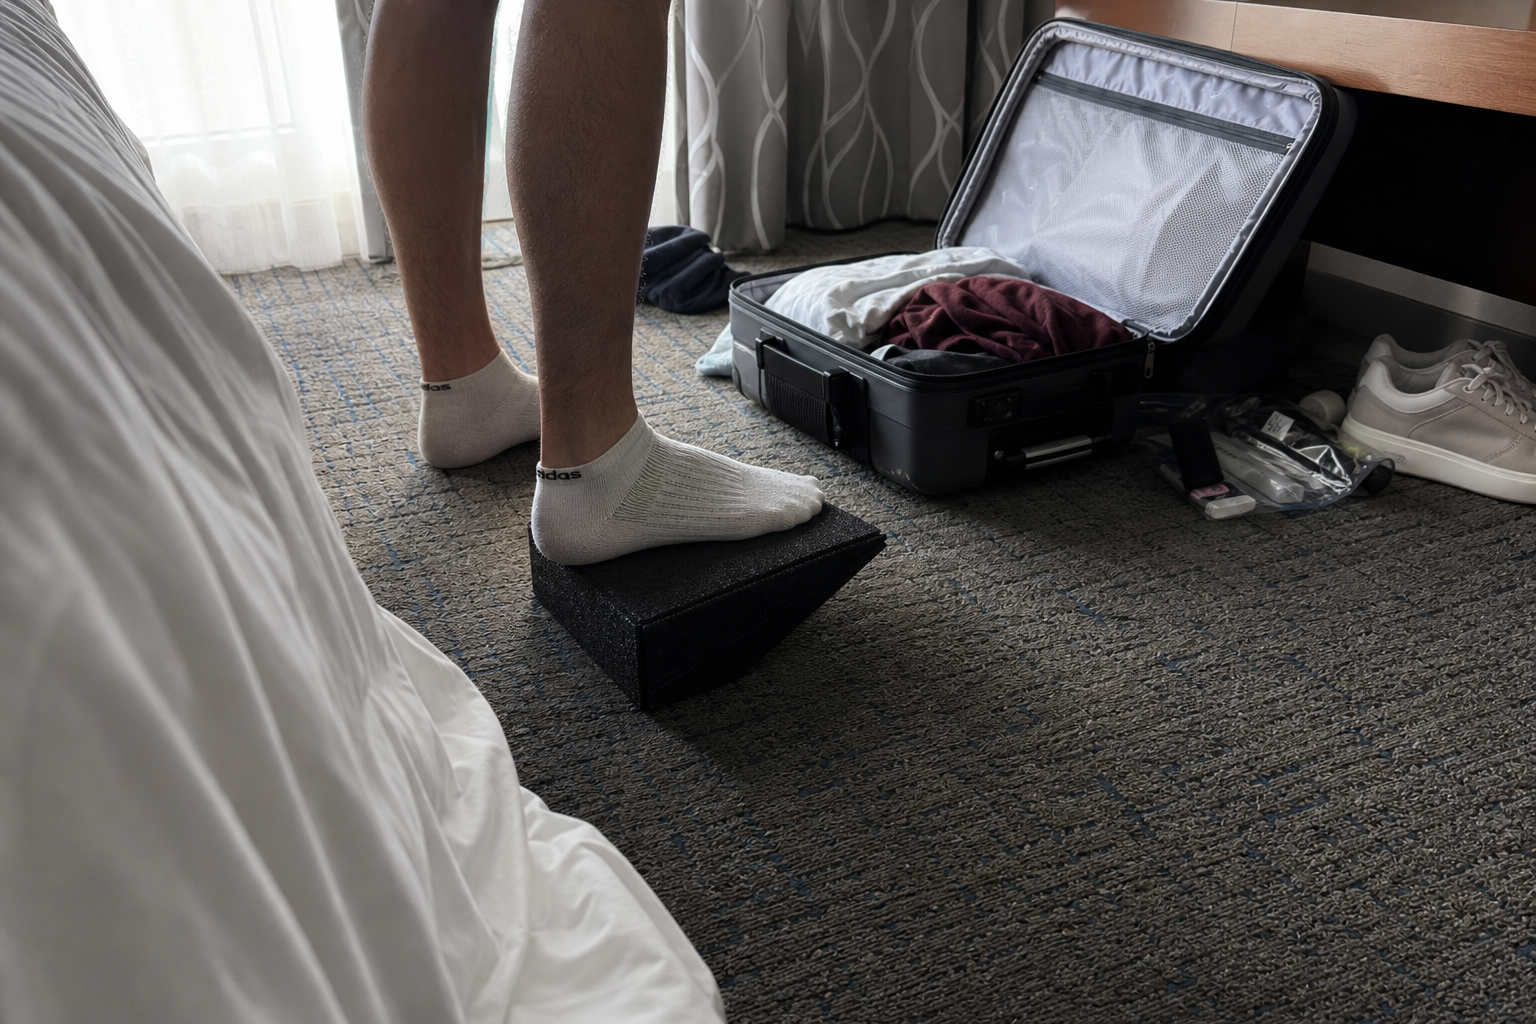
My favorite category here is a small wedge or slant support, because it does more than people expect in tiny spaces. A compact adjustable squat wedge block set can help calves, ankles, hamstrings, and even folded-forward shapes feel more accessible when travel has you feeling compressed.
Why it works: changing the angle under your feet often reduces that “everything is yanking at once” feeling. In a hotel room, that can mean a more comfortable calf stretch, easier forward fold, or a gentler supported squat hold without needing much setup.
If you want your travel movement to feel less negotiable, support matters. I wrote something similar about reducing friction in these underrated mobility tools that make showing up easier, and the same principle applies on the road.
Step 3: Pick a textured recovery tool you’ll actually touch
This piece matters more than people think because texture can help bridge the gap between “I should move” and “my body has entered the room.”
Two good options:
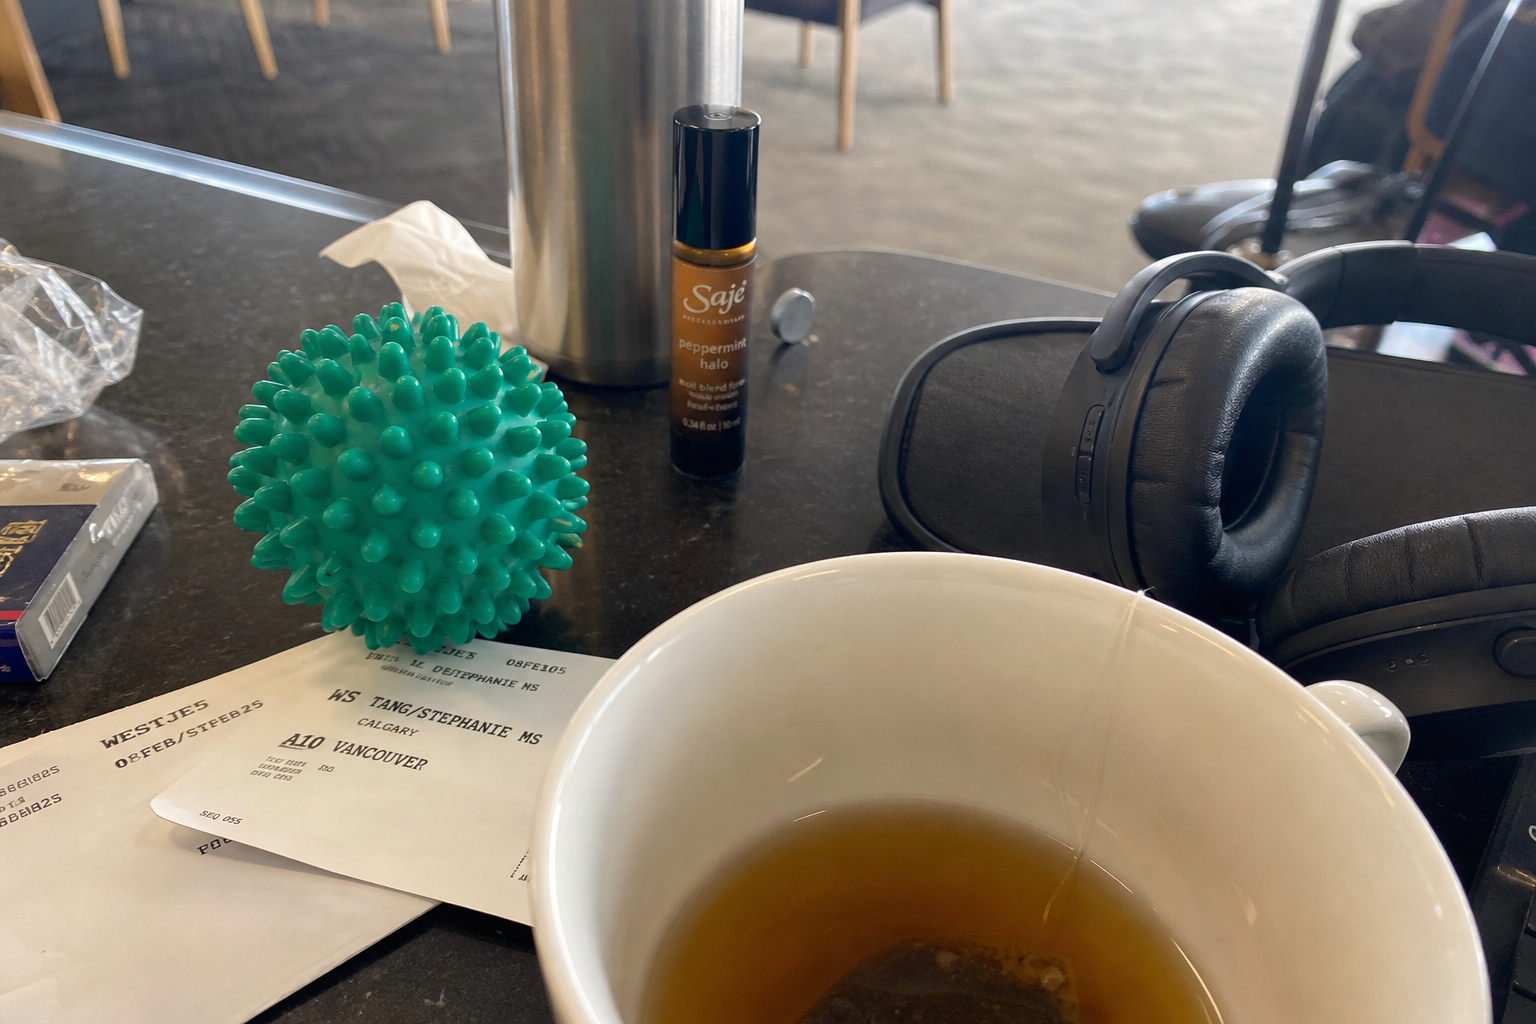
- A spiky massage ball if you like a more alert, sensory-rich feel in your feet, palms, or upper back against a wall.
- A cork massage ball if you prefer steadier pressure and a simpler, less stimulating feel.
I usually tell people to choose based on what helps them arrive fastest. If touch wakes you up and organizes your focus, go spiky. If you get overstimulated easily, cork often feels calmer.
Step 4: Add one strap or band that works in tiny spaces
A strap is the item that lets you adapt when the floor is questionable, the room is cramped, or you have exactly one clear patch of carpet between the bed and the desk.
You could go with a looped stretching belt with numbered sections if you like clear hand placement, or a more classic adjustable yoga strap if you want something simpler for hamstrings, shoulders, and gentle traction.
What I like about this category is that it helps you move without forcing range. In travel settings, “less effort to position yourself” is a real advantage.
Step 5: Include one calming sensory cue
This is the piece people skip, and honestly, it’s often the one that makes the kit feel like your kit instead of a random pouch of rehab tools.
You want one small item that signals familiarity before you start moving. That might be a refillable roller bottle with a scent you already associate with exhaling, like these travel roller bottles. Or it might be a tiny tin of calming sleep balm if a familiar scent on your wrists or chest helps downshift your system.
The scent itself does not have to be magical. The point is pattern recognition.
Your travel kit works best when it feels less like equipment and more like a portable “you are here now” signal.
Step 6: Match the kit to your travel state
This is the decision framework I wish more people used. Don’t ask, “What’s the perfect routine?” Ask, “What state am I in right now?”
If you’re stiff from sitting
- Start with the wedge block under your forefeet or heels.
- Use the strap for hamstrings, calves, or chest-opening pulls.
- Use the massage ball on feet or glutes if you have wall or floor space.
Best combo: wedge block + stretching belt.
If you’re wired after overstimulation
- Start with the calming scent cue before any stretching.
- Choose slower pressure with the cork ball instead of a more alerting texture.
- Use the strap for gentle exhale-based shoulder or side-body work, not aggressive depth.
Best combo: cork massage ball + calming balm or a scent-filled roller bottle.
If you’re swollen and sluggish after a long day on foot
- Use the wedge for calf and ankle angle changes.
- Roll the feet gently with the ball rather than digging hard.
- Use the strap lying down or seated for light legs-up or hamstring support.
Best combo: wedge block + spiky ball used lightly.
Caution: if you’re very swollen, acutely injured, or dealing with sharp pain, skip aggressive pressure and deep stretching. The goal here is comfort and familiarity, not forcing a release.
Step 7: Use the 6-minute hotel-room reset
This is the version I use when I’ve just arrived and don’t want to overthink anything.
- Minute 1: Apply your scent cue. One slow inhale, longer exhale. Stand still long enough for your body to register the room.
- Minute 2: Roll one foot, then the other, with the massage ball for about 30 seconds each.
- Minute 3: Stand with forefeet or heels on the wedge and breathe into a calf or hamstring angle that feels useful, not dramatic.
- Minute 4: Use the strap for a chest-opening pull or gentle hamstring stretch.
- Minute 5: Do a supported fold, wall lean, or low squat hold using the wedge as needed.
- Minute 6: Finish with three slow breaths and one small test movement: turn your head, reach overhead, or take a few steps and notice what changed.
If you tend to freeze when choosing what to do, assigning one minute to each category helps a lot. It turns “I should do mobility” into “I know the sequence.”
Step 8: Keep a 3-minute airport or office version ready
This is the stripped-down version for when privacy is low and time is lower.
- 30 seconds: Apply the balm or use your roller bottle scent.
- 60 seconds: Roll the ball under one foot, then the other while seated.
- 90 seconds: Use the strap seated for a gentle shoulder opener, or simply hold it wide and breathe as you lift and lower the arms within a comfortable range.
If you have standing space, add a quick calf angle on the wedge. If not, skip it. Adaptability matters more than completeness.
This is why I like thinking in states and cues instead of ideal routines. A temporary space rarely gives you ideal conditions. It can still give you enough.
Step 9: Assemble a low-cost, mix-and-match version
You do not need a fancy matching set. In fact, I’d rather see someone build a practical kit they’ll carry than a polished one they leave at home.
Here’s a simple checklist:
- One foldable support: wedge or slant-style block
- One recovery tool: spiky ball or cork ball
- One strap: looped stretching belt or adjustable yoga strap
- One sensory cue: refillable roller bottle or calming balm
- One small pouch so the kit always lives together
If you’re browsing marketplace options, AliExpress is useful for this kind of setup because the accessories are often compact, inexpensive, and easy to mix and match. I’d focus less on building the “perfect” travel wellness bag and more on choosing pieces small enough that you’ll actually pack them.
The Bottom Line
A travel-proof mobility kit is not really about discipline. It’s about reducing transition fatigue by giving your body a few portable cues it recognizes in unfamiliar spaces. One wedge, one textured tool, one strap, and one calming sensory item can go surprisingly far, especially when you match them to whether you feel stiff, wired, or swollen. The only real downside is that even a tiny kit takes a little trial and error, but once the pieces feel right, those awkward in-between places become much easier to move through.
Disclaimer: As an aliexpress Associate, I earn from qualifying purchases.