3 At-Home Tests I Use Before Trusting New Gear
Three stages, one week, and a much better chance of catching a dud before it wrecks a training block. Most bad fitness purchases feel totally acceptable for the first 20 minutes, so the real skill is…
Three stages, one week, and a much better chance of catching a dud before it wrecks a training block. Most bad fitness purchases feel totally acceptable for the first 20 minutes, so the real skill is not spotting perfection instantly, it’s building mini stress tests that expose comfort drift, sensor inconsistency, strap failure, and material breakdown early.
I use this same routine on shoes, resistance bands, budget wearables, and small accessories that look fine in a listing but behave very differently once sweat, motion, and repetition show up. The goal here is simple: you do not need more product knowledge first. You need a better testing process.
Step 1: Start with a living-room fit and movement check
The first stage is boring on purpose. Before you run outside or trust a wearable on a real session, give it a controlled test at home where distractions are low and weirdness is easier to notice.
- Put the item on exactly how you would for training.
- Wear it for 15 to 20 minutes without judging too fast.
- Run through basic movement patterns.
- Write down what changes between minute 1 and minute 20.
This is where a lot of gear quietly fails. A shoe can feel soft at first, then start pressing into your arch once your foot warms up. A band can seem fine until it twists during lateral movement. A watch strap can feel secure standing still, then start sliding once your wrist gets even slightly sweaty.
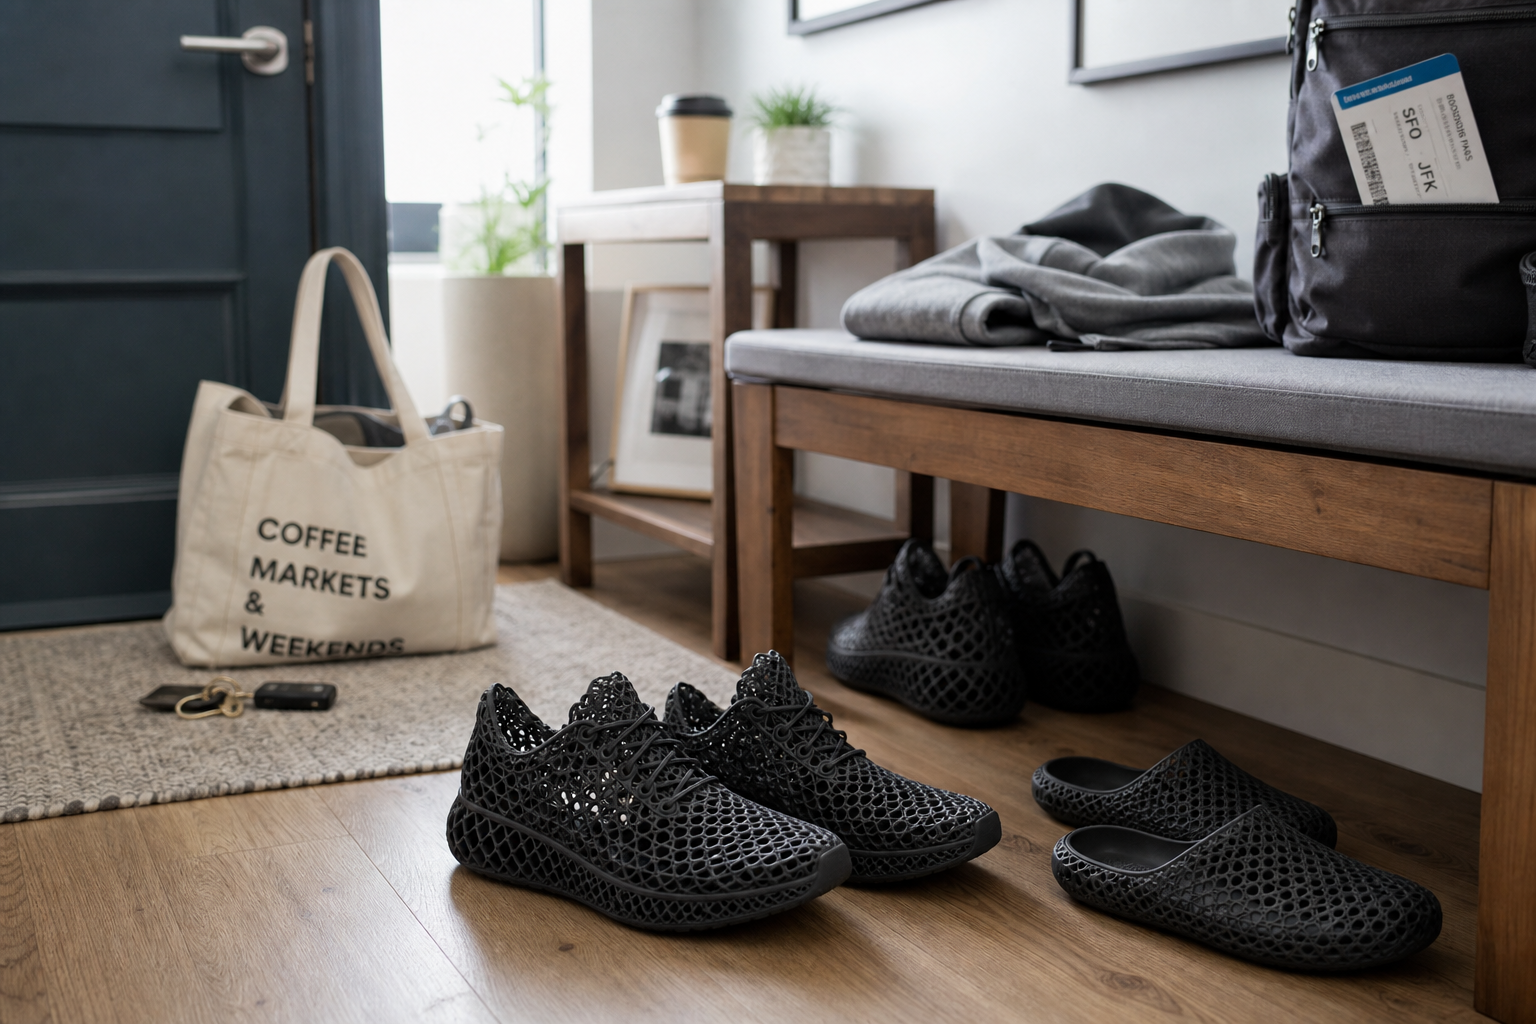
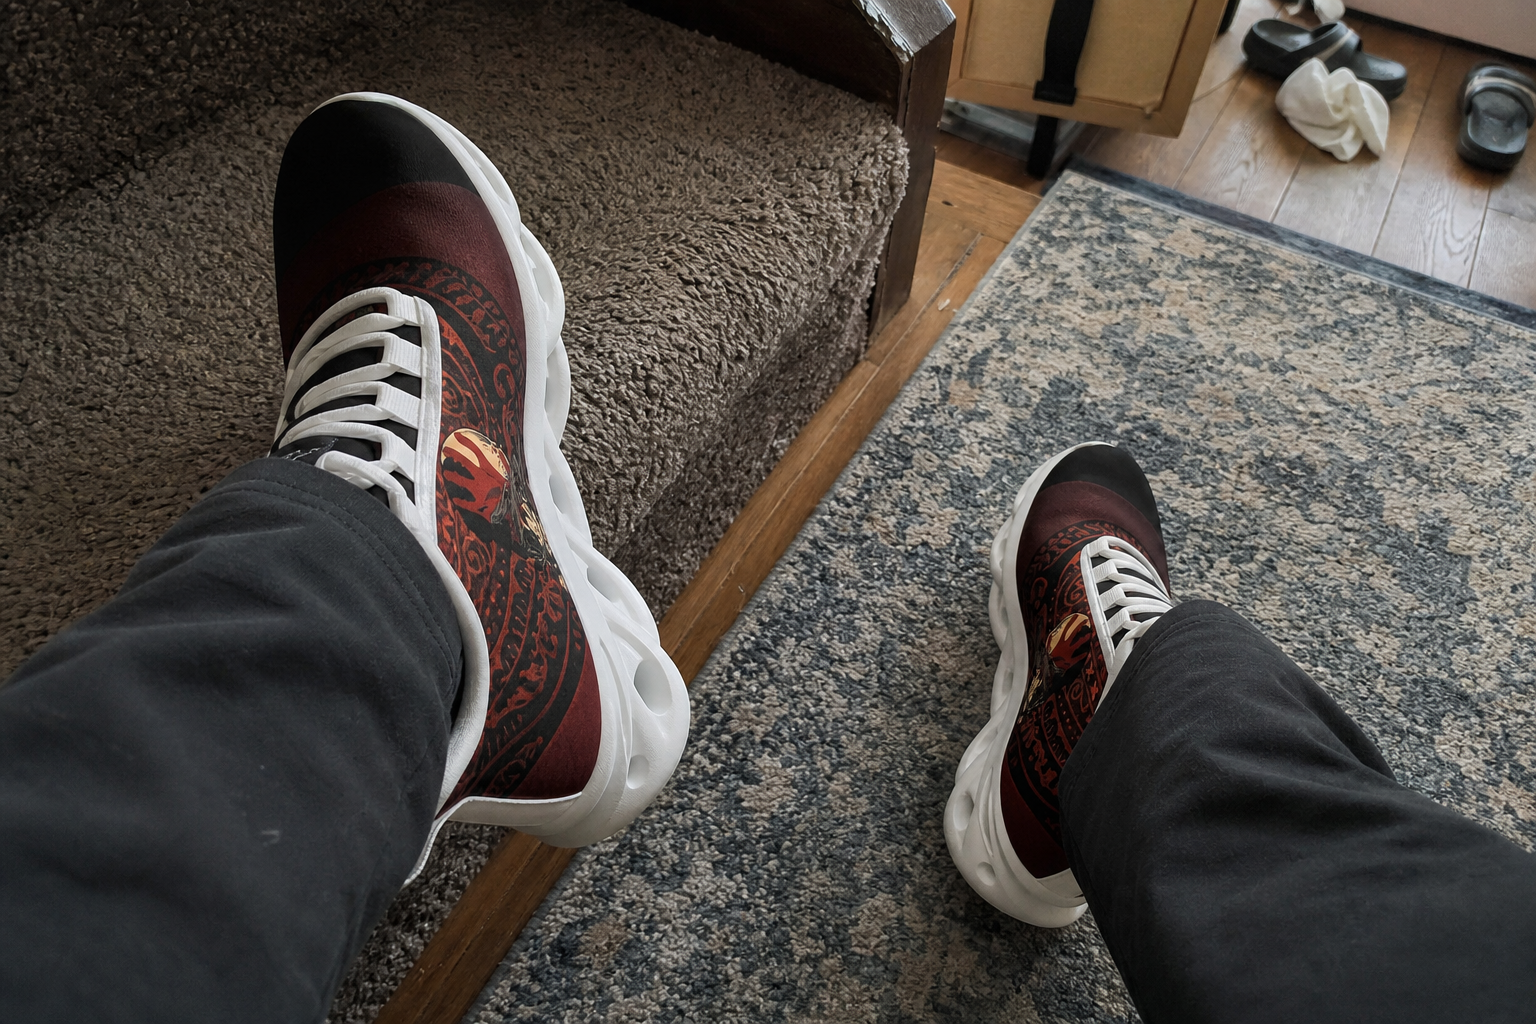
For shoes, I’d test something like the Five Finger Death Punch sports sneakers with this sequence:
- March in place for 2 minutes
- Do 10 bodyweight squats
- Do 10 calf raises
- Walk stairs up and down twice
- Jog in place for 60 seconds
That quick circuit tells me whether heel slip shows up, whether the toe box creases awkwardly, and whether the upper starts rubbing once the foot flexes repeatedly.
For resistance bands, I want to see whether tension feels smooth or jerky. A heavy duty resistance band should stretch evenly during rows, presses, and squat setups. If the latex feels sticky, edges curl, or the band snaps back unpredictably, I know I’m not trusting it for higher-volume work.
For wearables, the test is mostly about fit stability. A budget smart watch can look polished on a product page and still give flaky readings if the sensor loses contact during simple wrist movement. If I’m pairing it with a replacement strap like this solo loop silicone watch band, I’m watching for stretch, sweat buildup, and whether the band rolls or pinches during push-ups and planks.
Caution: if a band shows visible thinning, a strap connection feels loose, or a shoe creates a hot spot indoors, do not “push through it” hoping the full workout will tell a different story. Early irritation usually gets louder, not quieter.
Step 2: Do a short outdoor reality test
Once gear passes the indoor screen, take it outside for a short, low-stakes session. I’m not trying to set a PR here. I’m trying to catch the difference between controlled comfort and real-world behavior.
- Keep the session short, around 15 to 30 minutes.
- Use your normal route or routine.
- Add at least one change of pace, surface, or direction.
- Note what gets worse once heat, sweat, and vibration show up.
Shoes often reveal their real personality here. The mesh sports sneakers might feel flexible indoors but still get unstable on cambered sidewalks or squeaky-slick on dusty pavement. If I feel myself adjusting my stride to protect the shoe, that’s a bad sign.
Budget wearables usually expose sensor inconsistency in this stage. I’m less interested in whether every calorie number is perfect and more interested in whether the device behaves logically. If heart rate spikes while I’m standing still at a stoplight, or drops unrealistically during a short uphill push, I stop trusting the data.
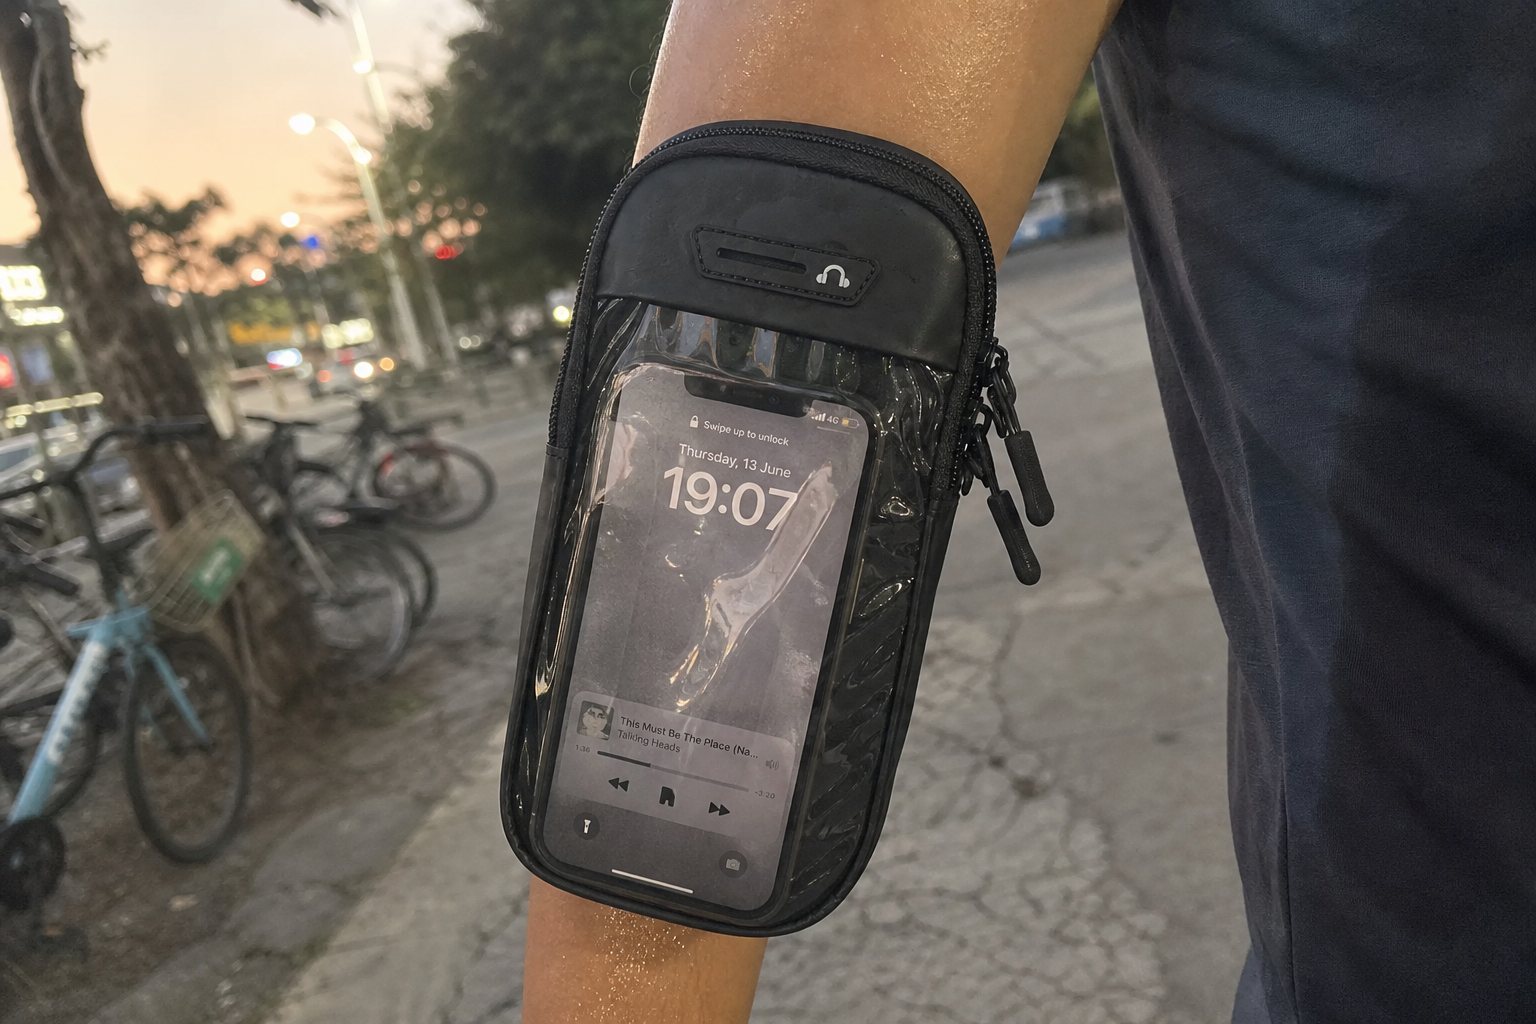
Accessories can fail faster than the main item. A waterproof running armband can seem secure in the house and then bounce annoyingly once your cadence picks up. Or the touchscreen window can become so unresponsive with sweat that it defeats the whole point.
If a piece of gear asks you to change your workout to accommodate it, that’s already a test result.
This is also where I borrow a page from my post on building a no-gimmick night training setup: real conditions matter more than packaging. Street corners, sweat, uneven pavement, and repeated wrist movement tell the truth fast.
Step 3: Run a one-week friction test
This is the stage most people skip, and it’s the one that saves the most money. A lot of mediocre gear is not dramatically terrible. It’s just irritating enough that you quietly stop reaching for it.
For seven days, use the item in normal life and normal training. You’re not chasing a heroic review. You’re tracking friction.
- Use the gear at least 3 times in the week if it’s workout-specific.
- Charge or sync it exactly as required, without workarounds.
- Log every annoyance the moment it happens.
- Notice whether you start avoiding it.
For watches and trackers, this stage is huge. The sport watch might record acceptable workout data but still be annoying if the charger disconnects easily, the app buries the basic metrics, or notifications are clumsy enough that you turn them off by day two.
Straps deserve their own week-long attention. The silicone loop band may feel smooth on day one, then stay damp after runs, stretch slightly after repeated removal, or collect dust and lint in a way that gets old fast.
Bands can pass a strength test and still fail the friction test if they smell rubbery, feel grimy after sweat, or become a hassle to store. That’s especially true with a simple home-gym item like the latex resistance band.
A compact scorecard you can copy
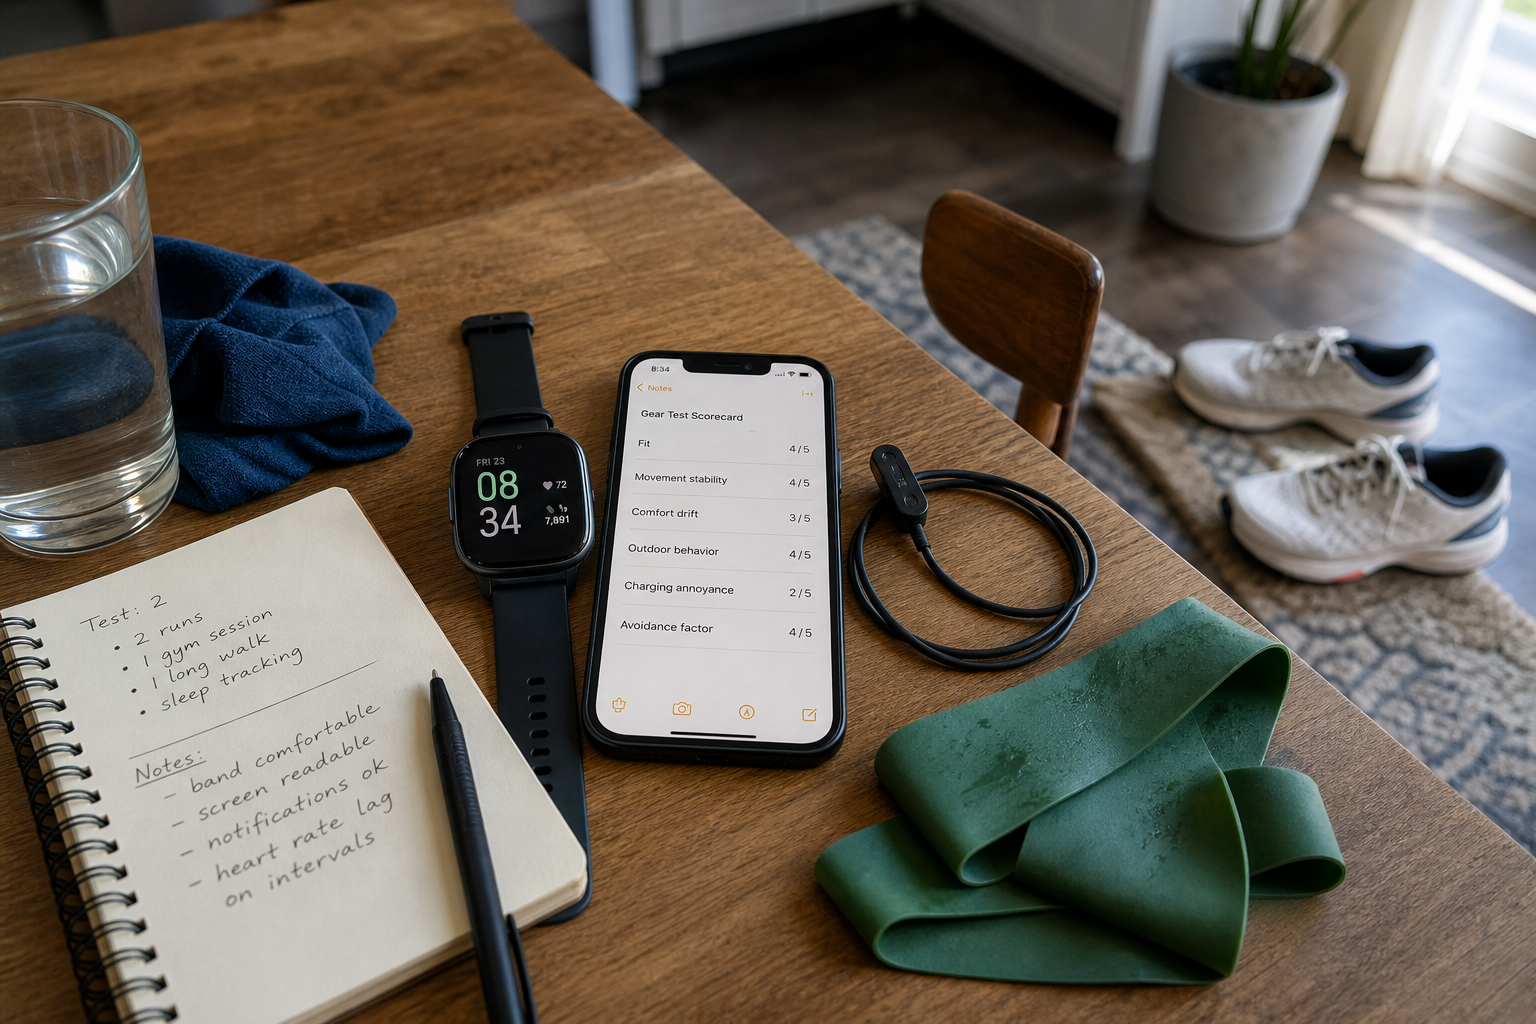
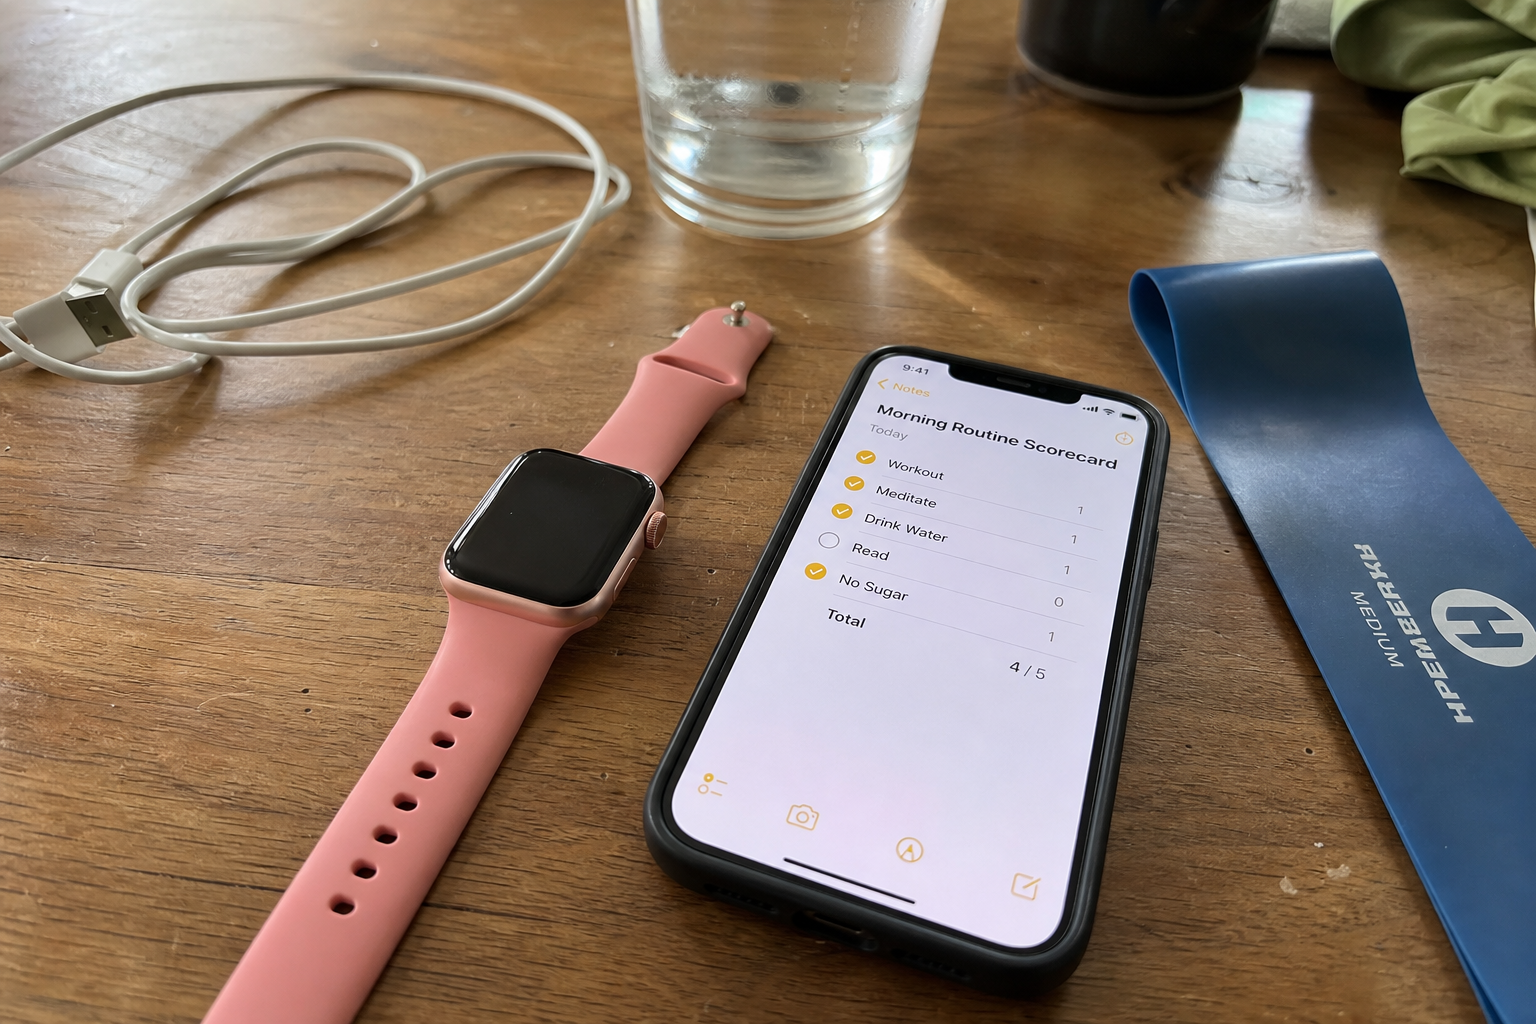
This is the notes app version I recommend. Keep it short enough that you’ll actually use it.
| Test Area | Score 1-5 | Quick Note |
|---|---|---|
| Initial fit | Too tight, true fit, pressure points? | |
| Movement stability | Slip, bounce, twist, roll? | |
| Comfort drift after 20 min | Better, same, or worse? | |
| Outdoor behavior | Handles sweat, pace changes, pavement? | |
| Sensor/app consistency | Data logical, app easy, sync stable? | |
| Material durability signs | Stretching, fraying, odor, peeling? | |
| Charging/setup annoyance | Easy enough to live with? | |
| Avoidance factor | Did I keep choosing something else? |
If you want one extra layer, add a final line: “Would I trust this for 4 weeks straight?” That question is often clearer than asking whether you “like” the product.
And if you’re trying to get better at filtering flashy product claims before the item even arrives, my guide on how I spot fake fitness gear claims fast pairs well with this routine. Claims matter, but your test process matters more.
What each stage tends to reveal by gear type
- Shoes: indoor fit catches pressure points, outdoor use catches stability and traction, one-week use catches whether you actually want to lace them up again.
- Resistance bands: indoor use catches uneven tension, outdoor or garage use catches handling and snapback confidence, one-week use catches smell, surface wear, and storage annoyance.
- Wearables: indoor use catches fit and interface confusion, outdoor use catches heart-rate logic and screen visibility, one-week use catches charging friction and app fatigue.
- Straps and armbands: indoor use catches pinch points, outdoor use catches bounce and sweat response, one-week use catches stretch-out and whether closure systems stay reliable.
This is why I keep the routine repeatable. You’re not looking for a dramatic failure every time. You’re looking for patterns.
Why this method works especially well for AliExpress
AliExpress is most useful when you treat it like a huge marketplace, not a shortcut to the absolute cheapest option. There are plenty of flashy listings, but there are also genuinely solid low-cost gear styles hiding in the mix if you test them with discipline.
A simple protocol helps you separate “looks fine in photos” from “holds up in training.” That matters with everything from budget runners and basic bands to replacement watch straps and small carry accessories. The win is not that every low-cost item turns out great. The win is that you find out early, cheaply, and consistently.
My Verdict
The best buyers are not the ones who memorize the most specs. They’re the ones who use a repeatable test that catches comfort drift, weak materials, bad app design, and annoying fit issues before those flaws bleed into a full training block.
If you follow the three-stage routine, you’ll trust good gear faster and bail on mediocre gear sooner. Some items will still have tradeoffs, especially at lower price points, but that’s manageable when you know exactly what the downside is. Smart buyers do not need more product knowledge first. They need a better testing process.
Disclaimer: As an aliexpress Associate, I earn from qualifying purchases.