Transition Lag Is Real: Build a Micro-Recovery Kit
A good song does not fall apart between verses because the drummer disappears for eight bars. It keeps its pulse through the transition, and that is exactly what many of us are missing in daily life:…
A good song does not fall apart between verses because the drummer disappears for eight bars. It keeps its pulse through the transition, and that is exactly what many of us are missing in daily life: not a full routine, but a way to keep the rhythm going in those odd little gaps after a commute, class, errand run, or long stretch at a desk.
I think of this as transition lag: the 3 to 10 minutes when your body is ready for a reset, but nothing useful is within reach. You are not exactly depleted, and you are not exactly busy either. You just do not have the right cue, prop, or tiny bit of support nearby, so the moment passes.
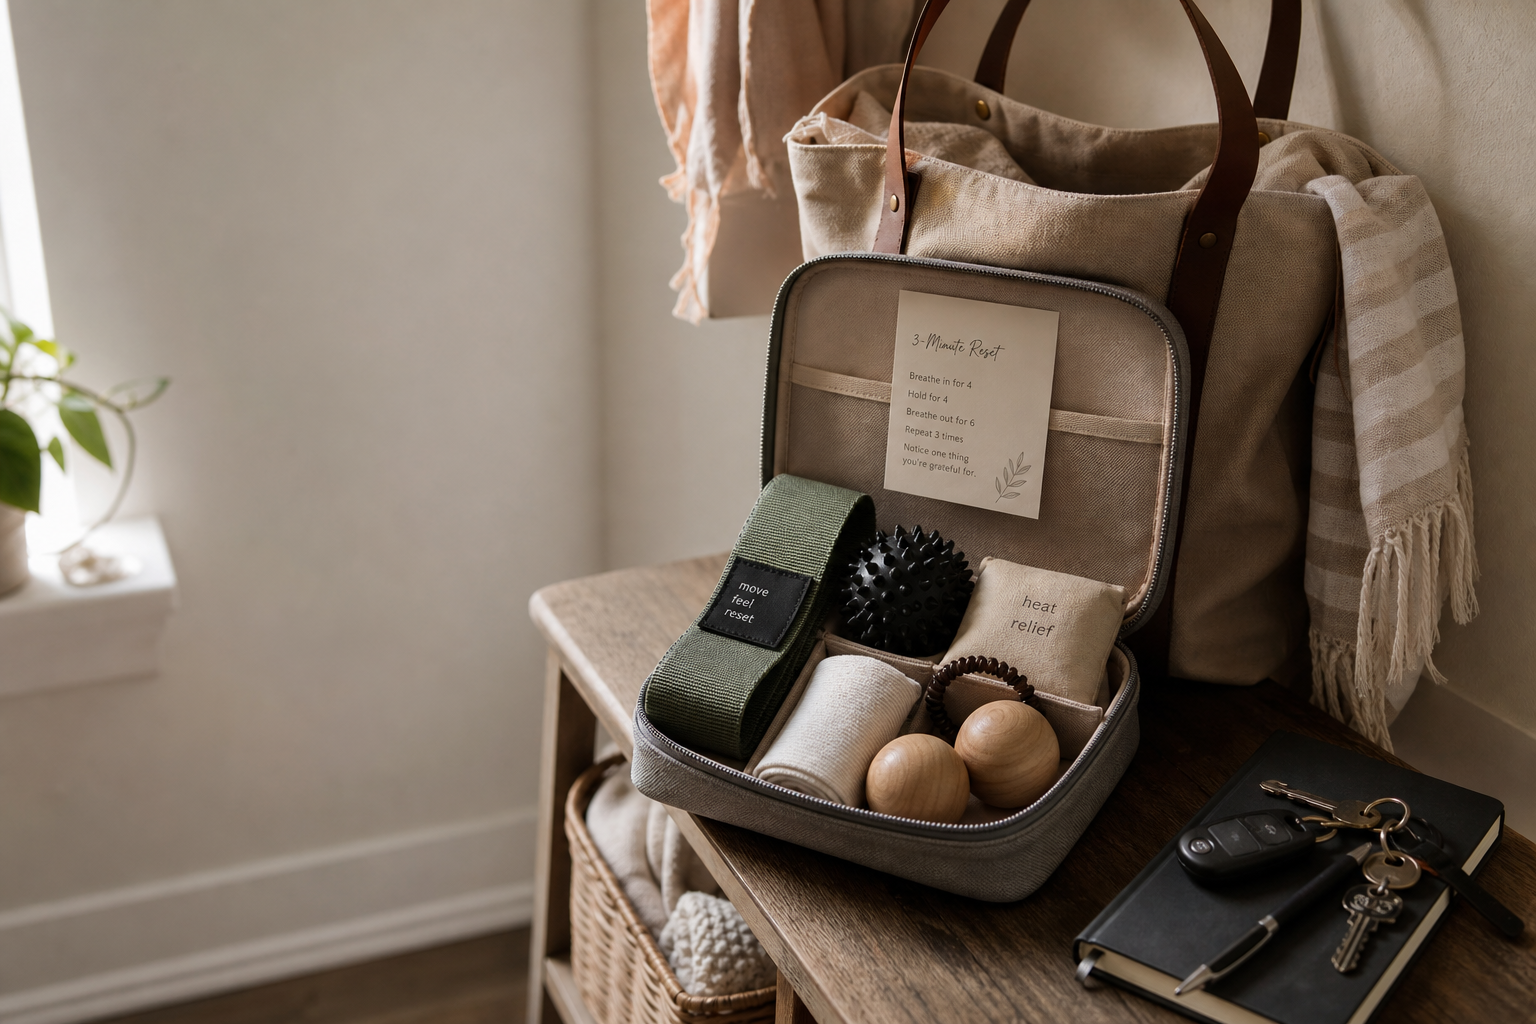
A portable micro-recovery kit solves that problem. Instead of building one more aspirational wellness system for your home, you create a small, real-life setup for the places where momentum usually slips: your tote bag, desk drawer, car console, or studio cubby.
Here is how I would build one, step by step, using function first and trend second.
1. Start with one container, not a pile
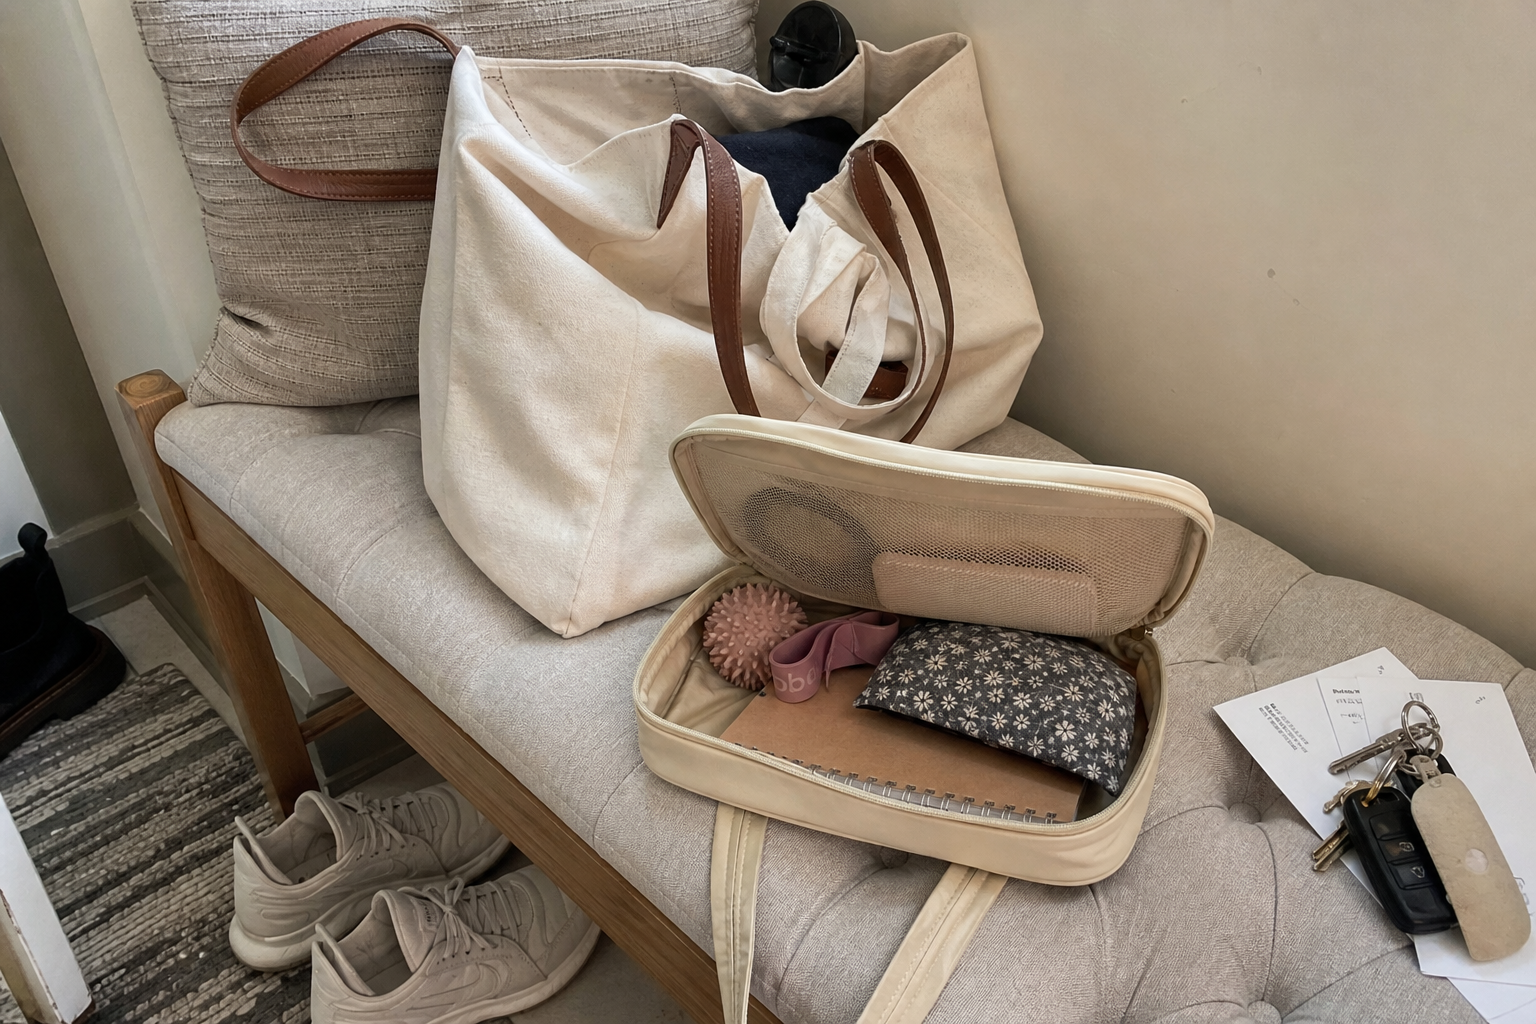
The easiest way to turn “helpful tools” into clutter is to collect them loose. I like starting with one compact organizer, because the container forces you to edit.
A compact organizer pouch works well here because separate compartments make it much easier to find a loop band, massage ball, or heat pack before the moment is gone. If your kit lives in the car instead, a car lumbar support organizer can do double duty by keeping small recovery tools contained while also making the seat itself a bit friendlier on your spine.
2. Choose 4 to 6 items by function
This is the part that matters most. Do not ask, “What recovery tools are popular?” Ask, “What usually breaks the chain for me in transition moments?”
I like to cover 4 to 6 functions max:
- Grip or light strength support for quick movement snacks
- Acupressure or texture for feet, hands, and nervous-system cues
- Heat or temperature comfort for stiffness and settling
- Hair control so movement is easier to start immediately
- Timer or cueing support for follow-through
- Foldable surface substitute for kneeling, sitting, or floor contact
If you have read my piece on underrated mobility tools that make showing up easier, you already know I care less about “perfect gear” than about reducing friction. A micro-recovery kit is that idea in portable form.
3. Pick the smallest version that still gets used
Small matters. If an item is too bulky, awkward, or precious, it will stay home.
Here are a few compact tools I think earn their space:
- A fabric resistance loop is excellent for glute activation, shoulder engagement, or a two-minute joint-friendly strength break. Fabric loops tend to feel less slippery than very thin rubber styles, which matters when you are using them in regular clothes.
- A spiky massage ball set can wake up tired feet, give your palms something sensory to do during downshifting, or offer a gentle trigger-point option against a wall.
- A pair of wooden hand exercise balls can be surprisingly grounding if your hands get twitchy after meetings, driving, or screen time. They are less about strength gains and more about tactile regulation and hand mobility.
- A mini reusable heat pack is useful when your neck, hands, or low back respond better to warmth than to stretching first.
None of these need to create a full practice. They just need to make the next two minutes easier to begin.
The best recovery tool is often the one that is close enough to use before your attention moves on.
4. Match the kit to the kind of transition you actually have
This is where most people make the process harder than it needs to be. They build one broad, idealized setup and then wonder why it does not fit the moment. I prefer three simple kit styles, each designed for a different need.
Kit A: For nervous-system downshifting
Use this if you tend to feel buzzy, scattered, overstimulated, or mentally “on” after commuting, teaching, parenting, or back-to-back meetings.
- Start with the organizer pouch.
- Add one wooden hand exercise ball or two for tactile focus during slow breathing.
- Add a spiky massage ball for your feet or palms.
- Include a mini timer on your phone with one saved 3-minute breathwork interval.
- Add a hair tie or clip if hair is one of those tiny barriers that weirdly delays everything.
This version supports breathwork beautifully: one minute of hand contact, one minute of longer exhales, one minute of foot pressure. If you want a fuller evening bridge, I’ve written about that in my 15-minute work-to-rest ritual, but this kit is the tiny portable cousin of that idea.
Kit B: For joint-friendly movement snacks
Use this if your issue is stiffness from sitting, driving, or waiting around between commitments.
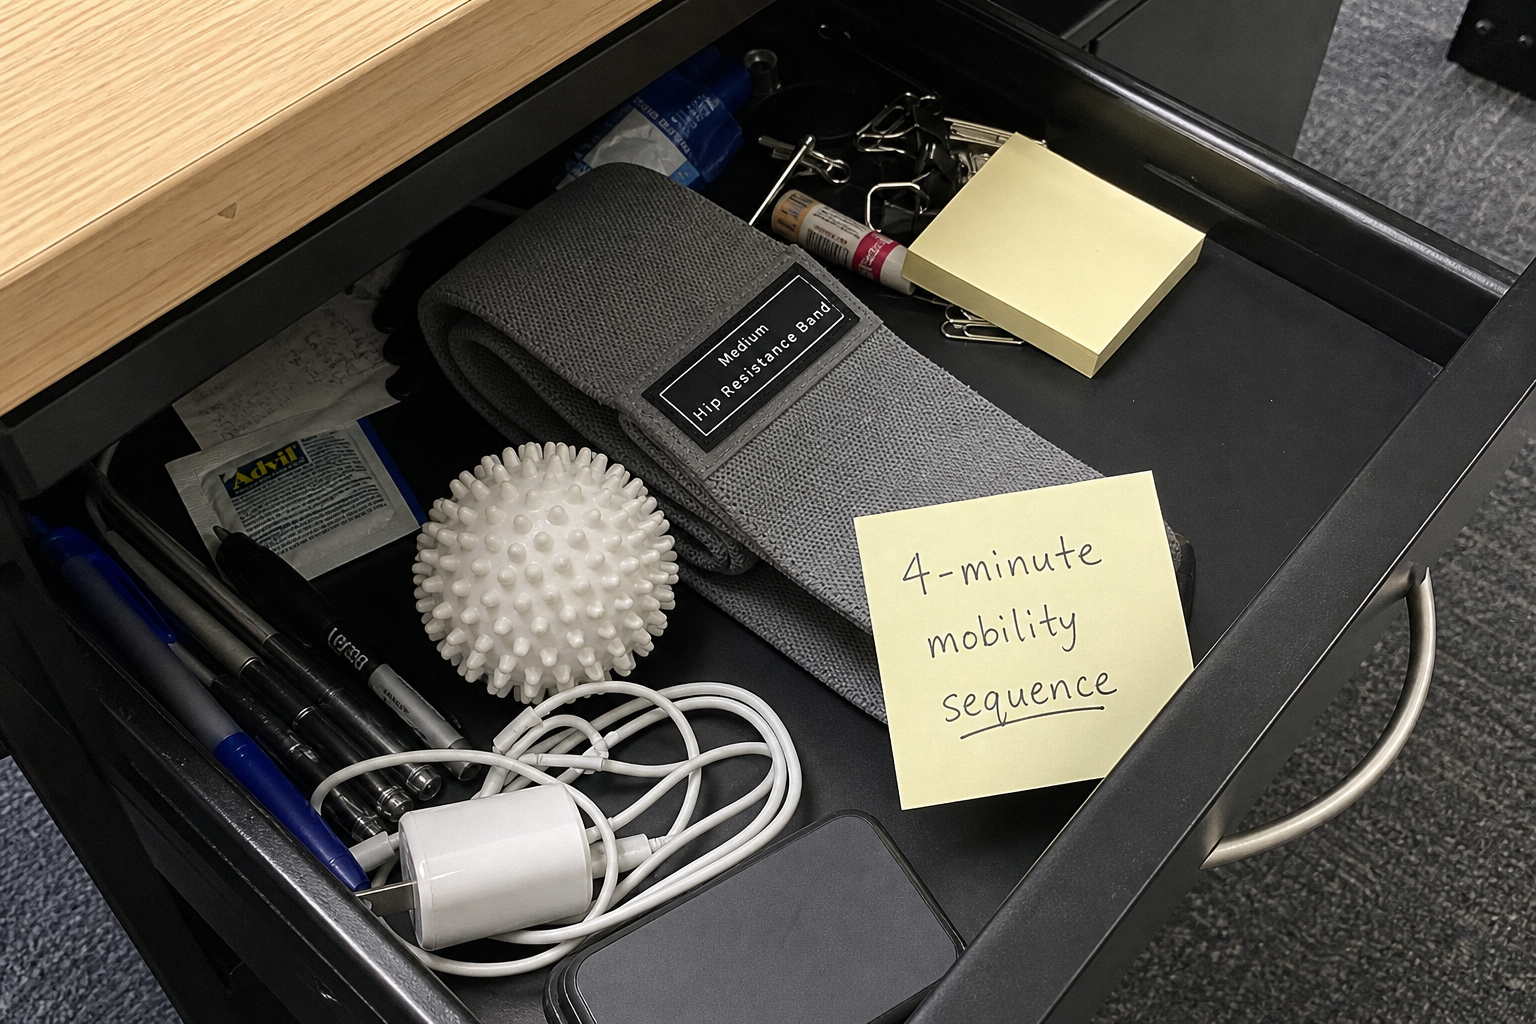
- Pack one fabric loop band.
- Add one spiky massage ball or keep one specifically for the arch of your foot.
- Fold in a small towel or cloth as a mat substitute for kneeling or sitting support.
- Save one 4-minute sequence on your phone: calf raises, band pull-aparts, standing hip abductions, and a wall-supported chest opener.
This kind of kit is especially useful if you freeze when deciding what mobility to do. That is why I often tell readers to work from categories and mood, not endless options. My post on a mobility menu that meets your mood can help if you want a simple way to pair the tool with the movement.
Kit C: For post-workday decompression
Use this if the issue is not just stiffness but that slightly compressed feeling after a full day of sitting, driving, or holding yourself together.
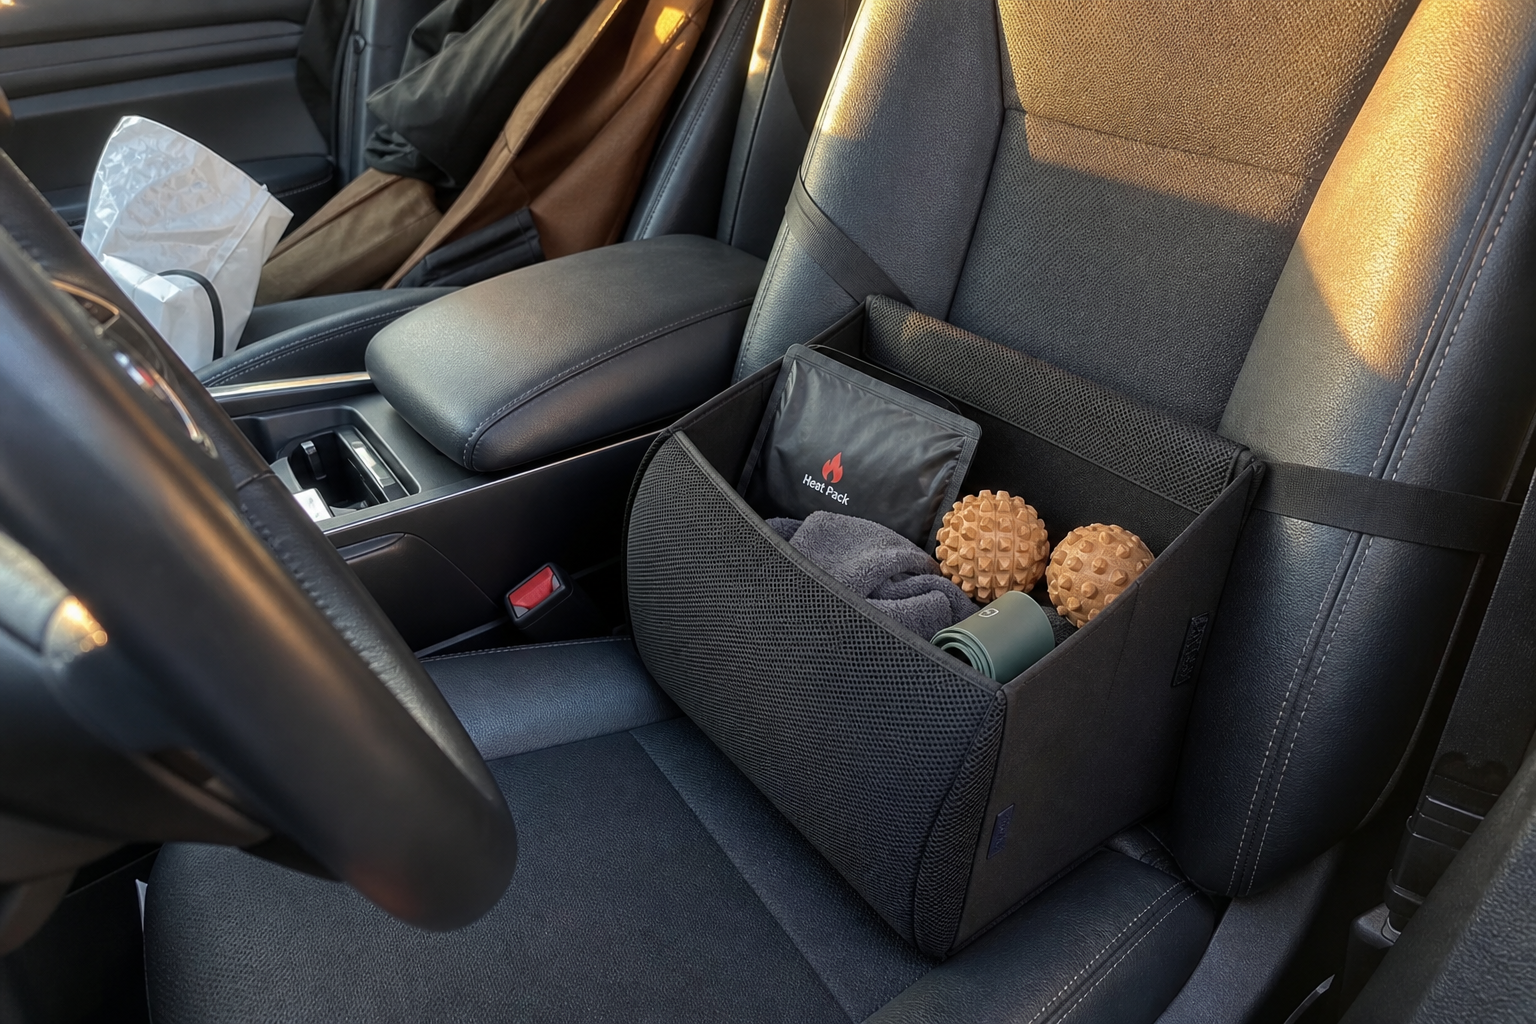
- If your kit lives in the car, use the lumbar support seat organizer as the base so you improve the transition before you even park.
- Add a mini heat pack for hands, neck base, or low back comfort.
- Keep one spiky massage ball for upper back wall pressure when you get home or arrive at the studio.
- Add a note card with one sequence only: heat, breathe, wall roll, forward fold, done.
That last piece matters. When your brain is cooked, instructions should be almost embarrassingly simple.
5. Give each item one job
This rule keeps the kit from becoming a tiny junk drawer: one action per item.
For example:
- Loop band = 10 standing hip abductions each side
- Spiky ball = 60 seconds under each foot
- Heat pack = warm hands during 3 minutes of longer exhales
- Hand balls = roll during box breathing in the car after parking
- Hair tie = put hair up and start immediately
The action can be very small. In fact, it should be. The goal is not to squeeze in a complete workout. The goal is to reduce the start-up cost of recovery.
6. Audit the kit after two weeks
After 14 days, check what actually got touched. Not what you meant to use. What you used.
- Take everything out of the pouch, drawer, or car organizer.
- Make two groups: used and unused.
- Keep the used items automatically.
- For each unused item, ask whether it was unhelpful, inconvenient, or simply invisible.
- Remove at least one thing.
This is a habit edit, not a moral report card. I journal this kind of thing all the time because the truth is usually practical, not personal: maybe the tool was too bulky, maybe your hands needed warmth more than resistance work, maybe your desk drawer kit should have lived in your tote all along.
Caution: if you keep adding “just in case” items, the kit will become another avoided project. If it feels heavy, crowded, or visually noisy, you have probably outgrown the micro part of micro-recovery.
7. Make the kit visible enough to interrupt autopilot
Portable recovery only works if you can see it or feel it quickly.
- Keep the pouch at the top of your tote, not buried under receipts and chargers.
- Put the desk version in the front of the drawer, not behind snacks.
- Store the car version where it supports posture and keeps tools reachable.
- Attach the habit to an existing transition: parked the car, ended the class, closed the laptop, finished the errand.
In my experience, consistency depends less on a perfect home corner and more on whether the right support appears at the exact moment your body is ready to listen. A beautiful setup at home is nice. A useful tool within reach at 4:40 p.m. in a parking lot is often what actually changes the pattern.
Closing Thoughts
A micro-recovery kit works because it respects real life: short gaps, mixed energy, and bodies that need support before motivation catches up. The most useful version is small, specific, and built around function, not trend. If there is a downside, it is that these kits can become clutter fast, which is why the one-action-per-item rule and two-week audit matter so much. Make recovery portable, visible, and easy to start, and you may find consistency gets much less dramatic.
Disclaimer: As an aliexpress Associate, I earn from qualifying purchases.