The Mobility Menu That Meets Your Mood
Imagine knowing exactly which stretches help your neck, hips, and low back—then somehow freezing on the floor because your brain is too buzzy, foggy, or irritated to choose. That less-discussed…
Imagine knowing exactly which stretches help your neck, hips, and low back—then somehow freezing on the floor because your brain is too buzzy, foggy, or irritated to choose. That less-discussed problem is real: for a lot of us, decision-making gets harder than the movement itself when stress, restlessness, mental fog, or emotional overload show up.
I love a tidy routine, but I’ve learned that “morning flow” or “low-motivation workout” categories don’t always match real life. Sometimes what I need is not a time-based plan. I need a feeling-based one.
This is where a mobility menu can help. Instead of asking, “What should I do today?” you build a tiny map that asks, “How do I feel right now?”—and gives you one supportive next step.
The goal is not to force yourself into a better mood. It’s to reduce the gap between noticing your state and choosing an action that feels kind, doable, and regulating.
Step 1: Pick 3-4 emotional states you actually experience
Keep this part simple. You do not need a beautifully nuanced emotional vocabulary. You just need categories you can recognize quickly in your own body.
I’d start with three or four states like these:
- Anxious: tight chest, shallow breathing, urge to pace, jaw tension
- Heavy: sluggish, flat, hard to initiate, stiff from sitting or emotional fatigue
- Scattered: mentally foggy, distracted, starting five things at once
- Overstimulated: touched-out, screen-fried, noise-sensitive, craving less input
If those words don’t fit, rename them. “Spinny,” “cement,” “pinging,” and “too much” are honestly fine if that’s what your nervous system understands fastest.
Your mobility menu only works if it sounds like you.
Step 2: Match each state with one tiny sequence
This is the habit design piece: make each option short enough that your tired brain won’t negotiate with it. I like sequences that take 2-5 minutes and include just two or three movements.
Here’s a practical template you can steal and personalize:
-
Anxious
Sequence: child’s pose, slow cat-cow, supine twist
Why it helps: low-to-the-ground shapes and gentle spinal movement often feel containing when your energy is rising too fast. -
Heavy
Sequence: standing reach, supported squat hold, calf raises or a gentle forward fold
Why it helps: slightly more upright shapes can create a little circulation and momentum without asking for a full workout. -
Scattered
Sequence: half-kneeling hip flexor stretch, thoracic rotation, seated fold
Why it helps: asymmetrical positions and slower transitions give your attention something specific to land on. -
Overstimulated
Sequence: legs up on couch, reclined bound angle, forehead supported on stacked hands
Why it helps: fewer inputs, less visual demand, and more support can feel grounding when everything feels loud.
If you want more ideas for simple, low-friction setup pieces, I shared a few in 5 underrated mobility tools that make showing up easier.
Step 3: Add one breath pattern to each category
The breath is what makes this system feel less like random stretching and more like nervous-system support. Again, keep it easy.
- Anxious: inhale 4, exhale 6
- Heavy: inhale 4, exhale 4 through the nose, steady and energizing
- Scattered: box breathing, 4 in, 4 hold, 4 out, 4 hold
- Overstimulated: one hand on chest, one on belly, slow natural exhales with no counting if counting feels like too much
You are not trying to perform perfect breathwork here. You are pairing each movement option with a breathing cue that makes the choice feel complete.
Step 4: Choose a sensory cue for each mood
This step is underrated. A sensory cue helps your body recognize the category before you’ve fully talked yourself into it.
Think of it as giving each state its own “landing strip.” That cue might be light, texture, color, or even where the props live.
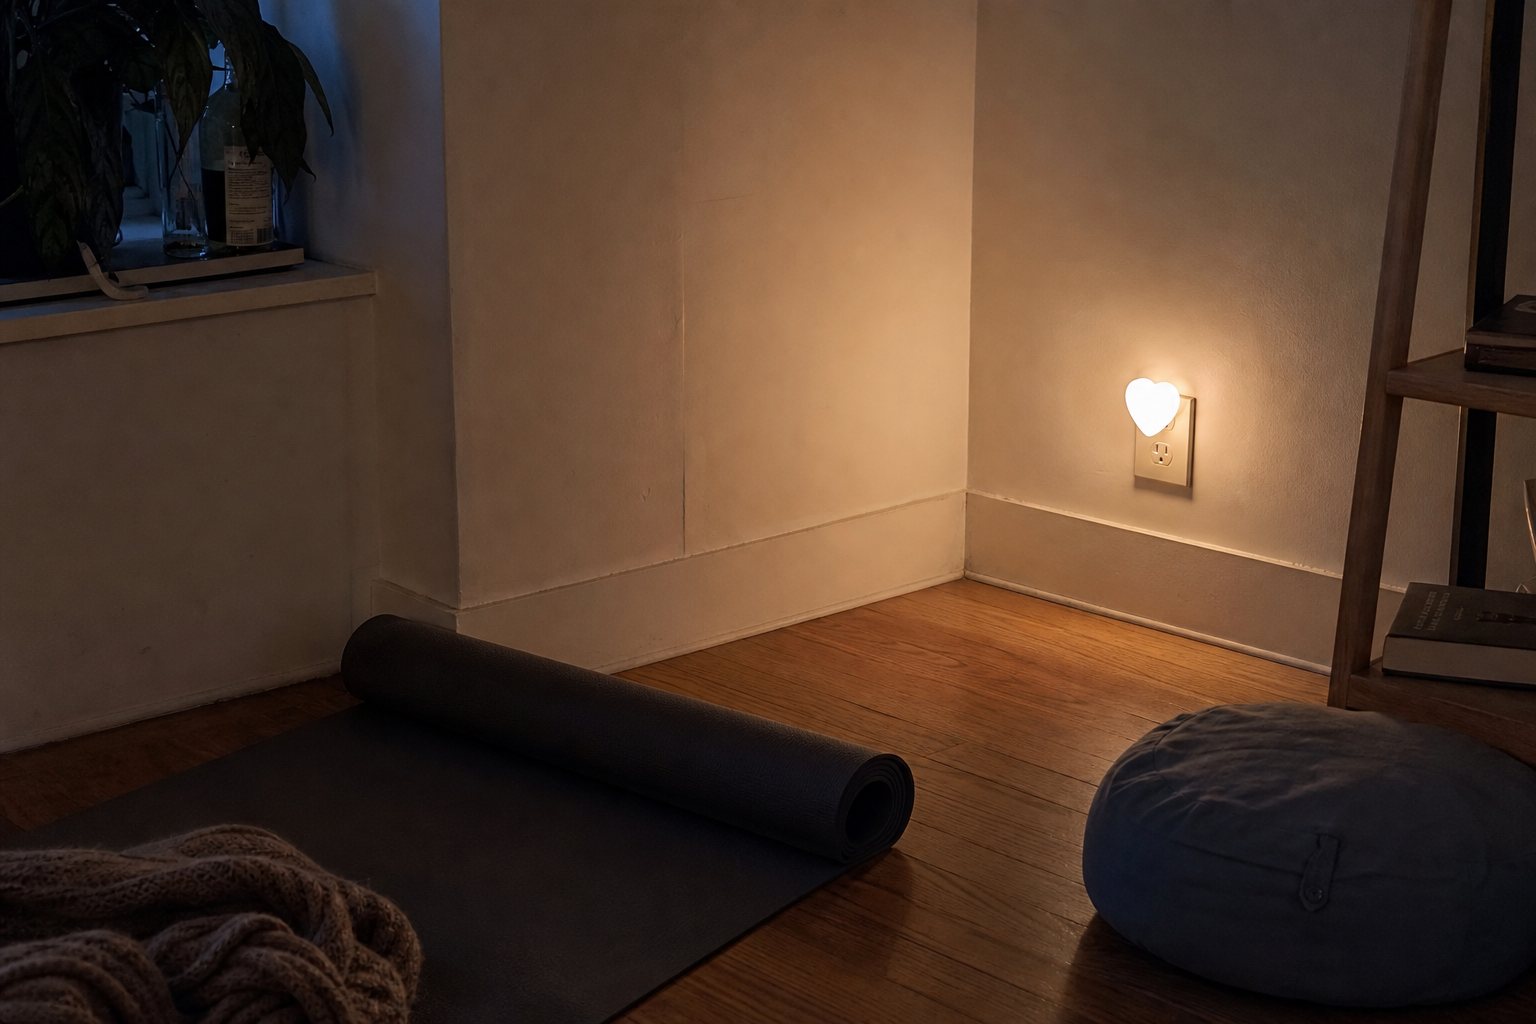
- Anxious: a warm, dim corner light
- Heavy: brighter light or standing near a window
- Scattered: one clear card placed upright at eye level
- Overstimulated: soft texture, quieter corner, minimal visual clutter
A simple plug-in night light can work beautifully for an overstimulated or anxious menu because it softens the room without asking you to fuss with overhead lighting.
Step 5: Put each category on a card
This is where the system becomes usable. Write each feeling-state on its own small card with three lines only:
- The name of the state
- The 2-3 movement sequence
- The breath cue
That’s it. No essay. No wellness manifesto. Your future stressed self needs fewer words, not more.
If you want the cards visible instead of stacked in a drawer, a walnut wood phone holder stand also works nicely as a card stand on a shelf, desk, or floor-level movement corner.
Step 6: Build four tiny “grab zones” at home
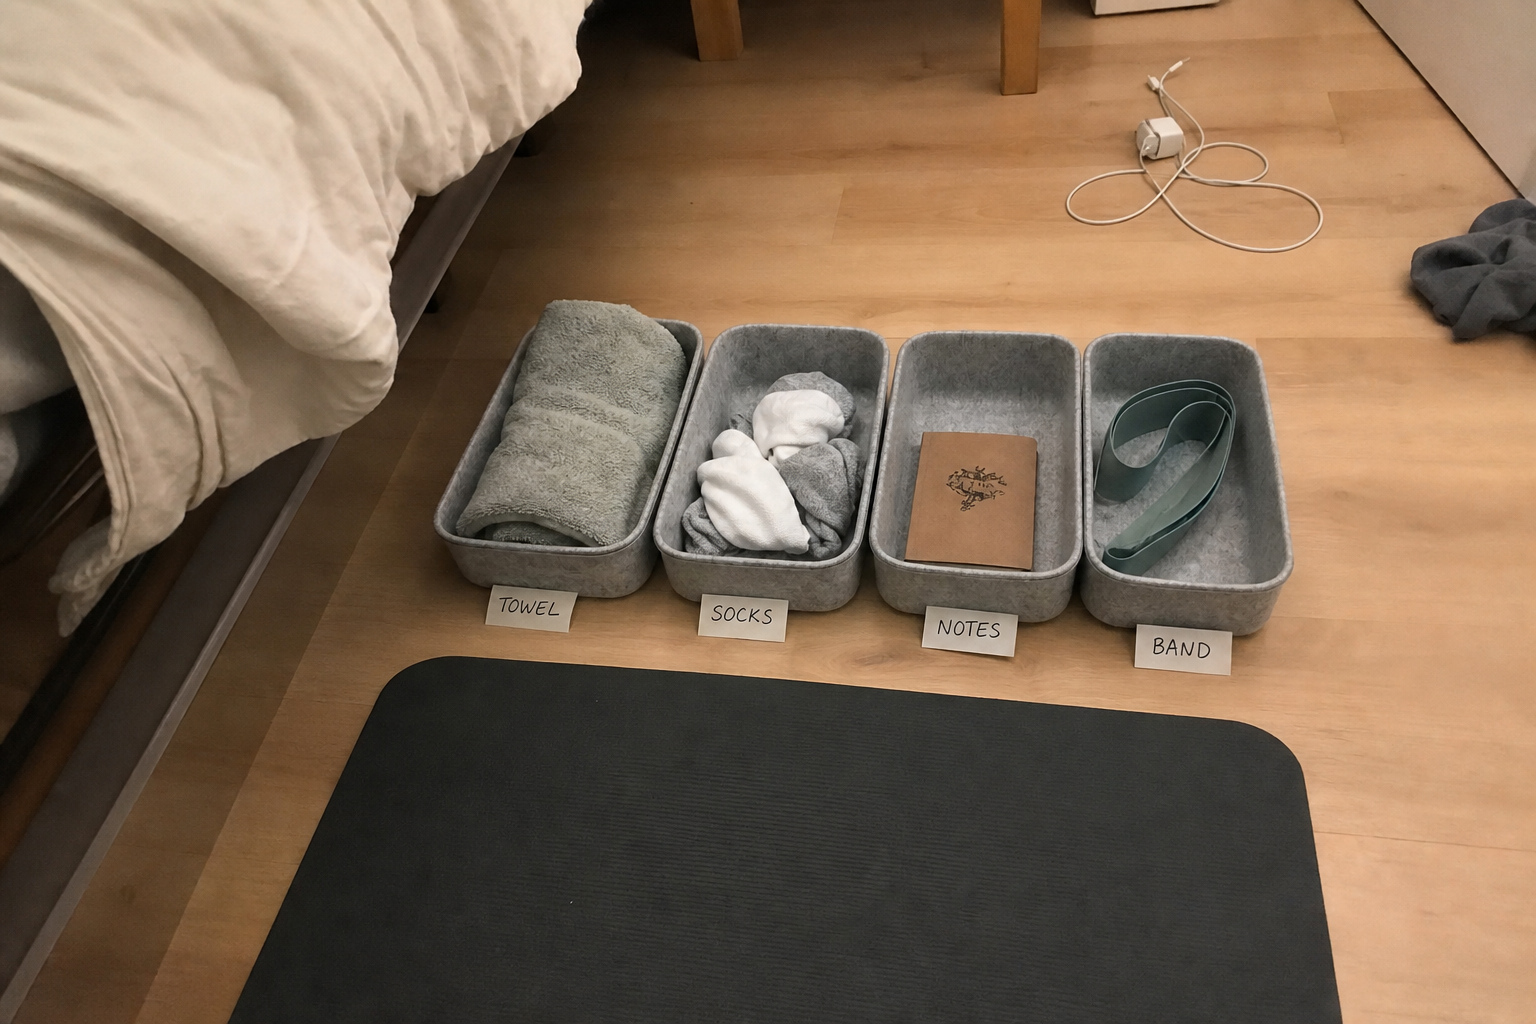
This is the concrete home setup part, and it does not need to be expensive. You’re creating small, visible containers so each mood-state has a physical place.
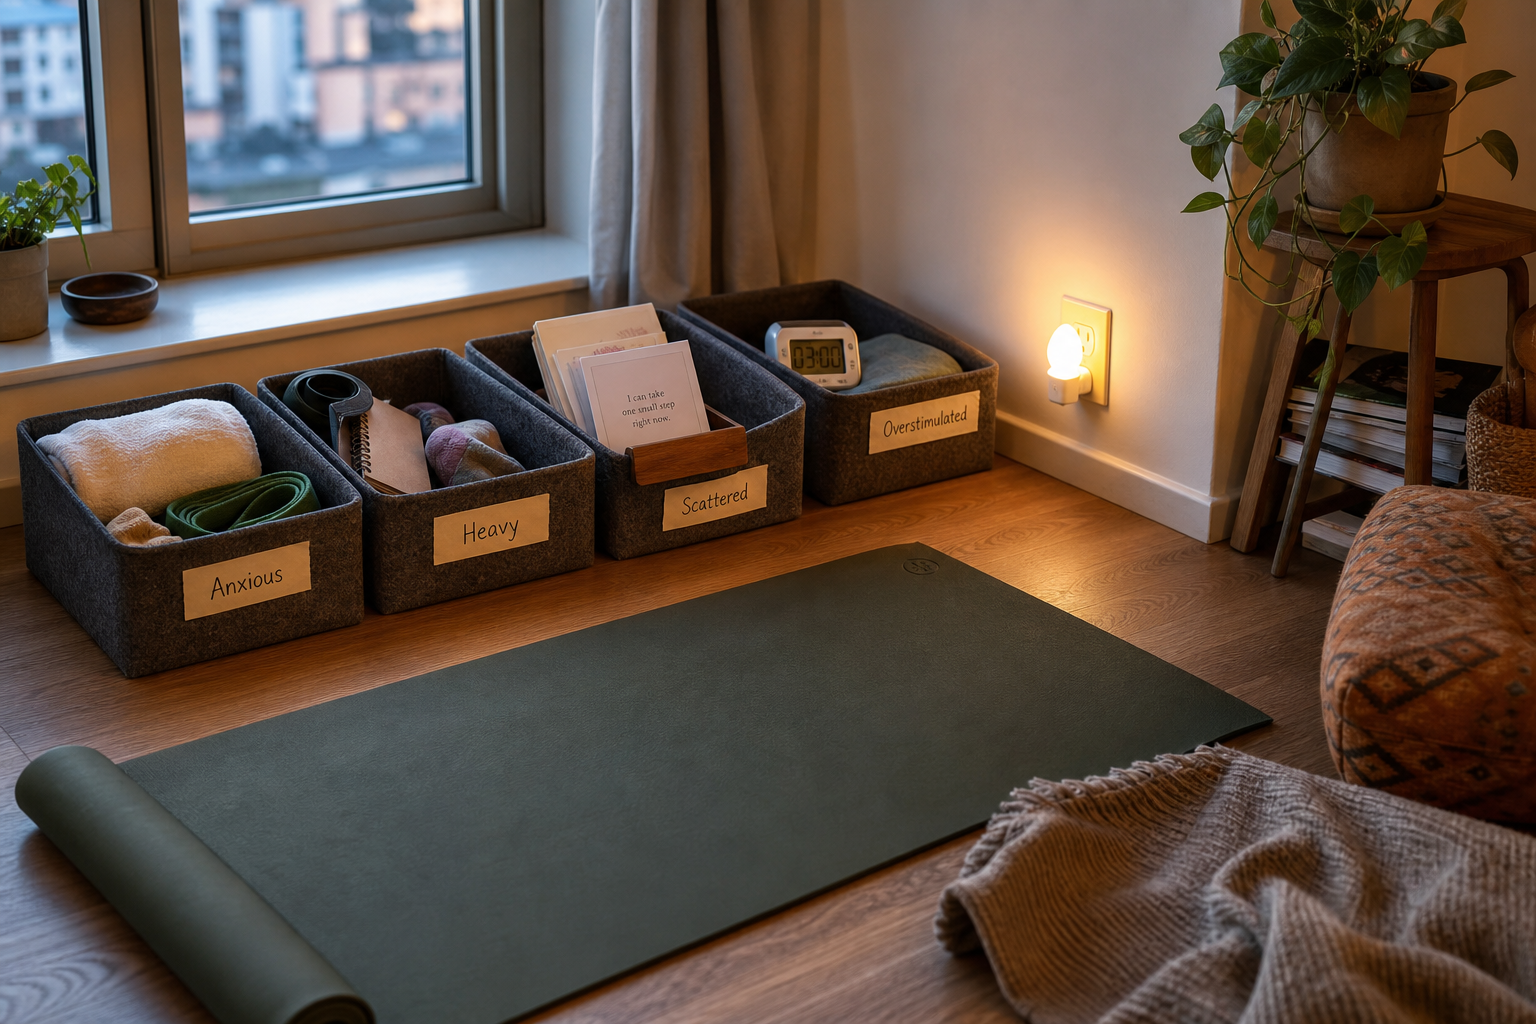
I like using little baskets or boxes because they reduce rummaging. A set like these felt storage boxes are useful because you can separate categories without taking over your whole room.
For example:
- Anxious basket: eye pillow, soft socks, card, maybe a small folded towel
- Heavy basket: mini band, card, timer, grippy socks
- Scattered basket: printed card, pen, tiny notebook for one-line check-ins
- Overstimulated basket: soft cloth, card, low light cue, blanket
If you already have a small corner for movement, great. If not, my post on building a tiny home movement corner that gets used can help you make this setup feel less precious and more practical.
Step 7: Label the categories so your eyes can find them fast
Labels may sound fussy, but they reduce friction. When you’re frazzled, you do not want to remember which basket is which.
You can handwrite labels, but if you want something cleaner and a little more “real,” these self-adhesive label stickers can help make each category visible on a shelf, drawer, or basket.
I’d keep the wording large and plain:
- Anxious
- Heavy
- Scattered
- Overstimulated
You can also color-code them if that helps your brain sort faster.
Step 8: Add a timer so the practice has edges
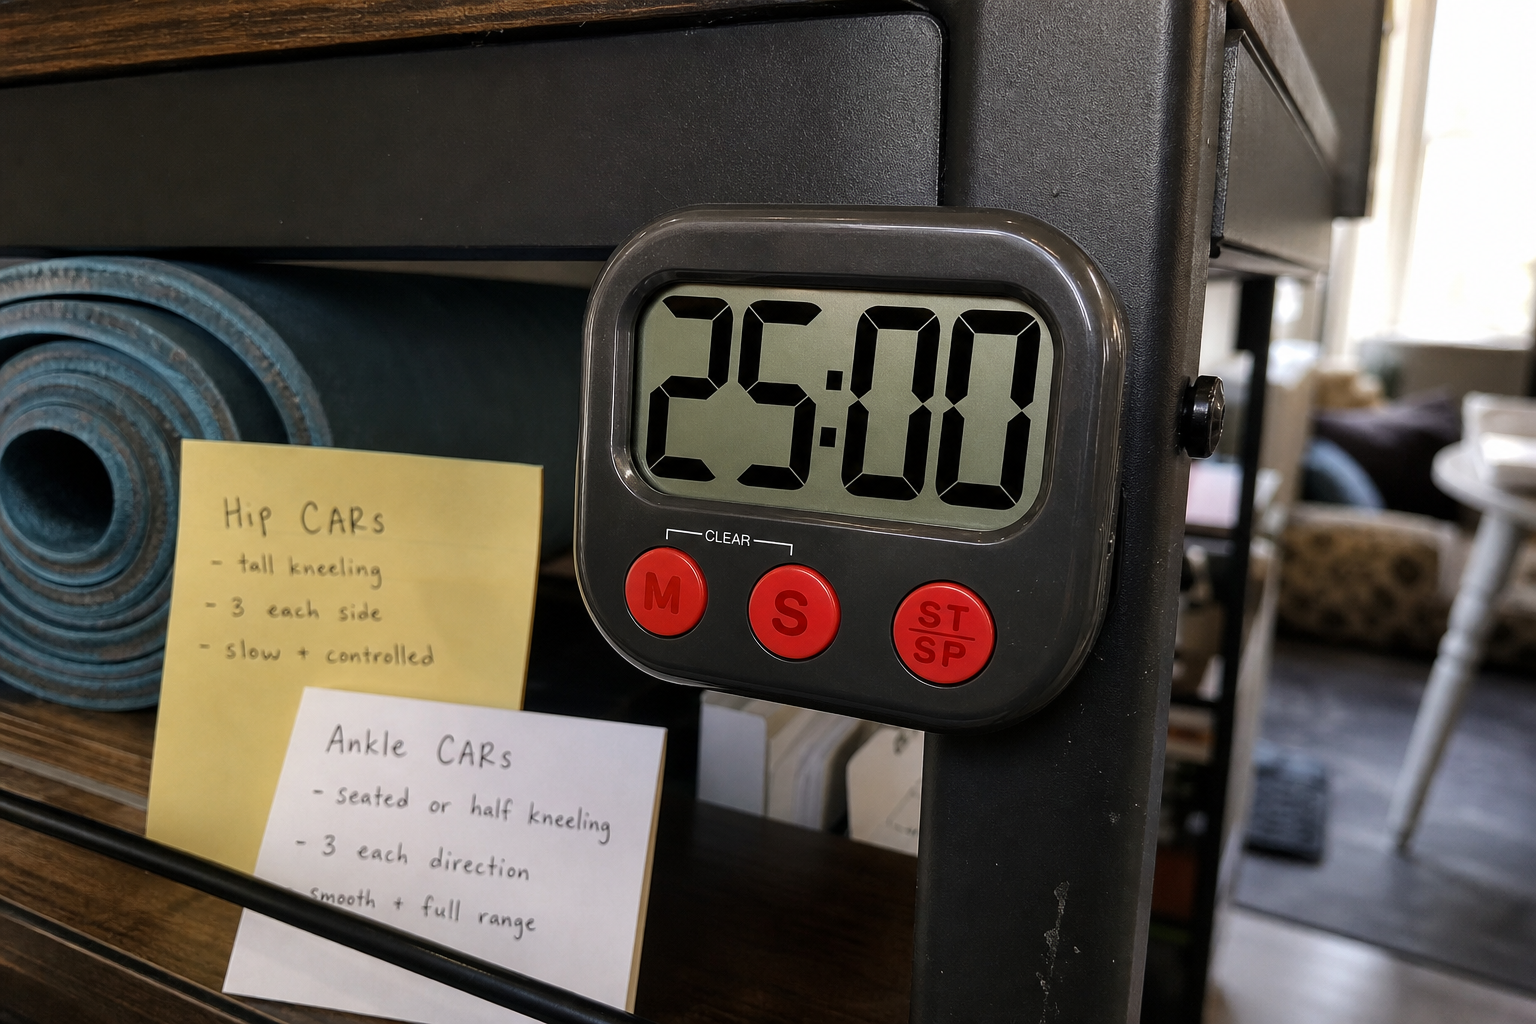
One reason people resist self-guided mobility is that it feels vague. A timer solves that. You are not beginning an endless wellness obligation; you are doing three minutes.
A simple digital visual timer is especially helpful for the heavy or scattered categories, where starting is the main hurdle. Set it for two, three, or five minutes and let that be enough.
Step 9: Assemble your menu in under an hour
If you want this done today, here’s the fastest version.
- Choose 3-4 feeling states you recognize often.
- Write one 2-5 minute movement sequence for each.
- Add one breath cue per category.
- Choose one sensory cue for each state.
- Write each category on an index card.
- Place cards in a visible stand or against the wall.
- Use mini boxes or baskets to group any simple props.
- Label the baskets clearly.
- Put a timer nearby.
- Test one category tonight, not all four.
Caution: don’t make the menu too ambitious
Caution: if each category turns into a 20-minute ritual with six props, two playlists, and a perfect mood requirement, you’ve recreated the original problem. The whole point is to make choice easier when your bandwidth is lower.
A good mobility menu should feel a little underwhelming on paper. In practice, that’s usually what makes it usable.
Step 10: Test and revise after one week
After a few days, notice what you actually reach for. Maybe “heavy” needs more standing and less floor work. Maybe “overstimulated” works better with darkness and a blanket than any stretch at all.
I’d jot down:
- Which category you used
- Whether it felt easy to start
- One small thing you’d change
This is the same gentle mindset shift I come back to often: your system does not need to be impressive. It needs to be repeatable. If all-or-nothing thinking tends to hijack your routines, my piece on how to stop all or nothing thinking about fitness pairs well with this approach.
The Bottom Line
A feeling-based mobility menu helps when you already know movement would help, but your emotional state makes choosing feel weirdly hard. By pairing a few recognizable moods with tiny sequences, simple breath cues, and visible home setup pieces, you can build a supportive ritual in under an hour. The inexpensive tools here—small storage, a card stand, labels, soft lighting, and a timer—matter because they make the habit easier to see and easier to start. And that’s really the point: not fixing your mood, but making it simpler to notice how you feel and respond with something kind.
Disclaimer: As an aliexpress Associate, I earn from qualifying purchases.