How to Pace Your First 10K Off 5K Training
If your training has mostly lived in the 5K zone, your first 10K can feel bigger than it really is. I’ve paced enough community races to tell you this: most first-time 10K runners do not struggle…
If your training has mostly lived in the 5K zone, your first 10K can feel bigger than it really is. I’ve paced enough community races to tell you this: most first-time 10K runners do not struggle because they’re unfit. They struggle because they run the first two miles like the finish line is coming way sooner than it is.
The good news is that a smart 10K pace is usually just a small adjustment from effort you already know. You do not need a complicated spreadsheet or lab test. You need a simple plan, a few honest cues, and the discipline to stay patient early.
Your first 10K should feel controlled before it feels impressive.
If you’re coming from shorter training, I’d rather see you finish wanting 30 more seconds of speed than spend the last two miles bargaining with every lamp post. Here’s the no-jargon method I use with beginners and race-day groups.
Step 1: Translate your 5K effort, not just your 5K pace
The first mistake I see is runners taking their best recent 5K pace and trying to “hold it a little longer.” That almost never ends well. A 10K is not a stretched-out 5K sprint. It’s a steadier effort.
Instead, think in terms of effort:
- 5K effort: hard fairly early, breathing fast, tough to say more than a short phrase.
- 10K effort: controlled hard, breathing steady but working, you can still get out 3-5 words.
- Easy run effort: fully conversational, no real pressure.
Your 10K effort should sit right between your easy pace and your 5K race effort, but noticeably closer to 5K than to easy. I tell runners to imagine they are running with a little money left in the bank through halfway.
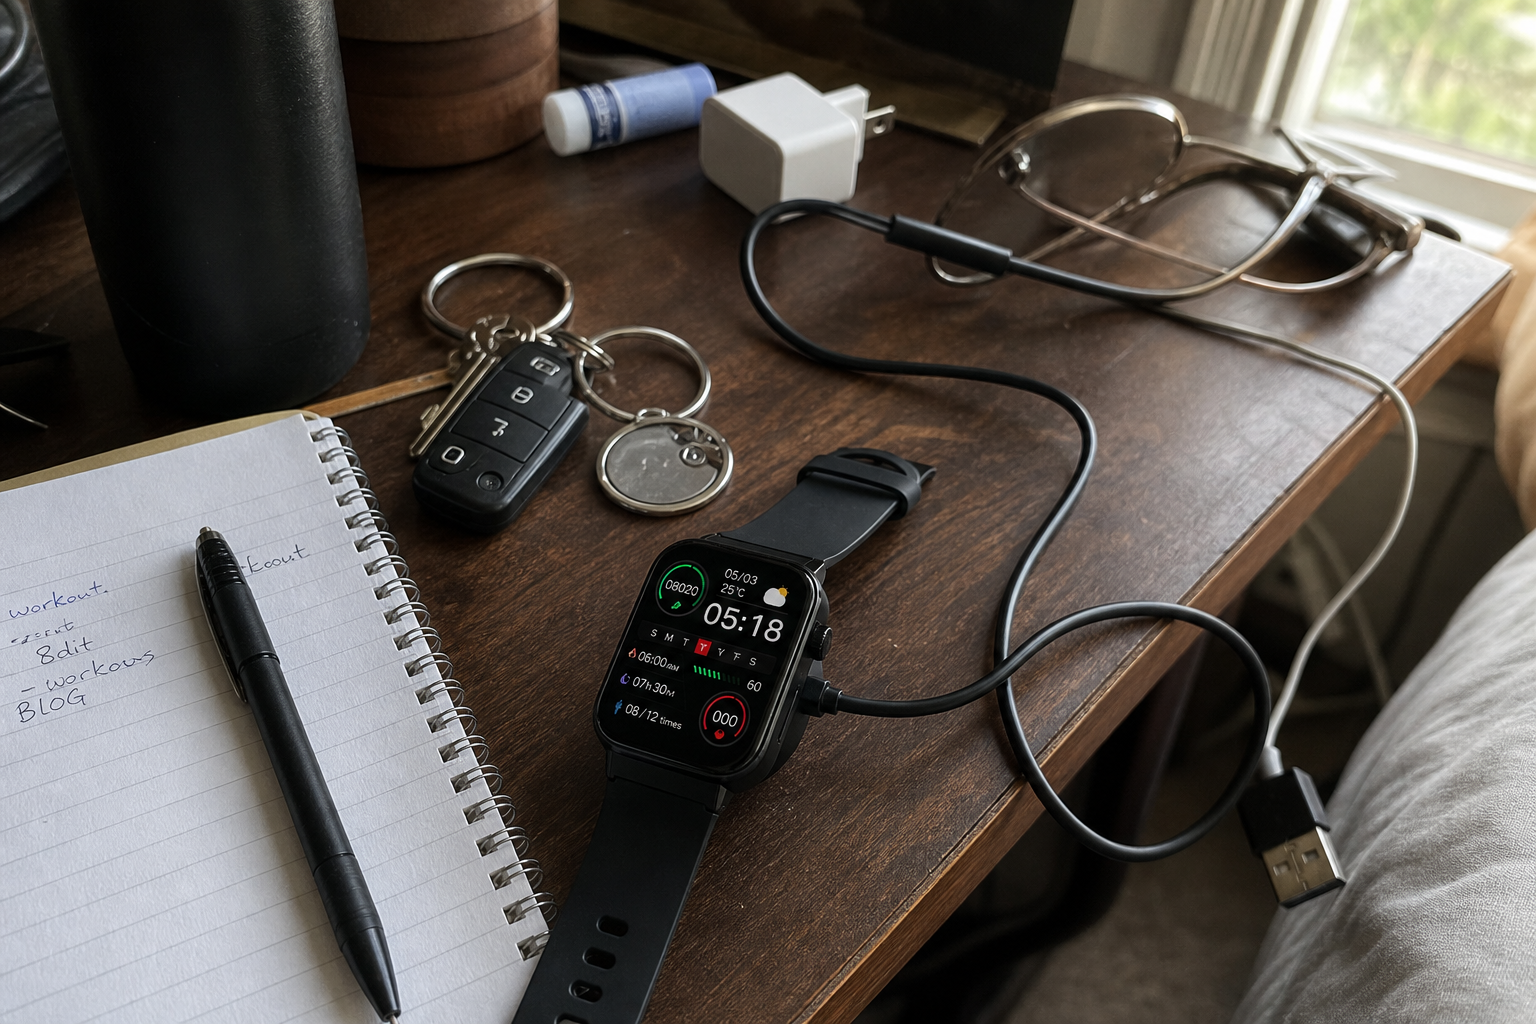
If you like using a watch, make sure it’s charged before race weekend. I’ve had plenty of runners show up depending on their pacing alerts, only to realize the battery is hanging on by luck. Even a simple backup like a smartwatch charging cable can save you from guessing.
Step 2: Build your race plan around the first two miles
If I’m pacing a first 10K group, I care most about the opening two miles. Those miles set the whole day. Get them wrong, and everything after becomes damage control.
Here’s the framework I use:
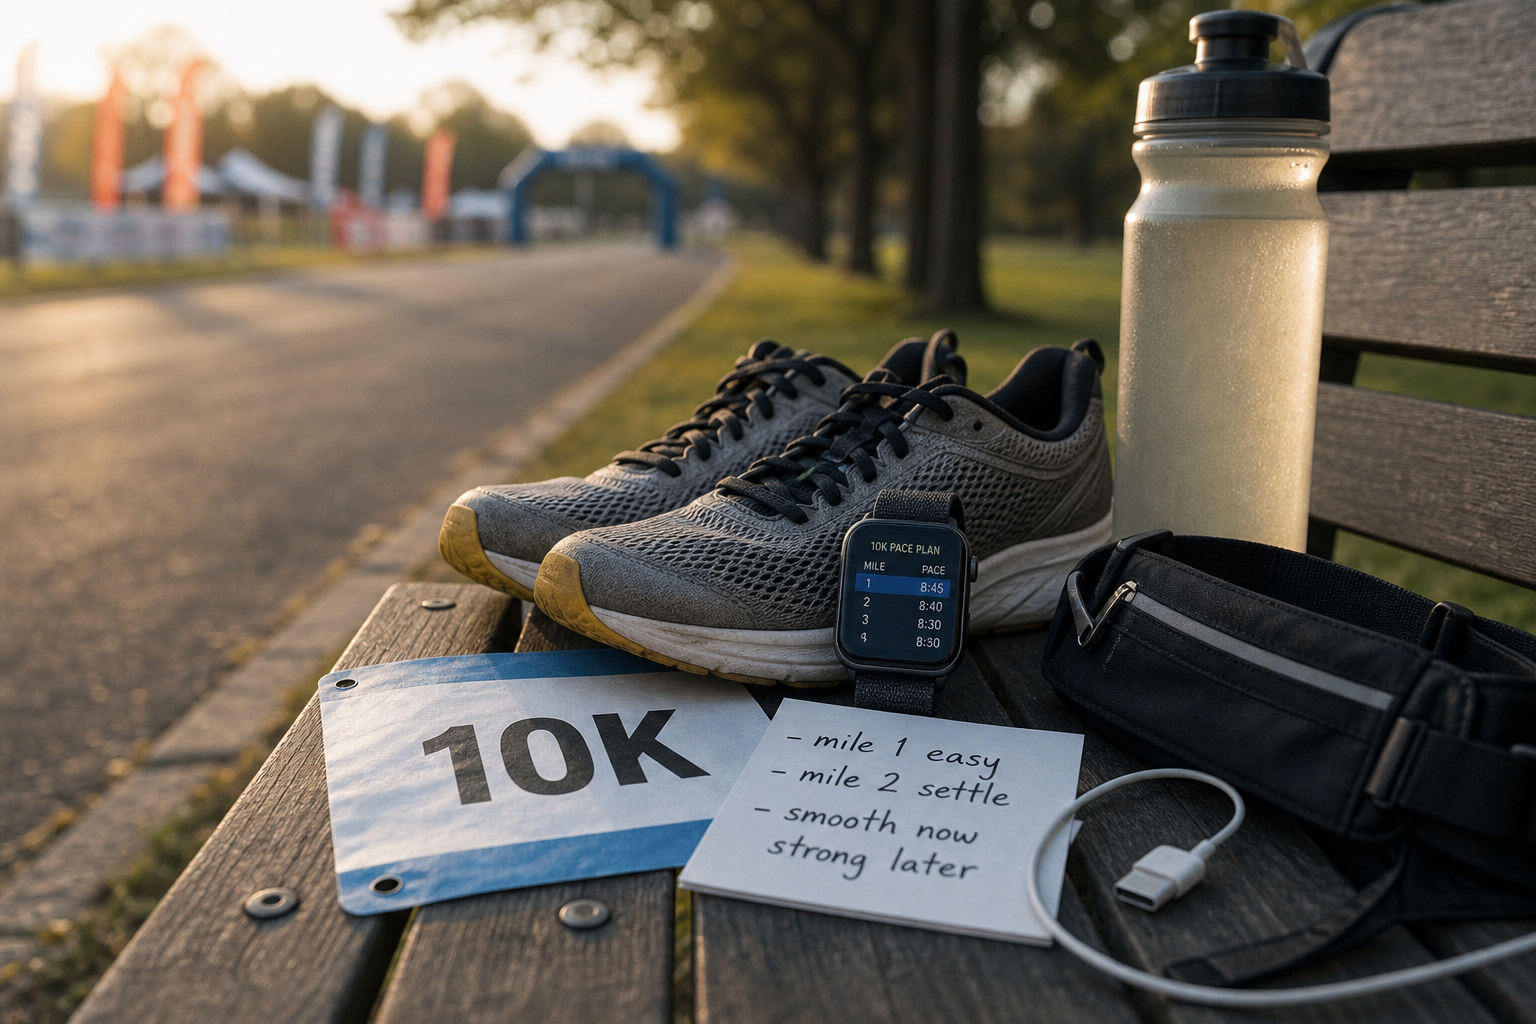
- Mile 1: Run a touch easier than you think you should.
- Mile 2: Settle into your true 10K effort, not your excitement pace.
- Miles 3-4: Hold steady and stay boring.
- Mile 5: Start pressing if you still feel smooth.
- Last 1.2 miles: Race it home with whatever is left.
That “stay boring” line matters. A good 10K often feels almost uneventful until late. You’re not trying to prove anything in the opening minutes.
How to judge the first mile
The first mile should feel almost too calm. Your breathing is under control. Your shoulders are loose. You are passing fewer people than your ego wants.
If you cross the first mile marker thinking, “I could definitely go faster,” perfect. That’s usually the point.
Caution: if the first mile already feels like work, you are probably running your 5K effort. Back off early. Saving a bad first mile is much easier than saving a bad first 5K.
How to judge the second mile
By mile 2, you should feel locked in rather than fired up. Your breathing should be noticeable but rhythmic. I tell beginners to ask themselves one question:
Can I imagine holding this for another 30 minutes without panicking?
If the answer is yes, you’re close. If the answer is “absolutely not,” pull back now, not later.
Step 3: Use simple effort cues instead of overthinking splits
I like pace data, but beginners often race better when they use a few clean body cues. If you spend every 15 seconds checking your wrist, you can turn one slightly fast split into a full spiral.
Try these cues during training and on race day:
- Breathing: steady and purposeful, not gasping.
- Shoulders: low, not creeping toward your ears.
- Stride: quick and relaxed, not reaching out in front.
- Talk test: short phrases are possible, full conversation is not.
- Mental cue: “smooth now, strong later.”
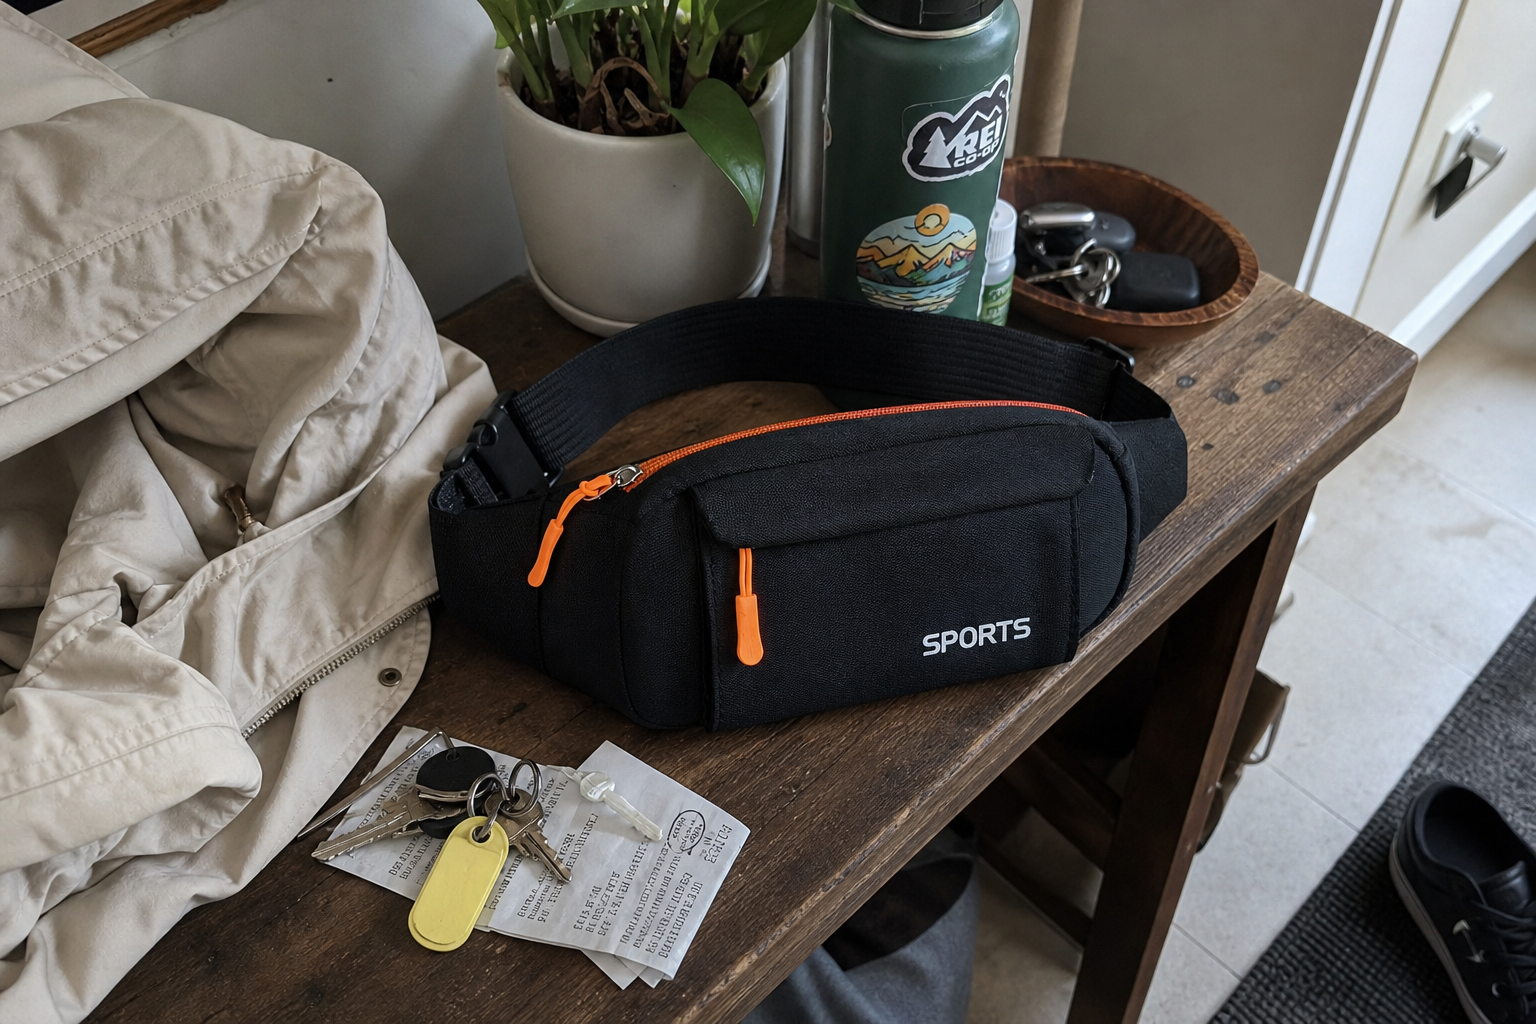
If you carry your phone, gels, or keys, make that setup simple and stable so you’re not fiddling with it during the race. A lightweight running waist pack is the kind of small thing that helps you focus on pace instead of bouncing pockets.
Step 4: Practice the 10K feel in training
You do not need a huge jump in mileage to prepare for pacing a 10K well. You just need a couple of workouts that teach patience. I use these often with runners moving up from 5K training.
- Progression run: 4 to 5 miles total, starting easy and finishing the last 1 to 2 miles at planned 10K effort.
- Steady sandwich: 1 mile easy, 2 miles at 10K effort, 1 mile easy.
- Controlled intervals: 3 x 1 mile at 10K effort with 2-3 minutes easy recovery.
These sessions help you learn what “comfortably hard” really means. That matters more than chasing a perfect split chart.
If you’re still learning how and when to back off, my post on why walking breaks make you a faster runner fits here too. Purposeful reset breaks in training can teach you pacing discipline better than gutting out every run.
Step 5: Hold back on hills, crowds, and adrenaline spikes
Race-day pacing gets messy because courses and crowds mess with your judgment. A flat training path is honest. A race start with music, downhill sections, and runners surging around you is not.
Here’s where I tell beginners to deliberately hold back:
- Downhills in the first half: free speed can turn into expensive fatigue.
- Early hills: keep effort even, even if pace drops.
- Big starting crowds: don’t weave and sprint to “fix” your pace.
- Water stations: stay calm and smooth through them.
The goal is not to run every split identically. The goal is to keep your effort from spiking too early.
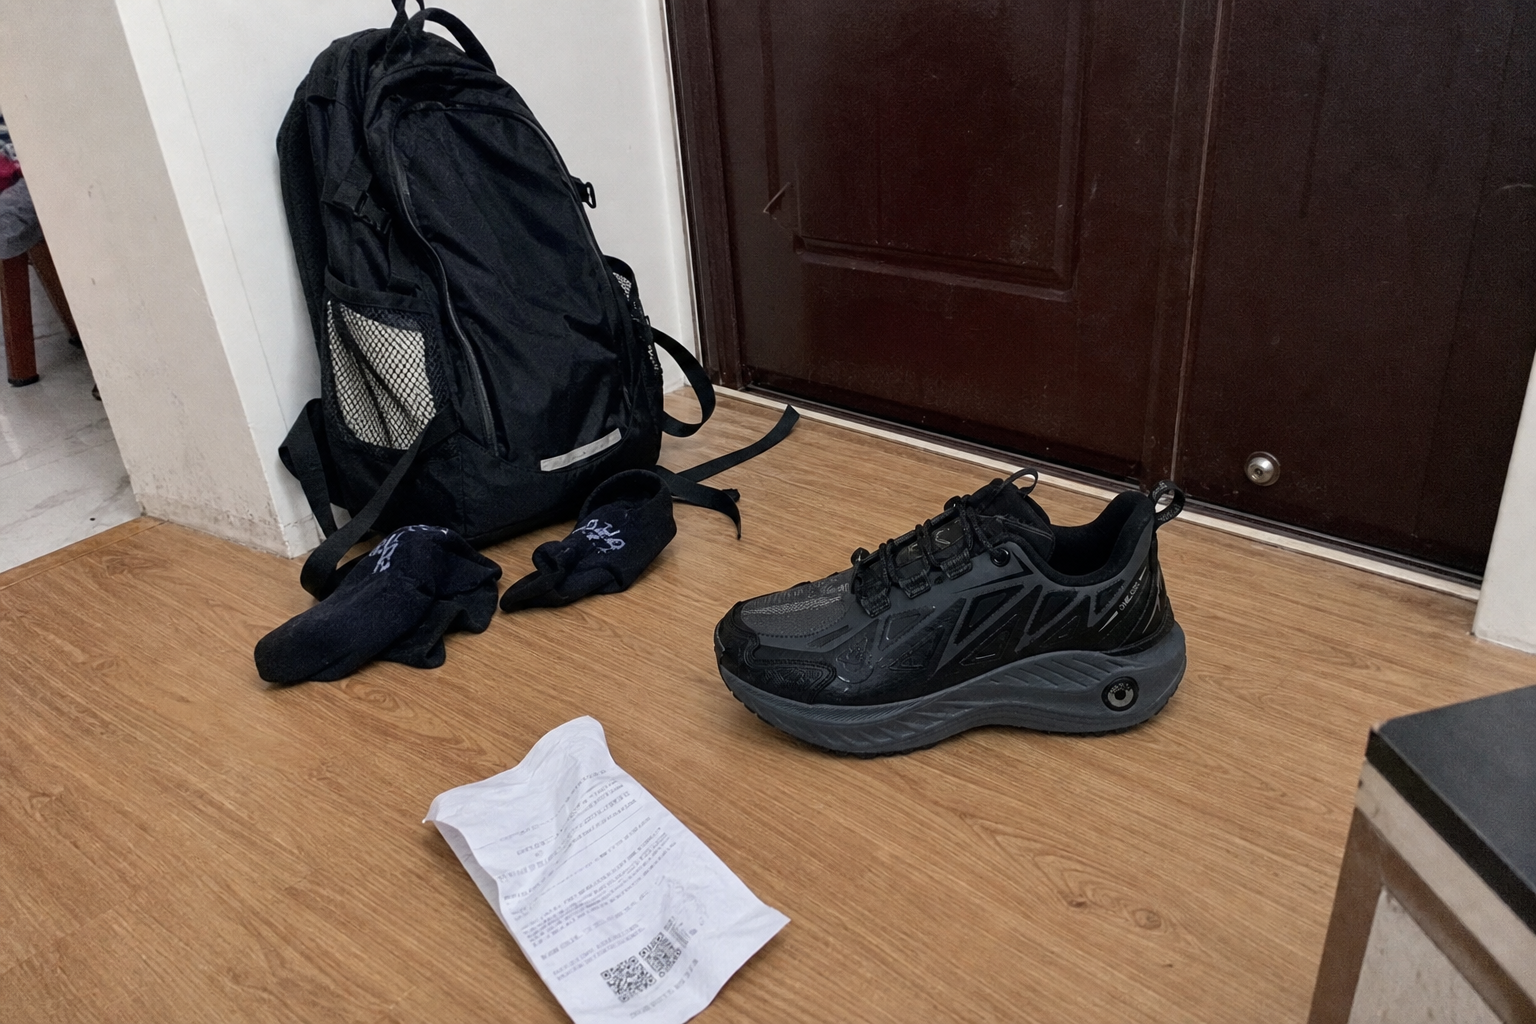
If your race includes gravel paths, park loops, or uneven shoulders, footwear matters more than people think. I’d only use something like the ONEMIX trail running shoes if your route really leans that direction, since the extra grip and stability can make pacing easier on mixed surfaces. For a plain road 10K, I’d still favor whatever road shoe you’ve already tested in training.
Step 6: Know the common pacing mistakes before they happen
Most pacing mistakes are predictable. That’s good news, because predictable mistakes are easier to avoid.
- Starting with the fast crowd: just because they’re near you at the line does not mean they are your group.
- Trying to bank time early: beginners almost always pay it back with interest later.
- Panicking after one slow split: one hill, turn, or crowded section does not ruin a race.
- Waiting too long to race: patience is good, but don’t jog the fifth mile if you feel strong.
- Ignoring practical setup: dead watch, loose laces, or bouncing gear can throw off your rhythm.
On that last point, I’m big on simple race logistics. My post on what I carry for a café-to-track training day comes from the same idea: less friction means better running.
Step 7: Finish strong without blowing up
The best first 10Ks usually have a slight negative split, or at least a stronger second half mentally. You do not need a dramatic kick. You just need a controlled shift once the race gets real.
Here’s how I coach the final stretch:
- At halfway: do a body scan. If you feel tense but stable, stay the course.
- At mile 4: ask whether you can squeeze the pace a little, not a lot.
- At mile 5: commit. This is where the race starts asking honest questions.
- Last 800 meters: lift your cadence, keep your form compact, and go by effort.
If you paced the early miles well, the last mile will hurt in a clean way. If you went out too hard, it will feel like your legs changed ownership. There’s a difference.
A strong finish is usually built from restraint, not bravery. The bravery part comes later.
A beginner-friendly 10K pacing cheat sheet
| Race Segment | What It Should Feel Like | What To Do |
|---|---|---|
| Mile 1 | Very controlled | Hold back and ignore the surge around you |
| Mile 2 | Smooth, settled | Lock into true 10K effort |
| Miles 3-4 | Comfortably hard | Stay steady, relaxed, and efficient |
| Mile 5 | Challenging but manageable | Gradually press if you still feel in control |
| Final 1.2 | Hard | Race by effort and finish with intent |
Closing Thoughts
If your training has mostly been 5K-based, you are probably more ready for a 10K than you think. The trick is not to force 10K fitness you do not have; it’s to pace the race so your existing fitness can actually show up. Stay patient through the first two miles, keep your effort even when the course gets noisy, and save your real push for the final stretch. The only real downside to this approach is that it can feel almost too conservative early, but that’s usually exactly why it works.
Disclaimer: As an aliexpress Associate, I earn from qualifying purchases.