How to Pace Without Trusting Your GPS
Your watch lies more often than most runners want to admit. If your effort feels smooth but your pace screen keeps jumping from “too slow” to “way too fast,” the problem is often not your…
Your watch lies more often than most runners want to admit. If your effort feels smooth but your pace screen keeps jumping from “too slow” to “way too fast,” the problem is often not your fitness—it’s the signal.
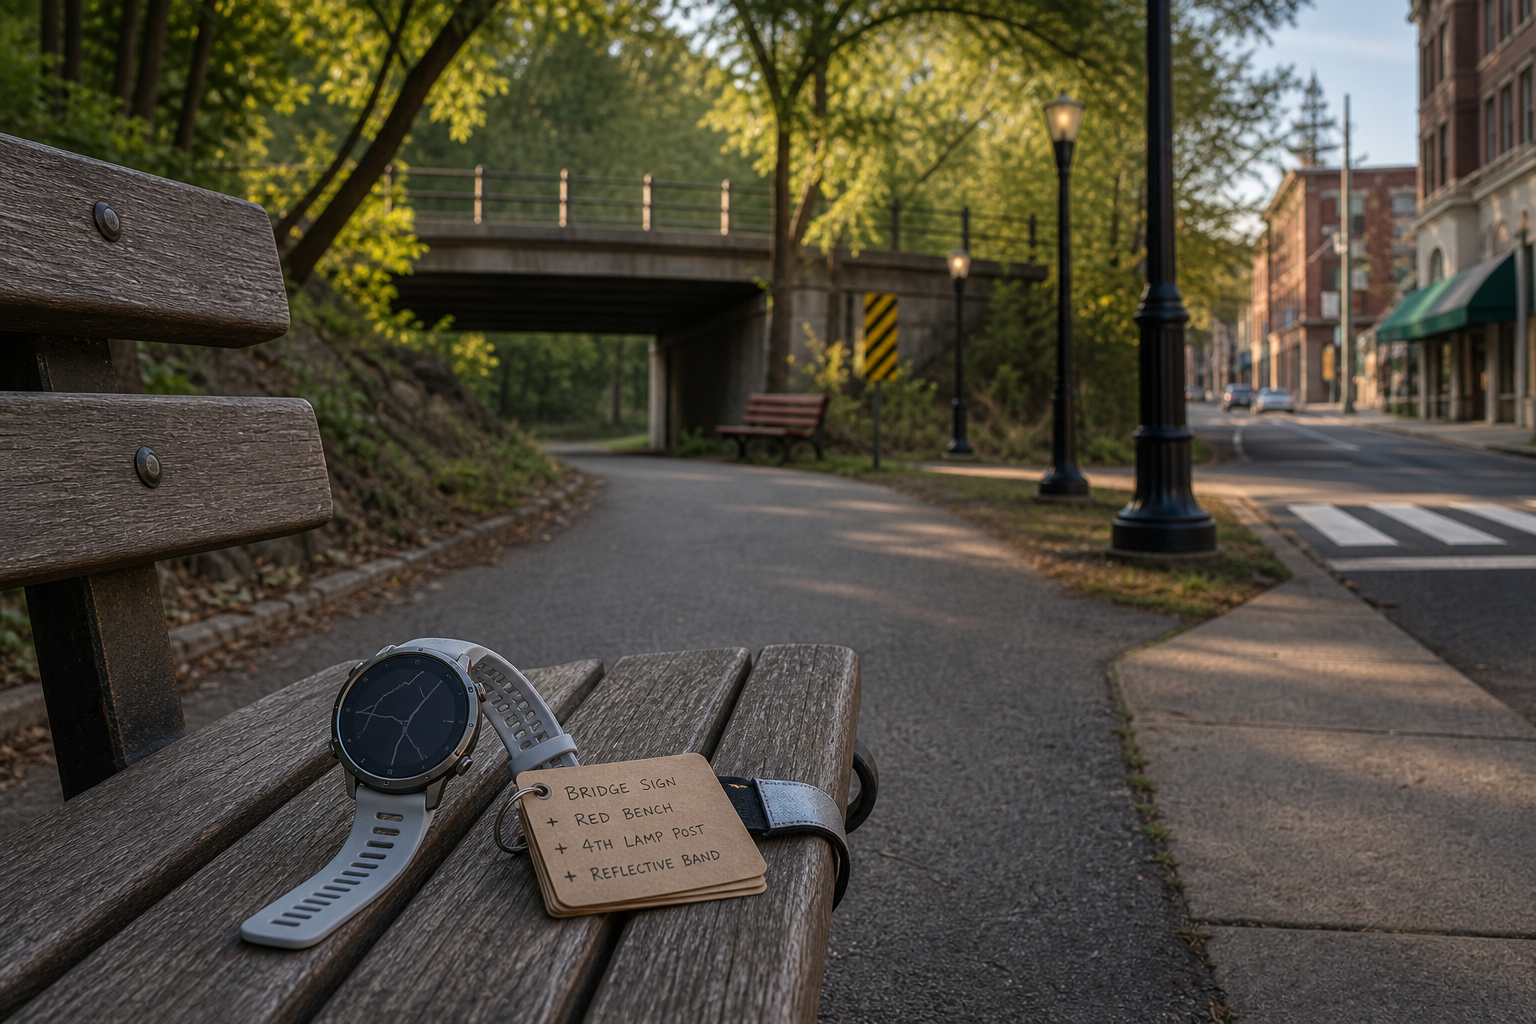
Tree cover, underpasses, crowded race starts, and older city streets can make GPS pace wobble enough to mess with a perfectly good run. The fix is visual pacing: building a route-based map from things you can actually see and repeat, like benches, light poles, bridge markers, and storefronts.
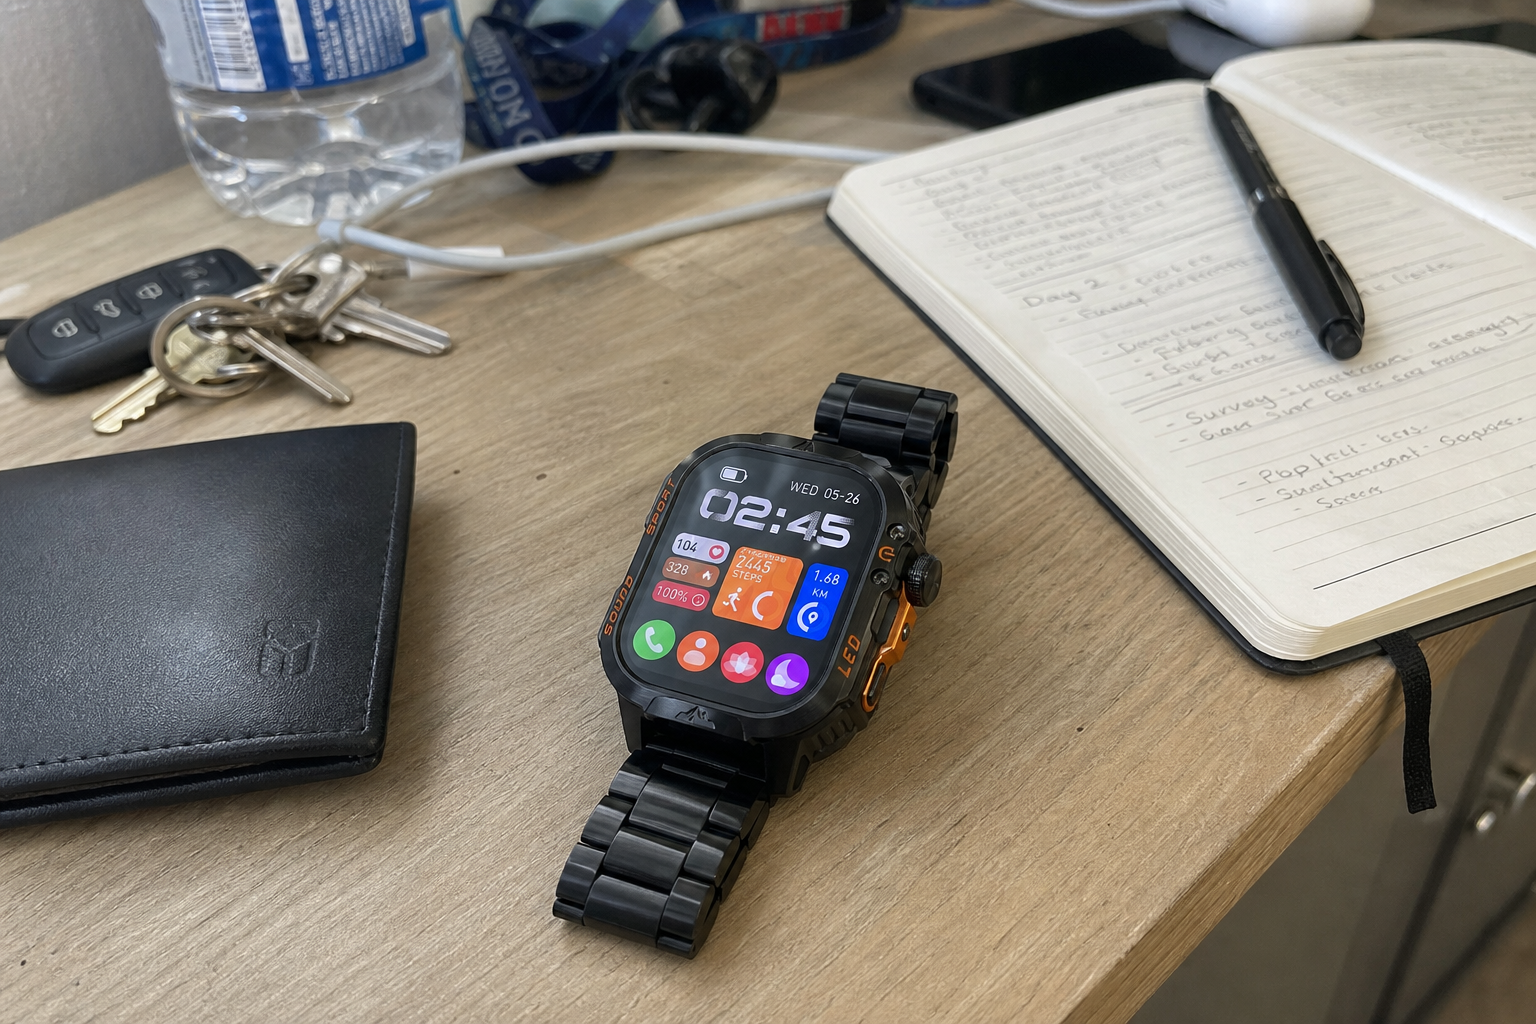
I like this method because it turns pacing back into a skill instead of a live argument with your wrist. If you still want a watch for lap timing or post-run review, something simple like a GPS sport watch can still help, but I’d treat it as a recorder, not your boss.
Step 1: Pick one route you run often
Start with a route you already know or can repeat easily. This works best on a park loop, greenway stretch, neighborhood out-and-back, or race-course section you use often.
You only need to scout it once with extra attention. After that, the route starts teaching you back.
- Choose a stretch long enough for 15 to 30 minutes of running.
- Make sure it includes the spots where GPS usually acts up.
- Run it at a steady, comfortable effort the first time.
Step 2: Build your visual pacing map
This is the part most runners skip, and it’s the whole trick. You’re going to notice fixed markers that won’t move from run to run.
Good landmarks are repeatable markers, not vague scenery. “The big tree” is risky. “Third bench after the footbridge” is much better.
- Benches
- Light poles
- Bridge signs or mile markers
- Storefront awnings
- Crosswalks
- Playground fences
- Bus stops
If I’m on an older city route where tall buildings mess with signal bounce, I’ll lock in three to five markers per segment. On a tree-covered trail, I might use the wooden bridge, the split-rail fence opening, and the water fountain.
Pacing gets easier when the route gives you the cues instead of the screen.
If you like having a quick reminder in hand, a tiny note in your pocket or on a tag can help. That’s where something low-tech and compact would fit this system better than another app. I also like keeping my watch comfortable enough that I forget about it, which is why a soft lightweight silicone sport strap makes more difference than people think on sweaty runs.
Step 3: Match landmarks to effort, not just pace
This is where runners usually overcomplicate things. You do not need lab language. You need three gears you can recognize.
- Easy run effort: breathing controlled, full sentences possible, shoulders relaxed.
- Tempo effort: comfortably hard, short phrases only, steady pressure but not a sprint.
- 5K interval effort: focused and hard, breathing sharp, form still under control.
Now connect those efforts to your route markers. For example, from the playground gate to the red bench, easy pace should feel almost boring. From the bridge sign to the row of storefronts, tempo should feel locked in and sustainable. From one lamp post cluster to the next, 5K effort should feel quick but repeatable.
If you’re still learning what those gears feel like, my piece on why walking breaks make you a faster runner can help you separate effort levels without turning every session into a grind.
Step 4: Scout once, then write down what mattered
After your first route study run, jot down the useful markers while they’re fresh. You do not need a training spreadsheet worthy of a space launch.
- Start at green bench
- Settle by second crosswalk
- Tempo begins at brick storefront
- Hold form to bridge railing
- Recover until water fountain
That note becomes your visual pacing map. The next time GPS drifts, you’ve already got a better plan.
Step 5: Use the map differently for easy runs, tempo work, and intervals
For easy runs
Use landmarks to keep yourself from creeping too fast. A lot of runners do not blow easy days because they feel amazing; they blow them because their watch briefly shows a flattering pace and they chase it.
Instead, pick markers and ask: can I stay smooth from this bench to that underpass without pressing? If yes, you’re probably where you need to be.
For tempo work
Tempo is where visual pacing shines. The goal is sustained control, so using the route to hold rhythm works beautifully.
- Warm up normally.
- Start tempo at a clear marker.
- Hold the same effort to the next two or three markers.
- Check your watch afterward, not every ten seconds.
If your route transitions from open sky to tree cover, this matters even more. Your body can stay even when your screen cannot.
For 5K-pace intervals
Shorter reps are where laggy GPS can really scramble your judgment. By the time the watch catches up, the rep is half over.
That’s why I like fixed visual targets. Run hard from the mural to the fourth lamp post. Recover to the bus stop. Repeat. If you’re building toward a race, this same mindset pairs well with how to pace your first 10K off 5K training because both approaches teach control instead of panic.
Step 6: Use accessories as support, not as the whole system
This is not an anti-technology sermon. It’s a reminder that tools work better when they support attention instead of replacing it.
- A sport watch with GPS tracking can help you review splits later, even if live pace is messy in the moment.
- A comfortable silicone running band matters if your current strap gets slippery or annoying mid-run.
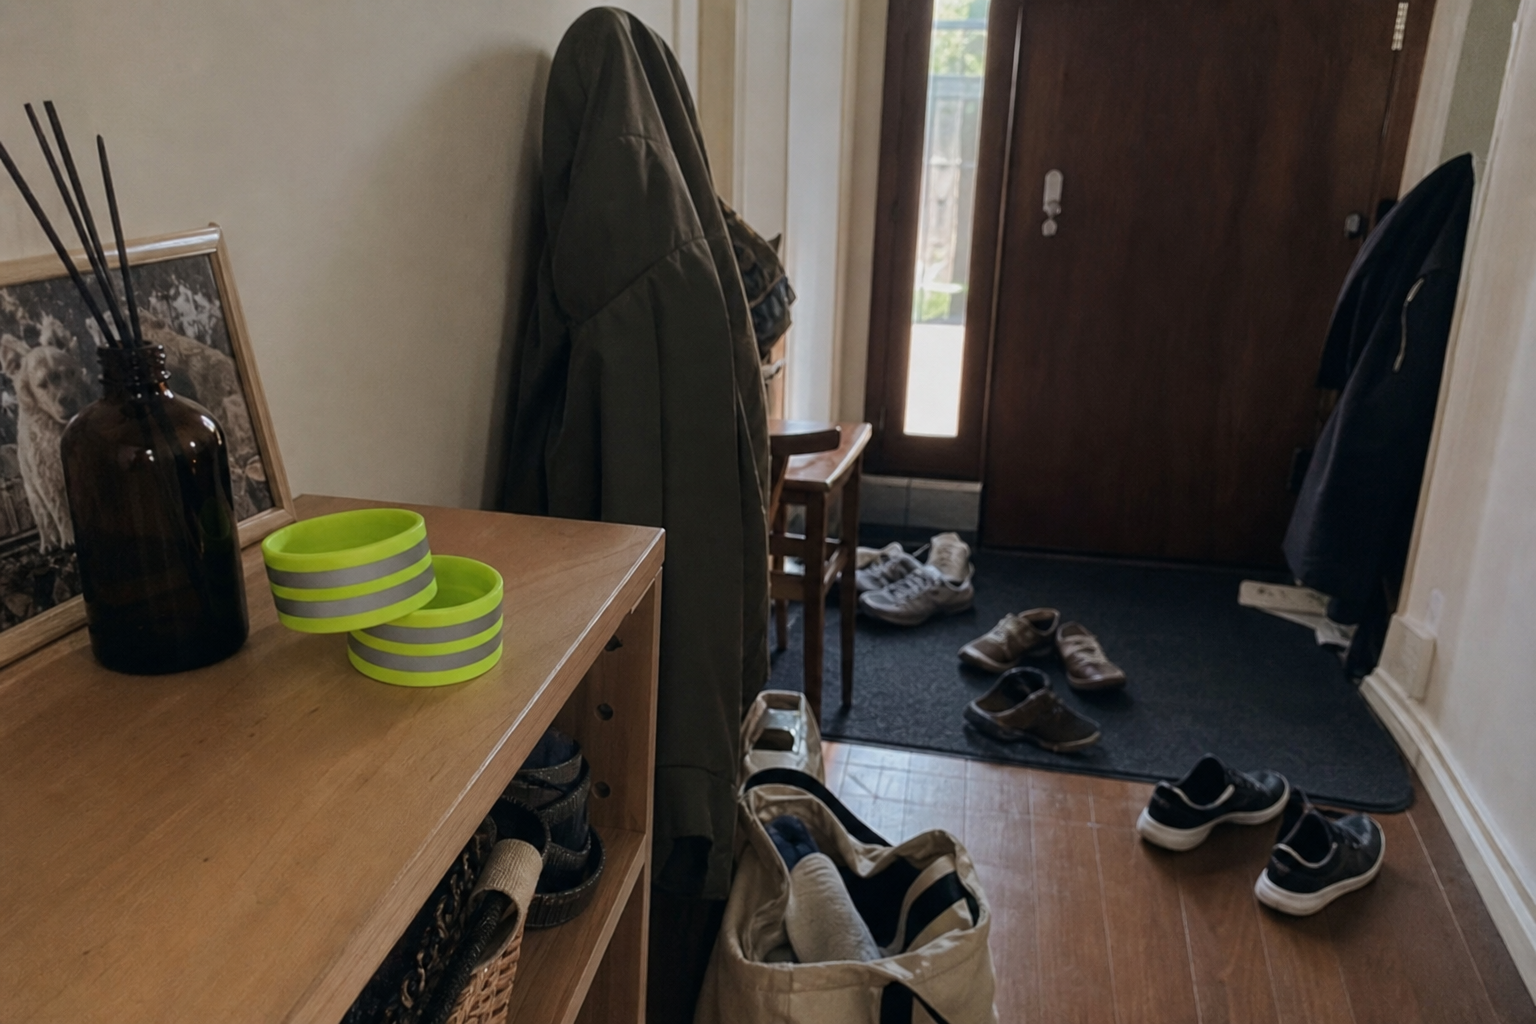
- If you run early or after work, reflective bands make those landmark checks easier when visibility is poor.
None of that replaces pacing skill. It just supports it.
Step 7: Notice how this changes your mindset
This is the part that surprises people. Visual pacing does not just help with accuracy; it helps with calm.
Newer runners stop panicking over every weird pace reading. More experienced racers stop outsourcing every decision to a screen and start paying attention to rhythm, breathing, and ground feel again.
I’ve seen that shift a lot while pacing local races and mapping routes for workouts. The runners who stay composed usually are not the ones getting the most data in real time. They’re the ones who know what the effort should feel like between here and the next marker.
Caution: Don’t force precision onto a messy route
Caution: visual pacing works best when the landmarks are stable and the terrain is comparable. If one segment includes a steep hill, a tight crowd choke point, or a traffic light you may have to stop for, treat it as its own section instead of comparing it directly to flat open running.
The goal is consistency, not fake perfection.
Try this mini-drill on your next 20-minute run
If you want to test this immediately, keep it simple.
- Pick three visible landmarks on your regular route.
- Run 20 minutes total at an easy-to-steady effort.
- Between landmark one and two, hold one smooth effort without looking at your pace.
- Between landmark two and three, do the same.
- After the run, compare what your GPS recorded.
You’re not trying to “ace” the numbers. You’re checking whether your internal pacing and the route cues were more stable than the watch feed in the moment. Most runners find they were.
Closing Thoughts
When GPS pace gets jumpy, landmark-based pacing gives you something steadier to trust. The method is simple: scout one route, choose repeatable markers, and match those segments to effort levels for easy runs, tempo work, and intervals. A watch, reflective band, or better strap can support the process, but none of them do the real work for you. Pacing is built through attention, and this is one of the fastest ways to practice it on your very next run.
Disclaimer: As an aliexpress Associate, I earn from qualifying purchases.