How to Build a Recovery Station That Actually Gets Used
I’d love to tell you I glide home from a workout, sip water gracefully, and enter a perfectly regulated recovery state. In reality, if I have to find a cup, decide on a snack, clear a chair, and…
I’d love to tell you I glide home from a workout, sip water gracefully, and enter a perfectly regulated recovery state. In reality, if I have to find a cup, decide on a snack, clear a chair, and remember where I left the cold pack, my “cool-down” turns into standing in the kitchen staring at a cabinet.
That’s the overlooked bottleneck: friction after training. A lot of recovery falls apart not because you’re lazy or unmotivated, but because the moment you get home asks you to assemble too many tiny things at once—fluids, food, a place to land, a way to cool down, and some cue that tells your nervous system the hard part is over.
If you fix that environment, follow-through gets dramatically easier. This is the same reason I care so much about setup in my own kitchen and recovery routine: the less thinking required, the more likely you are to actually refuel, rehydrate, and sleep well later.
This guide walks you through building a compact recovery station at home in under an hour. You do not need a spa corner, a giant budget, or a Pinterest personality.
Why a recovery station works
Recovery behaviors are usually simple. The hard part is doing them when you’re tired, sweaty, hungry, and mentally done for the day.
A good station reduces decision fatigue by putting the next right action directly in front of you. Instead of asking, “What should I eat?” or “Where’s my bottle?” your space answers for you.
Recovery gets easier when your home stops asking you to make five extra decisions.
If you tend to overfocus on macros, you might like my post on hitting your protein without turning cooking into a second job. But this setup is about something even more basic: making recovery behaviors happen consistently.
Step 1: Pick the landing spot
Start with the place you naturally pass after training. That might be:
- the kitchen corner nearest the fridge
- the end of your couch
- a bedroom nook
- the entryway near your gym bag
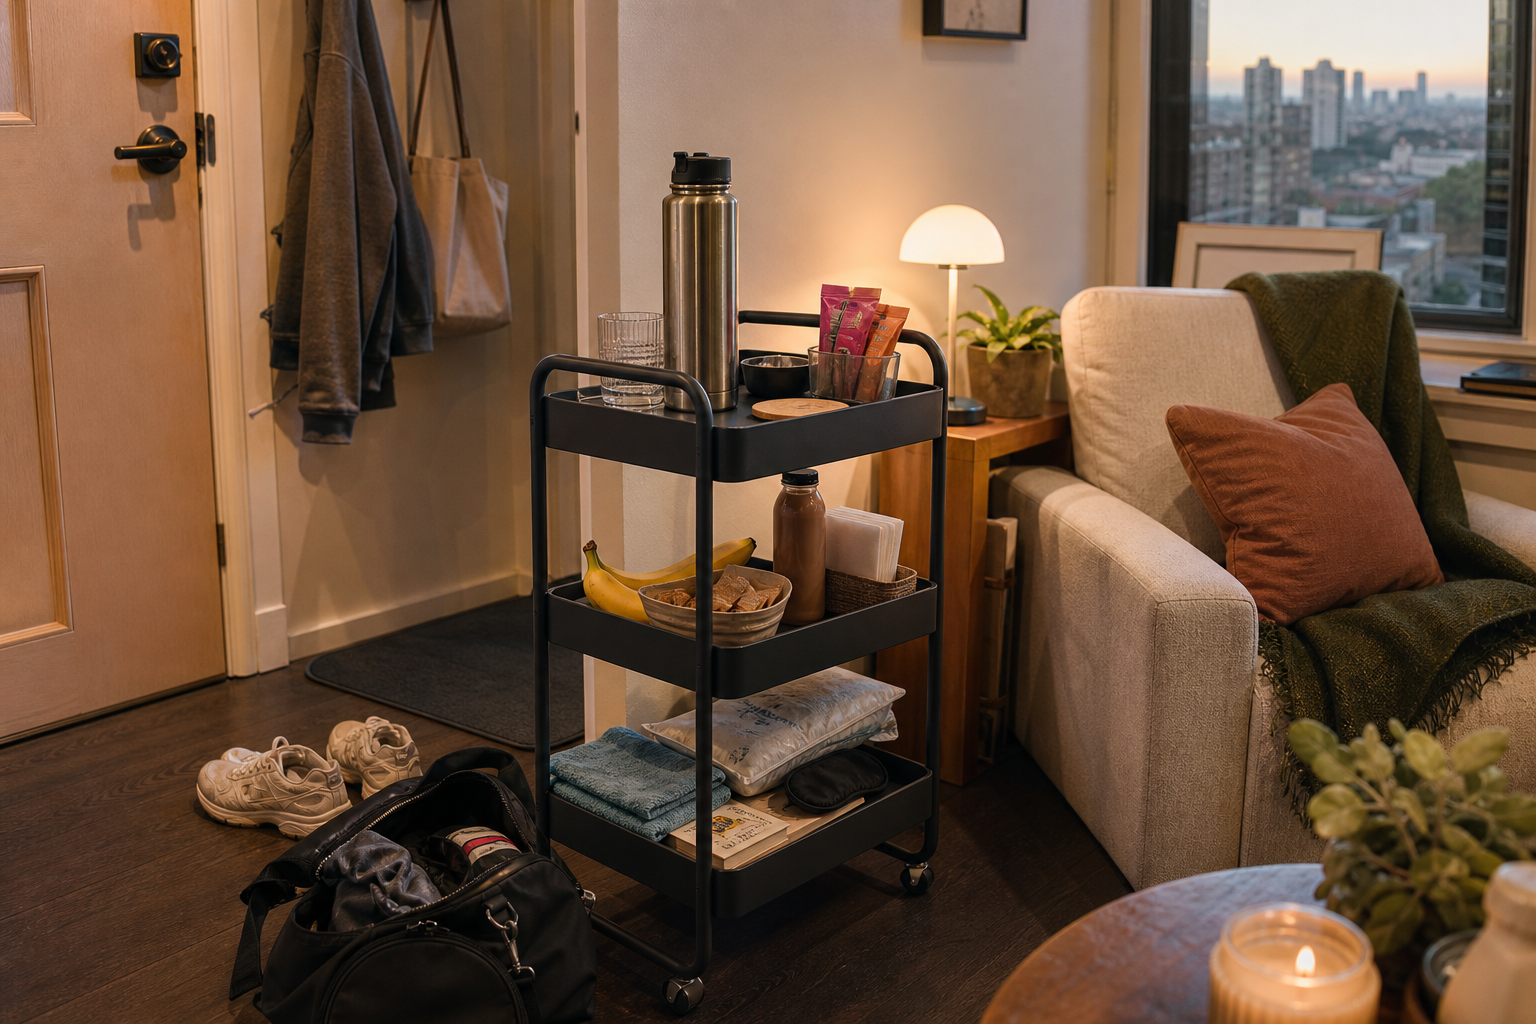
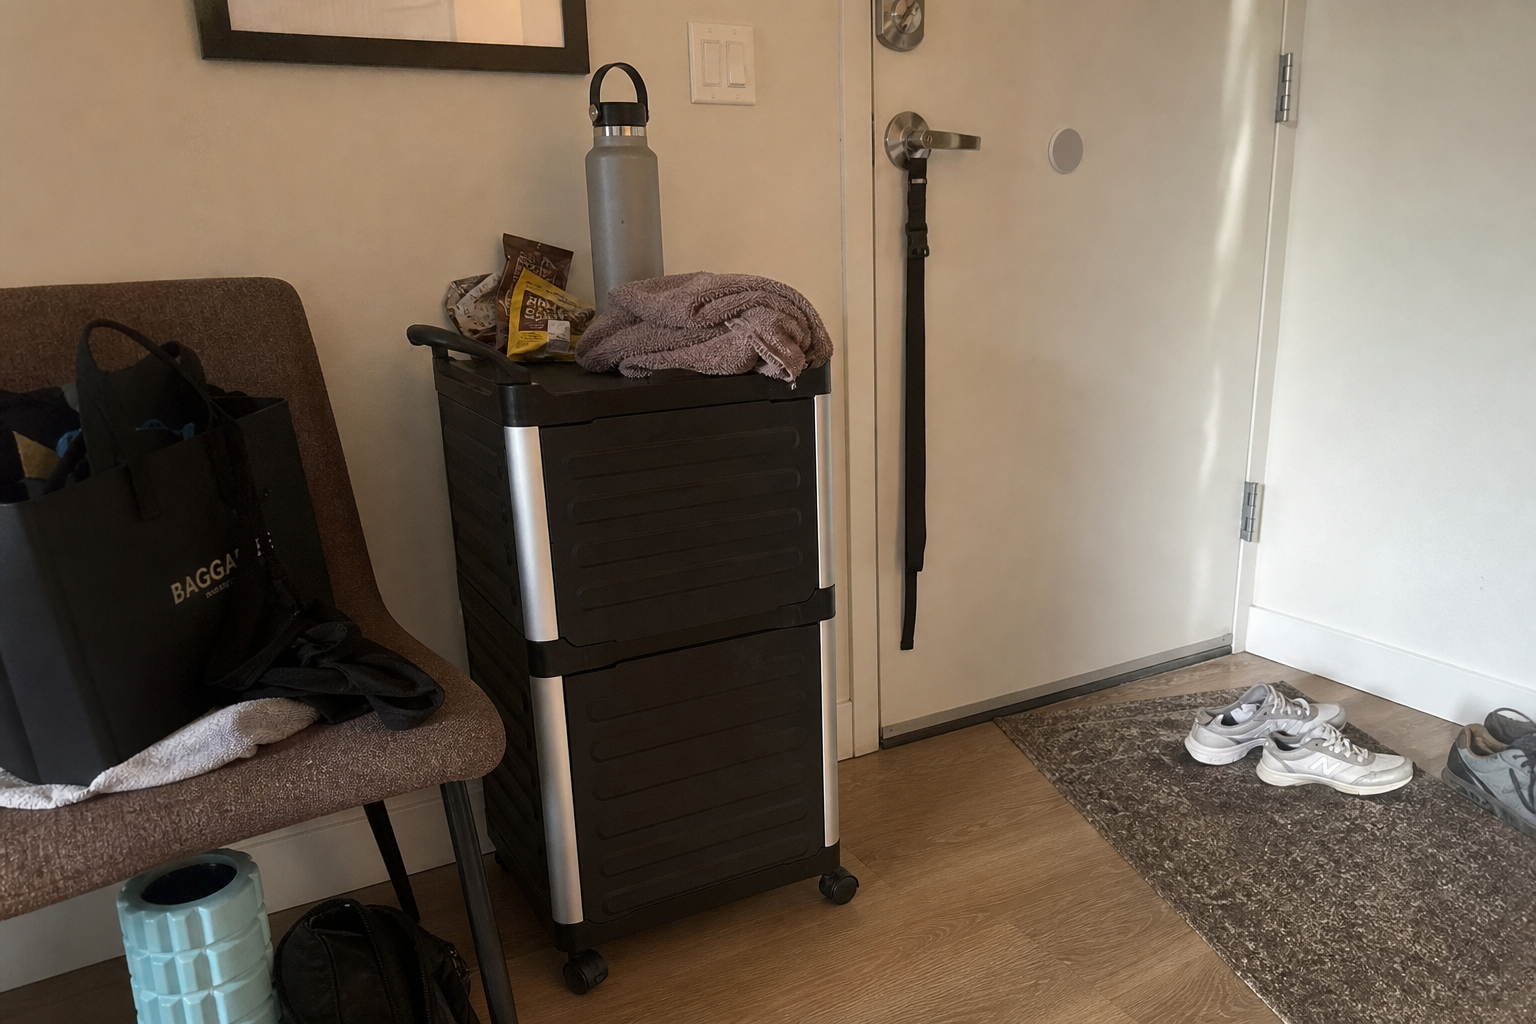
The best location is the one with the fewest obstacles between “I’m home” and “I’m recovering.” If you have room, a 3-tier utility cart works beautifully here because it turns a random pile into an actual system, and you can wheel it where you need it.
If you don’t have room for a cart, a single shelf, milk crate, or one side of a counter works too. The goal is function, not aesthetics.
Step 2: Build the hydration zone
This is the first zone because rehydration is usually the behavior with the lowest effort-to-benefit ratio. When the bottle is visible and ready, it gets used.
- Choose one bottle or insulated cup that lives at the station.
- Keep it washed and ready before your workout whenever possible.
- Add whatever makes drinking more automatic for you: straw lid, electrolytes, or a visual reminder to refill.
I like keeping a dedicated insulated cup in the station so I’m not hunting through the cabinet. Something like the stainless steel insulated cup makes cold fluids more appealing, which matters more than people think when you’re trying to rehydrate consistently.
Why this helps: visible hydration beats ideal hydration. When fluid is easy to grab, you’re more likely to replace what you lost during training before the evening gets away from you.
What to keep in this zone
- insulated bottle or cup
- electrolyte packets or a pinch-salt reminder if that’s part of your routine
- coaster or tray so the bottle has a home
Step 3: Add easy carbs plus protein
This is where people often get stuck. Not because they don’t know they should eat, but because they come home too tired to assemble a “balanced snack” from scratch.
Your station should include at least one zero-brainpower refuel option. That means a carb source plus a protein source you can eat in under two minutes of effort.
- Pick two shelf-stable snack pairings.
- Pick one fridge-based option if your station is near the kitchen.
- Restock them at the same time you do groceries.
Good examples:
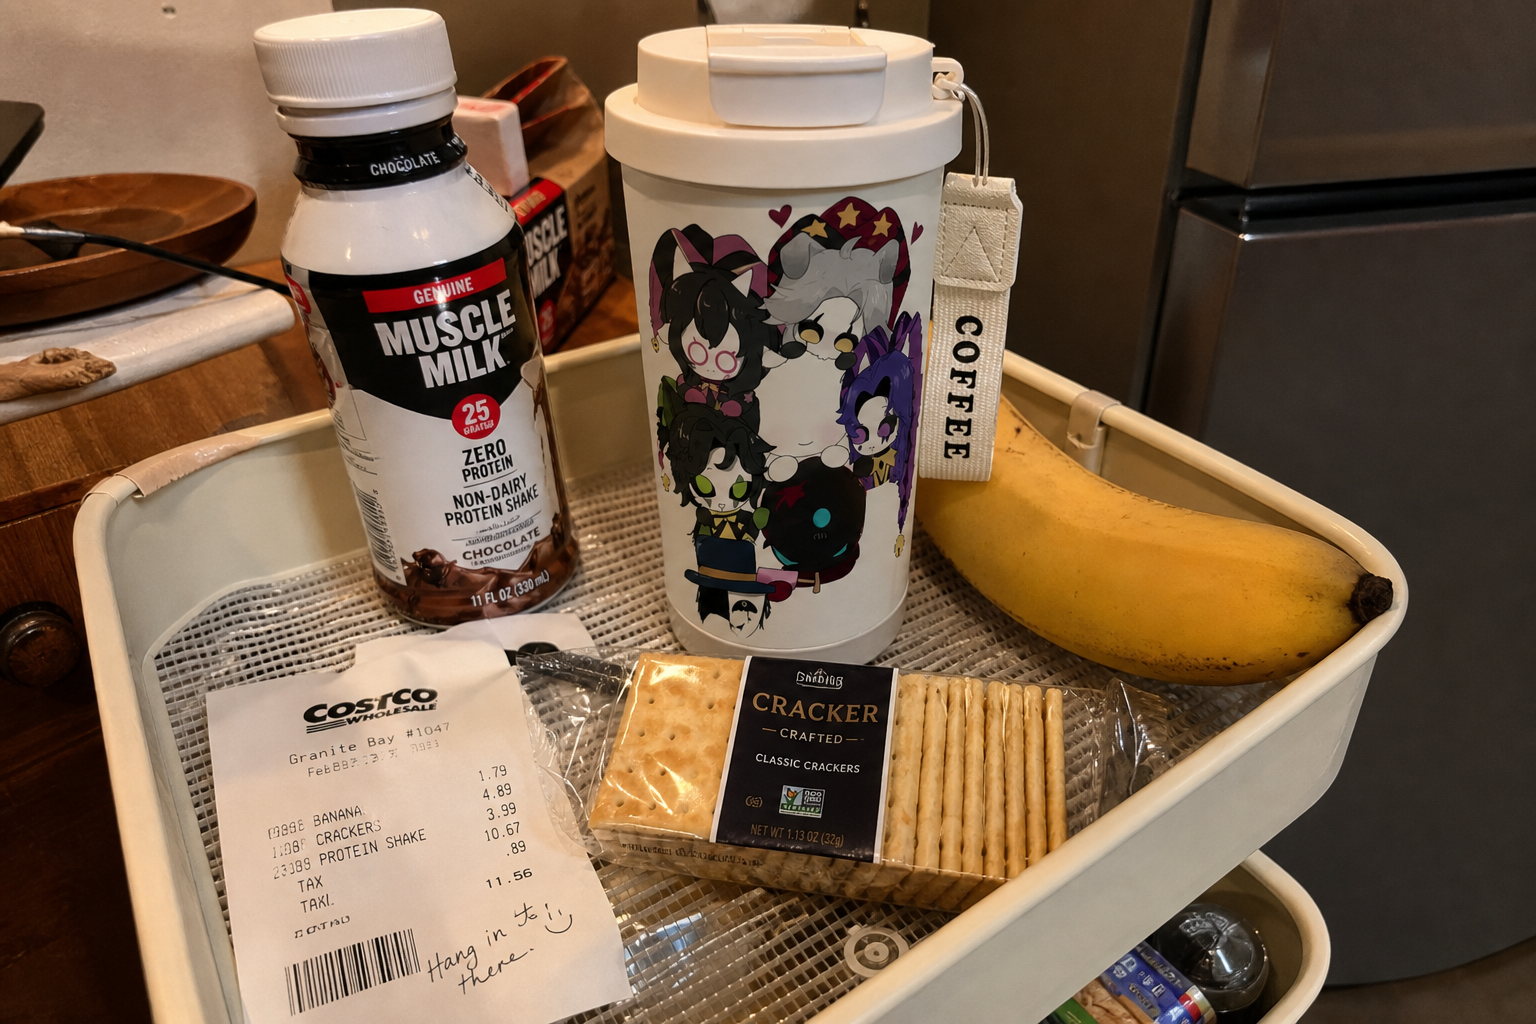
- pretzels plus a ready-to-drink protein shake
- granola bar plus Greek yogurt
- crackers plus string cheese
- banana plus peanut butter
- applesauce pouch plus cottage cheese
You do not need a perfect post-workout ratio every single time. You need a repeatable way to get some carbs and protein in before hunger turns into scavenging.
If building a low-effort food setup is your bigger challenge, my budget recovery staples post pairs well with this one.
Caution: don’t turn this zone into a supplement shrine. If powders and gadgets create more setup than they solve, they’re adding friction, not removing it.
Step 4: Create a heat-or-cold shelf
This part is less about fancy recovery tools and more about making comfort accessible enough that you’ll actually use it. After a tough session, a fast cooling or warming option can help you transition out of that revved-up state.
Your version might include:
- a cooling towel
- a small ice pack in the freezer with a visible reminder note at the station
- a microwaveable heat wrap
- extra socks or a light layer if you tend to get chilled after training
Why this helps: physical comfort supports behavioral follow-through. If you sit down overheated, tight, or generally cranky, you’re more likely to skip the snack, ignore your fluids, and scroll your way out of your recovery window.
I’m not promising any accessory will magically fix soreness. I am saying that reducing post-workout discomfort often makes the rest of the recovery routine easier to complete.
Step 5: Add one nervous-system downshift cue
This is the piece most active people underestimate. Training ends, but your body doesn’t always get the memo right away.
You need one item in the station that signals we are winding down now. The best option is usually simple and a little boring—which is exactly why it works.
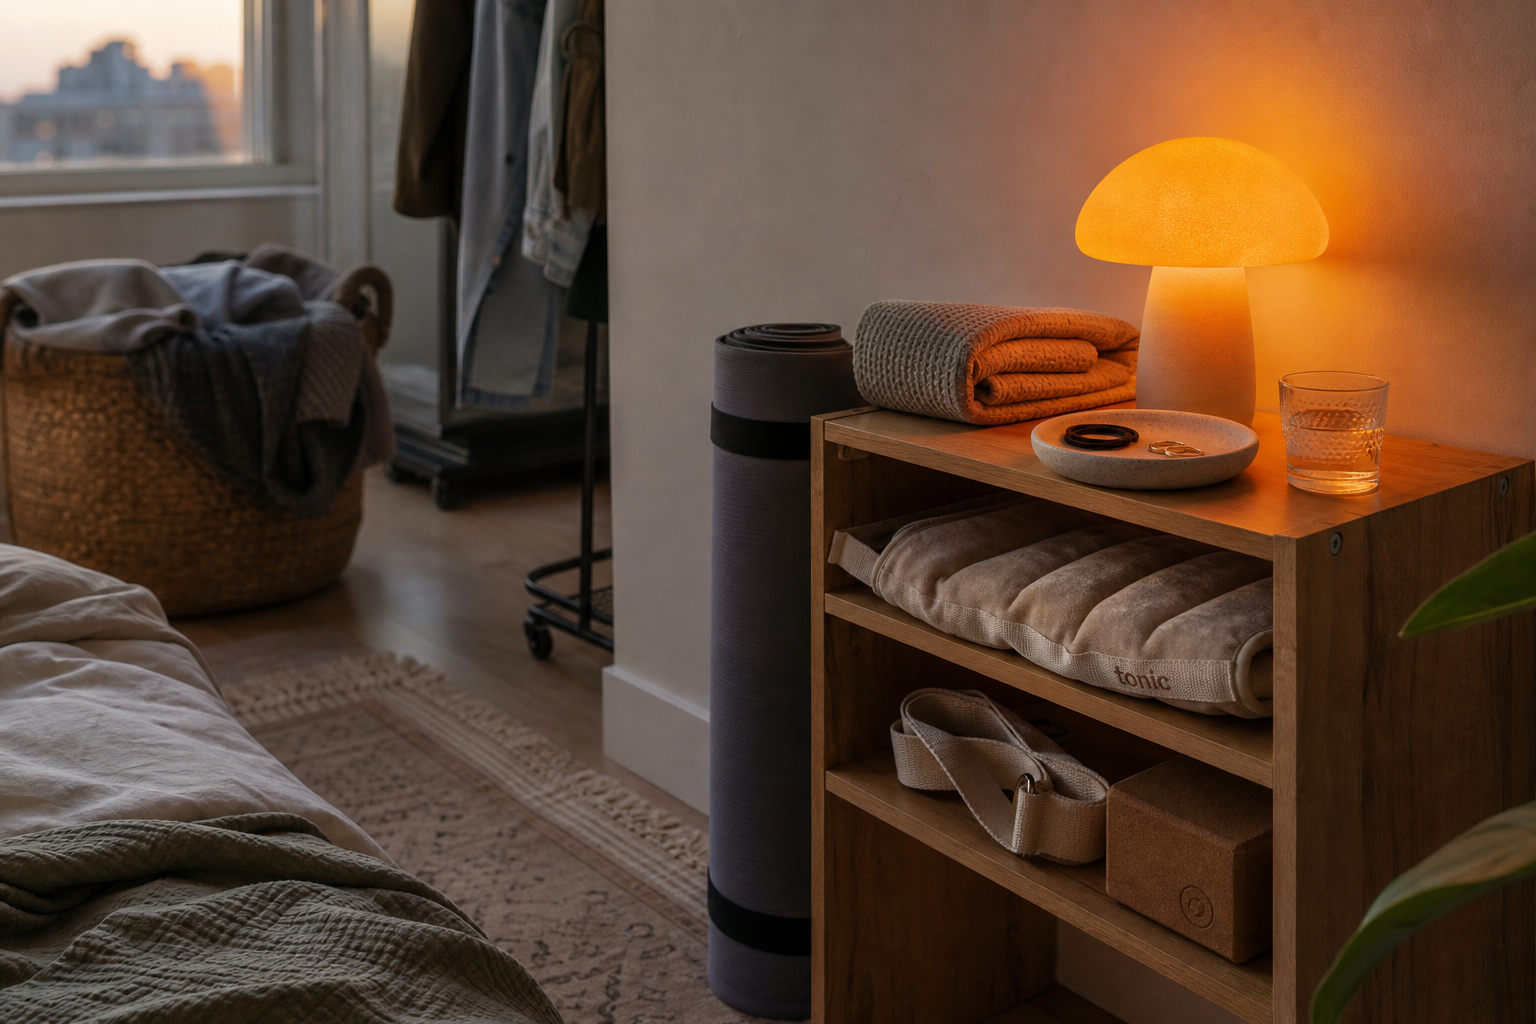
- Choose a soft light source.
- Pair it with one calming cue you’ll actually use for 3-5 minutes.
- Keep both visible, not tucked in a drawer.
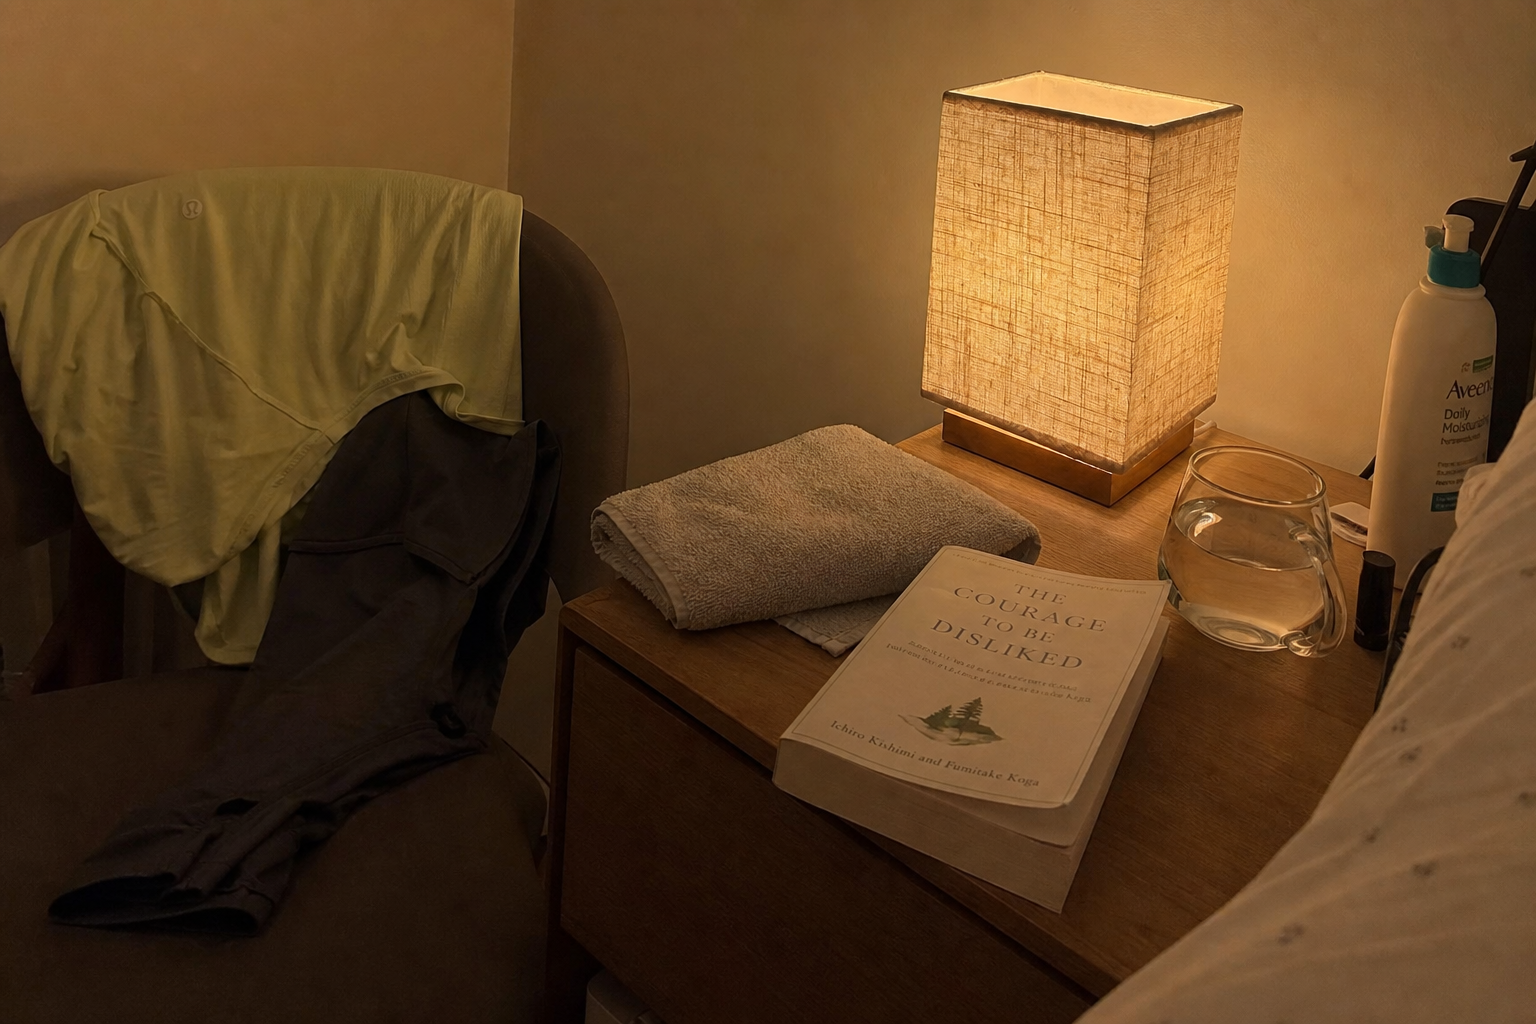
I love warm, dim lighting in this spot because overhead brightness keeps me feeling more “on” than I want to be at night. A small lamp like this dimmable warm table lamp can make a recovery corner feel less like storage and more like an invitation to exhale.
Pair the light with one of these:
- a short breathing drill written on an index card
- headphones for a calming playlist
- a paperback book
- an eye mask
- a simple stretching strap
Why this helps: what you do in the hour after training can influence how easily you settle later that night. A smoother transition from sympathetic “go mode” into a calmer evening routine supports better sleep quality, which is still the recovery heavy hitter nobody can out-supplement.
Step 6: Organize by zones, not by product type
This is where the station becomes a system instead of a pile of good intentions. Group items by the action they support.
| Zone | What goes there | Behavior it supports |
|---|---|---|
| Hydration | Bottle, electrolytes, coaster | Rehydration |
| Refuel | Easy carbs, protein options, napkins | Post-workout eating |
| Comfort | Cooling towel, heat wrap, spare layer | Physical ease after training |
| Wind-down | Soft light, book, breathing cue, eye mask | Evening nervous-system downshift |
If you use a rolling cart, one shelf per zone is ideal. If not, use bins, trays, or even labeled baskets. The less visual chaos, the less cognitive clutter when you get home tired.
Step 7: Make the first five minutes automatic
Once the station exists, give yourself a tiny default sequence. Mine is basically:
- sit down
- drink
- eat the easy snack
- switch on warm light
- do one minute of slower breathing
That’s it. Not aspirational. Not optimized. Just repeatable.
When I work with recovery habits, this is the part that matters most: not whether the plan is impressive, but whether it survives a very ordinary Tuesday.
Small-space version
If you live in a small apartment or do not want a full wellness corner, use a one-basket recovery station.
- one insulated bottle or cup
- two grab-and-go snacks
- one cooling or warming item
- one calming cue like an eye mask or book
- one small light source if it fits
Tuck it under a console table, beside the couch, or on the bottom shelf of a bookcase. You’re not trying to create a showroom. You’re trying to remove just enough friction that recovery happens on autopilot.
Low-cost version
You absolutely do not need to spend much here. Start with what you have, then fill the gaps.
- Use a crate, basket, or reused delivery box as the base.
- Choose one existing mug or bottle to dedicate to recovery.
- Stock affordable snack basics from your normal grocery run.
- Add one comfort item and one wind-down cue.
If you do want a few inexpensive upgrades, I’d prioritize in this order:
- a bottle or insulated cup you actually enjoy using
- a cart or shelf if clutter is the barrier
- soft lighting for evening workouts
That order matters because the best setup is the one that removes your biggest point of friction first.
Common mistakes to avoid
- Putting the station too far from where you actually enter or sit
- Stocking foods that require prep when you’re already tired
- Adding too many gadgets and making the station visually overwhelming
- Forgetting the sleep piece after late-day training
- Treating recovery as one more task instead of something your environment can support
The Bottom Line
The real recovery bottleneck for a lot of people is not protein knowledge or motivation—it’s the pileup of tiny decisions that hits the second they get home. A compact recovery station works because it turns hydration, refueling, comfort, and wind-down into default behaviors instead of extra chores. Even a low-cost, small-space version can meaningfully improve follow-through if it lives in the right spot and stays simple. The only downside is that it needs occasional restocking, but that’s still a lot easier than rebuilding your routine from scratch every night.
Disclaimer: As an aliexpress Associate, I earn from qualifying purchases.