How to Build 5K Loops That Make Weekday Runs Easier
Do you keep skipping weekday runs not because you’re out of shape, but because the route itself is annoying? If your usual loop has too many traffic stops, awkward turnarounds, dark stretches, or…
Do you keep skipping weekday runs not because you’re out of shape, but because the route itself is annoying? If your usual loop has too many traffic stops, awkward turnarounds, dark stretches, or confusing choices mid-run, the problem may not be motivation at all.
One of the most overlooked beginner skills is route design. When I’m helping couch-to-5K runners get consistent, I spend a lot more time than people expect talking about corners, crossings, landmarks, and bailout points. A well-built loop quietly smooths out pacing, cuts decision fatigue, and makes it far more likely that you’ll lace up on a random Wednesday.
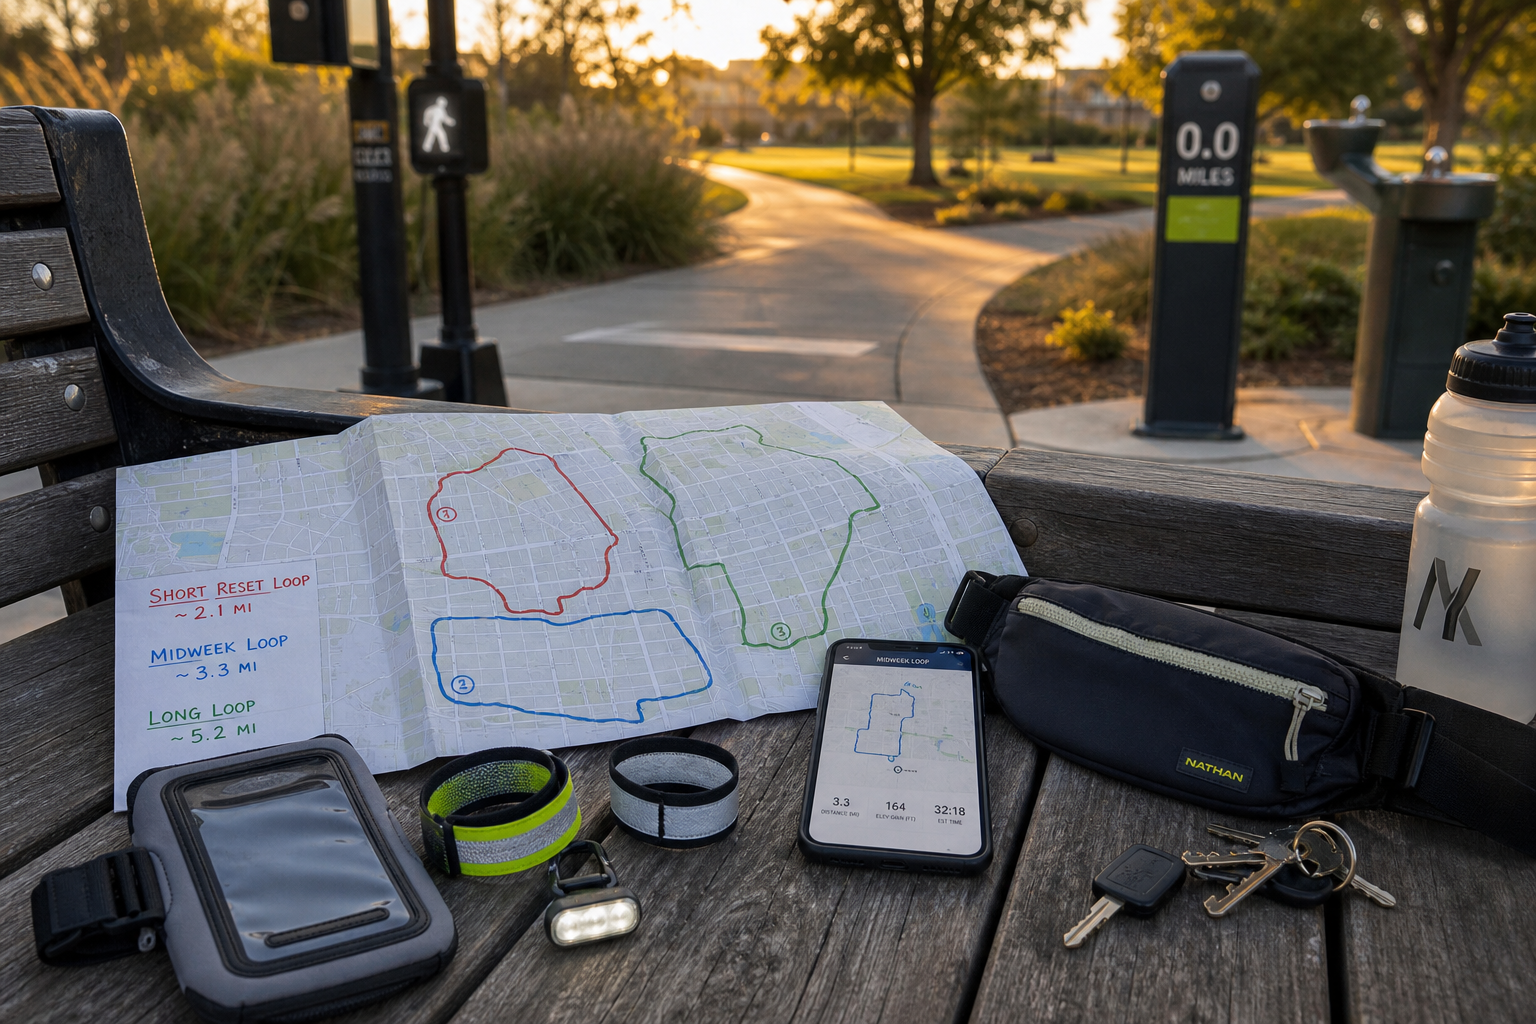
This is not another speed-work lecture. This is a practical framework you can use in under an hour this weekend to build three beginner-friendly routes: a short reset loop, a steady midweek loop, and a confidence-building long loop.
The easier your route is to follow, the easier it is to follow through.
Step 1: Understand what makes a route “decision-light”
By decision-light, I mean a route that asks very little from you once the run starts. You’re not negotiating with yourself at every corner. You’re not constantly checking distance. You’re not hitting five little friction points before you’ve settled into rhythm.
A beginner-friendly route usually has these traits:
- Predictable crossings with clear signals or low-traffic streets
- Easy landmarks so you always know where you are
- Simple distance chunks, like one park loop or one out-and-back section
- Good lighting for early morning or evening runs
- Reliable surface changes that are manageable, not chaotic
- Access to water, restrooms, or a convenience stop if needed
- Bailout options so you can shorten the run without feeling stranded
If you’re spending mental energy deciding whether to cross here, turn there, or add one more block, that route is costing you more than you think.
Step 2: Audit your current neighborhood run
Before you design anything new, take 10 to 15 minutes and score your current route honestly. I like to think like a tired version of myself, not an optimistic one standing in running shoes at the front door.
- Write down your usual route from memory.
- Mark every place where you regularly hesitate, stop, or get annoyed.
- Circle the parts that feel calm and automatic.
- Note where you could safely cut the run short if needed.
- Check whether the route still works in low light, light rain, or after a long workday.
Common friction points to flag:
- Long waits at busy intersections
- Dead-end turnarounds that feel awkward
- Uneven sidewalks or sudden gravel patches
- Dark blocks you avoid after work
- Sections where distance is hard to judge
- Stretches with no easy exit back home
Caution: do not build a “good on paper” route that depends on perfect timing at lights or low traffic at exactly 6:15 p.m. Beginner routes should work on ordinary, slightly messy weekdays.
Step 3: Build your short reset loop first
Your short reset loop is the route you use when energy is low, time is tight, or you just need to keep the habit alive. For most beginners, this is the most important route of the three because it saves the week from going completely off the rails.
I like this loop to feel almost automatic. Think 15 to 25 minutes, close to home, with minimal crossing drama and zero complicated navigation.
- Start at your front door or the closest easy parking spot.
- Choose one clear anchor landmark, like a school, small park, or coffee shop corner.
- Create a loop with as few major decisions as possible.
- Make sure you can get home early from at least two points.
- Use a route shape you can remember without checking your phone.
What I want in a reset loop:
- One or two predictable crossings max
- Flat or gently rolling terrain
- Sidewalks or paths that stay consistent
- A midpoint landmark so the run mentally breaks in half
- An easy way to cut it to 10 minutes if your day blows up
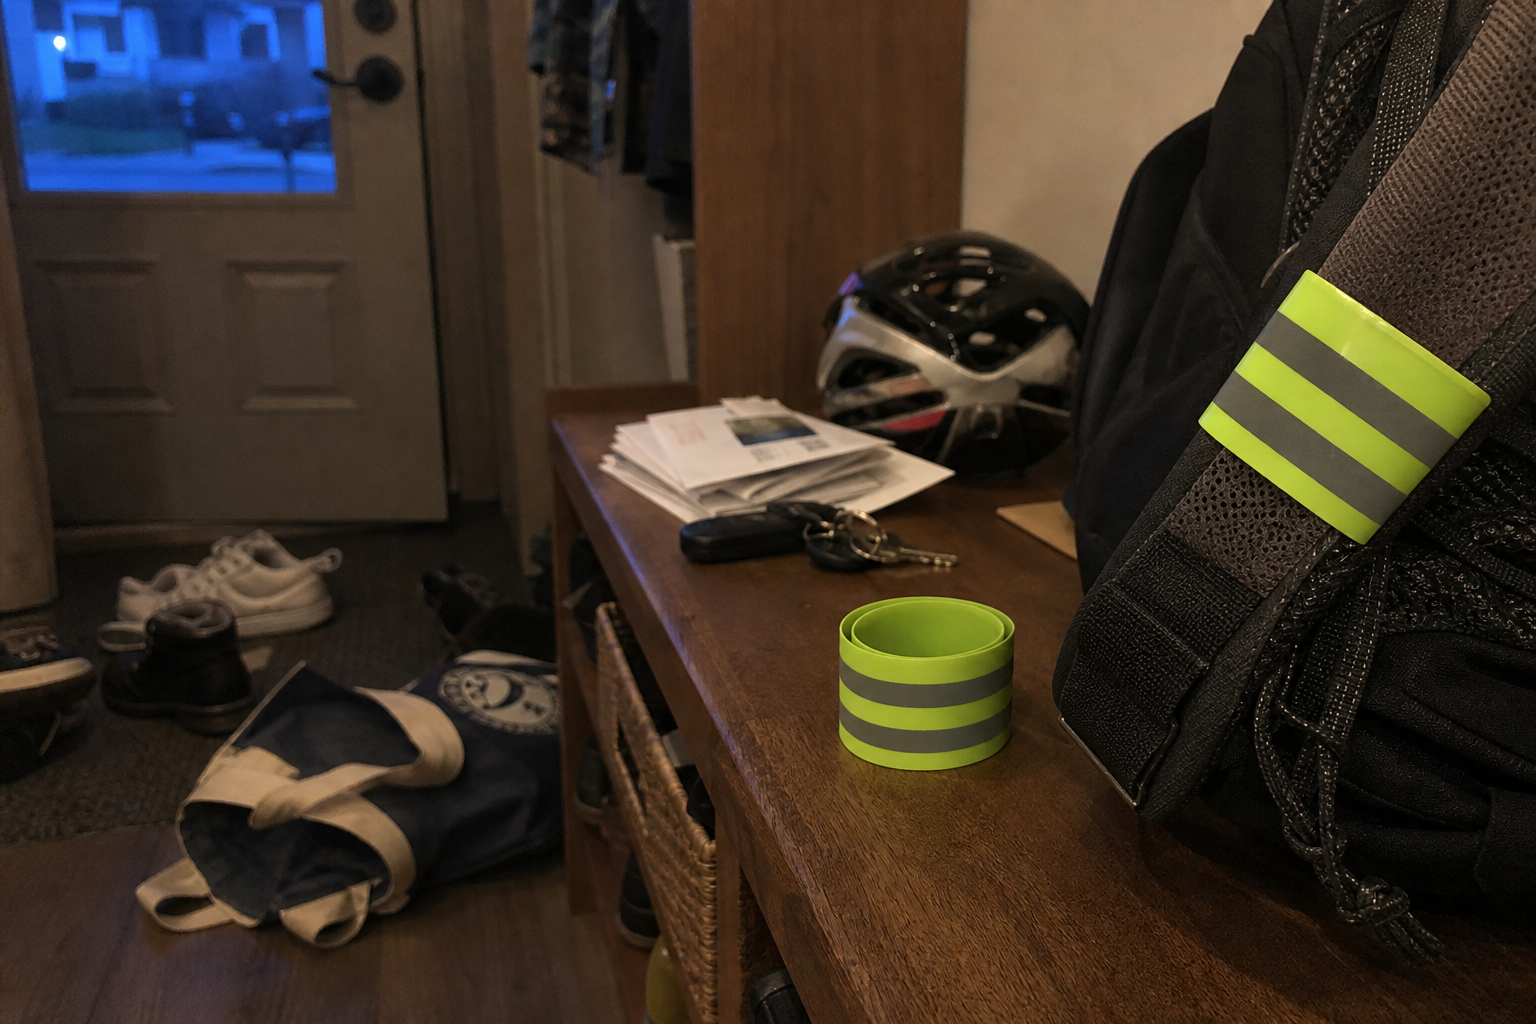
If you run before sunrise or after dinner, a simple visibility add-on matters more than people think. Something like reflective wrist or ankle bands can make that short neighborhood loop feel a lot more practical.
Step 4: Build your steady midweek loop around flow, not fitness metrics
Your steady midweek loop is your bread-and-butter route. This is the one I want beginners using most often because it teaches rhythm without needing splits, heart-rate alerts, or constant watch-checking.
The goal is a route where the environment helps you settle in. I’d rather have a beginner on a smooth, familiar 5K loop than on a “perfect distance” route with six interruptions and three weird turns.
- Pick a route shape that is easy to memorize, like one big rectangle or two connected mini-loops.
- Use landmarks every 5 to 10 minutes, such as a school gate, bridge, track fence, or row of shops.
- Keep early elevation gentle so the first third doesn’t feel like punishment.
- Put any slight uphill in the middle, not right at the end.
- Choose a finish section that feels open and familiar, so you’re not navigating when tired.
For beginners, these mental checkpoints work better than numbers:
- “Get to the park entrance”
- “Cruise to the library block”
- “Turn at the mural”
- “Home stretch starts after the footbridge”
That kind of structure reduces mid-run negotiating. You stop asking, “Should I keep going?” and start moving landmark to landmark.
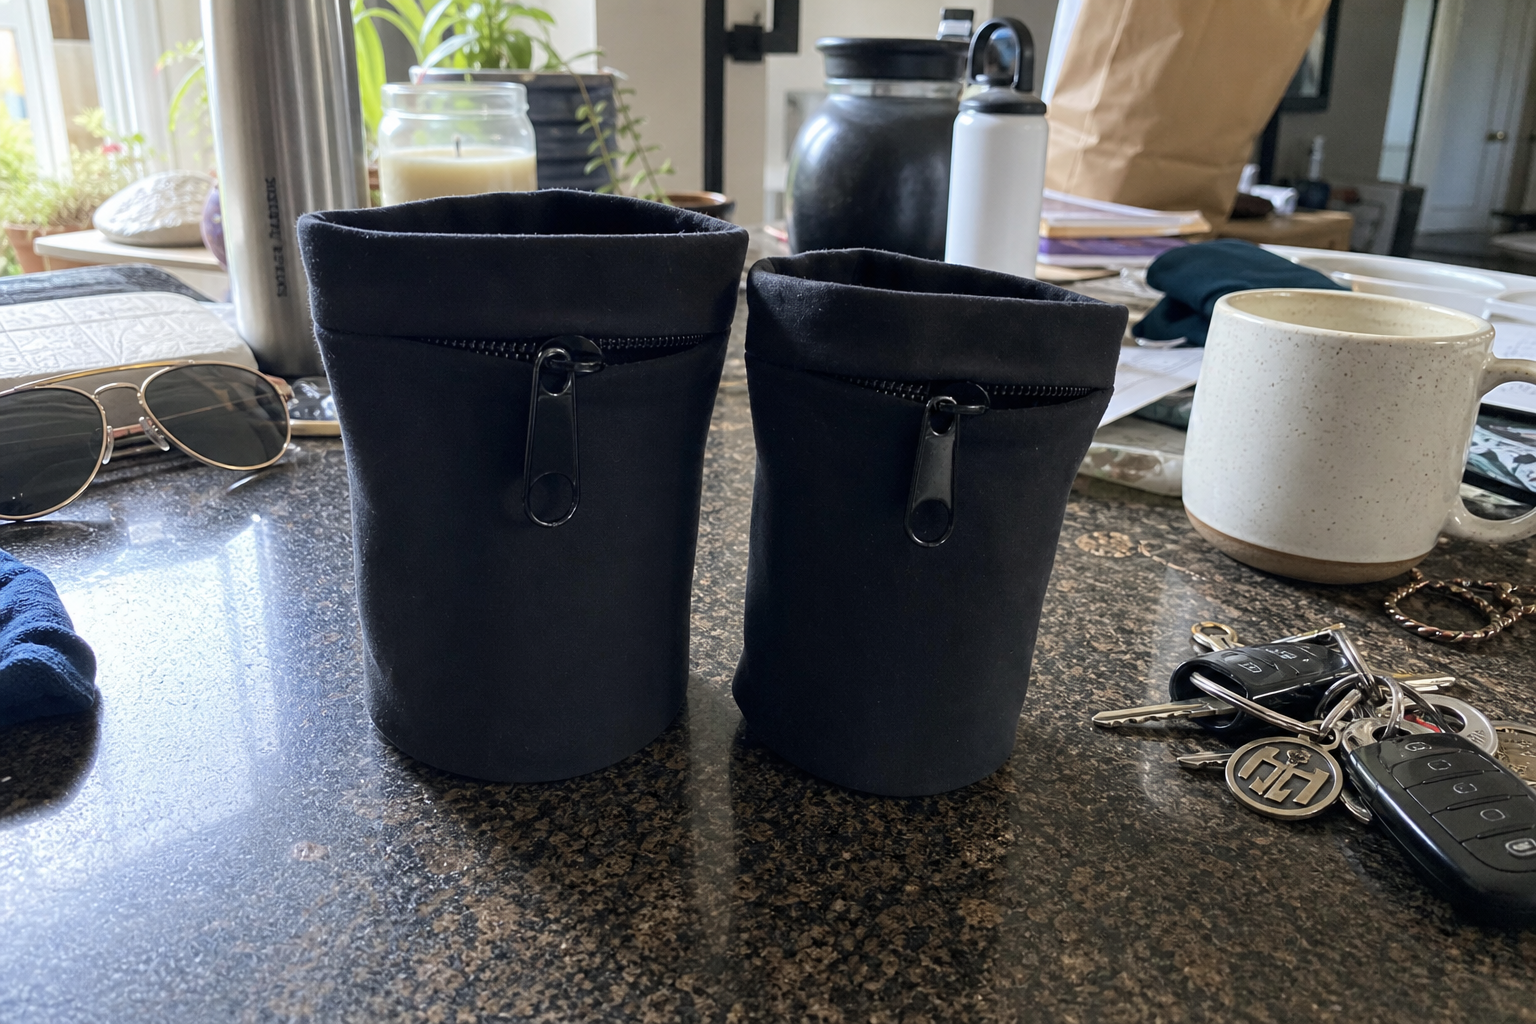
If you need your phone for maps, safety, or a quick note, a simple lightweight phone armband pouch can keep that setup simple without making the run feel over-engineered.
This is also where a lot of runners accidentally learn smoother pacing without trying. The route itself does some of the coaching. If you want the walk-run side of that idea, I broke it down in Why Walking Breaks Make You a Faster Runner.
Step 5: Build a confidence loop that feels longer without feeling risky
Your confidence-building long loop should stretch your sense of range, not your stress level. For newer runners, I prefer a route that looks and feels substantial but still offers frequent exits and familiar reference points.
This is where people often make the mistake of running too far from home, too early, on roads they barely know. I’d rather see you stack safe, connected sections than head deep into a route that gives you no graceful way back.
- Start with your steady midweek loop.
- Add one extra section that is visually distinct, like a greenway, park perimeter, or river path.
- Make sure the add-on has at least one bailout point back to your base loop.
- Include one reassuring landmark in the second half, like a water fountain or known corner store.
- Finish on familiar roads so the last 10 minutes require no problem-solving.
Good long-loop design for beginners usually includes:
- One change of scenery to keep the route interesting
- One reliable water option
- At least two shorten-it options
- No isolated dark section late in the run
- A final third that trends flatter or easier mentally
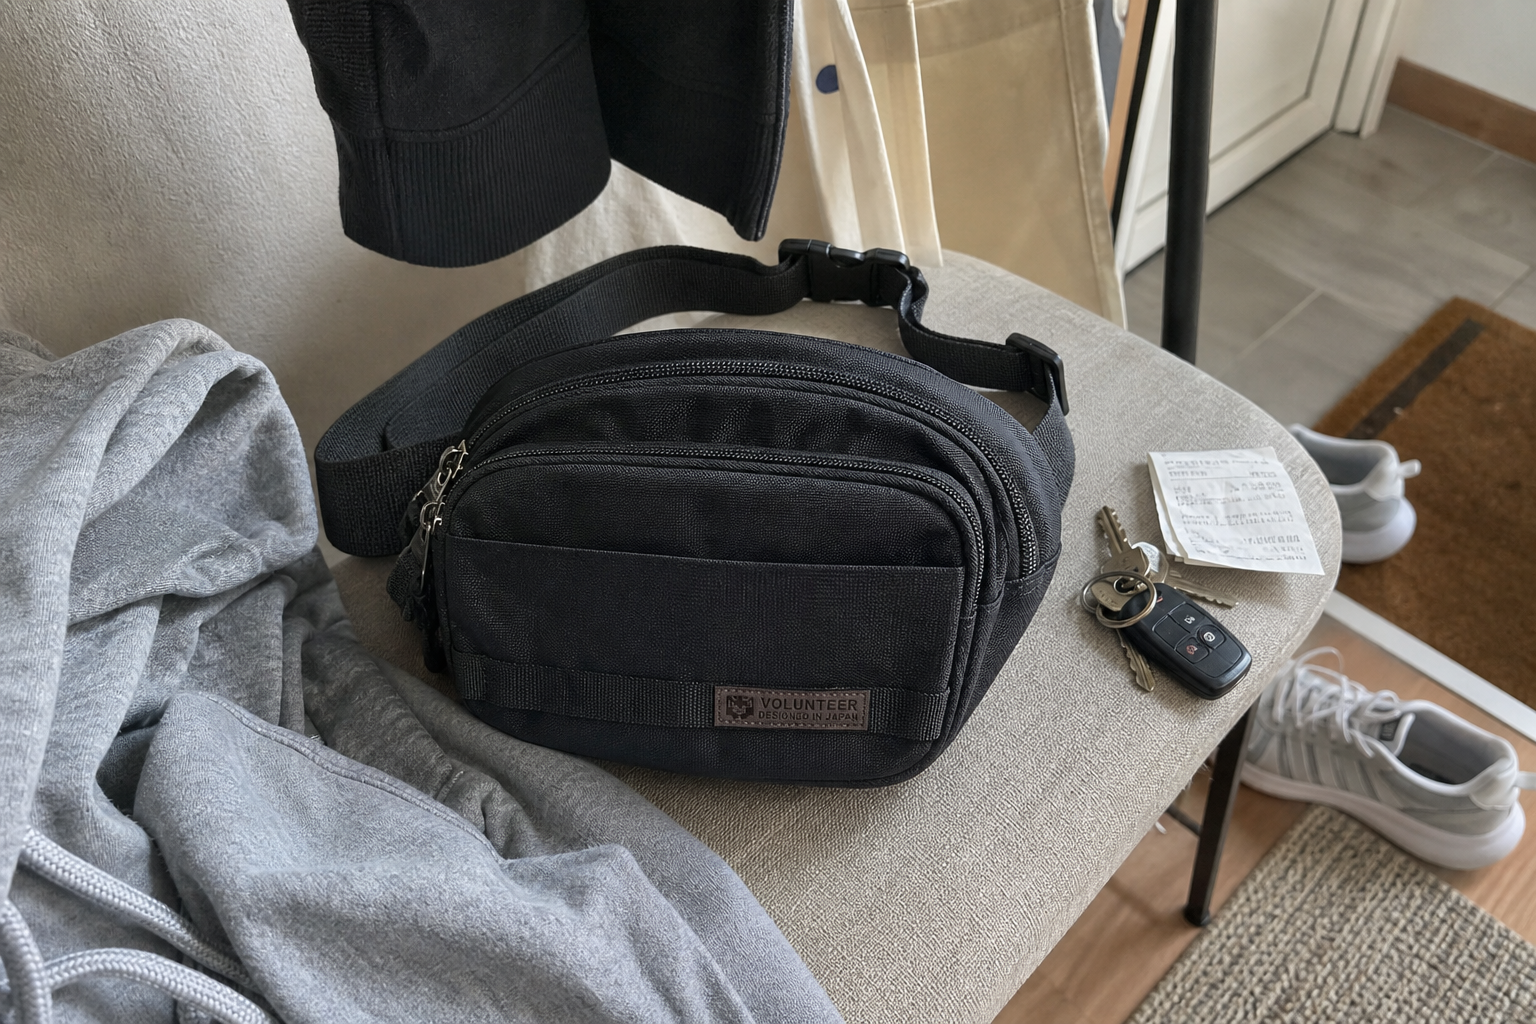
If you want a little more carrying room for keys, tissues, or a small bottle, a basic lightweight waist pack can make these longer weekday loops feel less fussy.
Step 6: Use surface changes and elevation on purpose
You do not need hill repeats to benefit from hills. You just need to place terrain intelligently.
When I map beginner loops, I look for terrain that helps the run unfold naturally:
- Flat opening minutes so the body can ease in
- Gentle rise in the middle for a natural effort bump
- Smoother surface late when form starts to fade
- Short trail or path sections only if footing is obvious and consistent
A little variation is good. Chaos is not. If the route goes from broken sidewalk to loose gravel to a steep curb-heavy descent, that’s not character. That’s friction.
Step 7: Add safety and bailout points before you need them
One reason route design improves adherence is that it lowers the sense of risk. When you know where the lights are, where the fountain is, and where you can cut home, you stop treating every run like a mini expedition.
Map these before you finalize a route:
- Well-lit stretches
- Water fountain, public building, or store stop
- Two points where you can shorten the run easily
- A place where you could pause without feeling stuck in traffic flow
- A safe crossing home if you feel cooked late in the run
For darker routes, a small clip-on light can help with visibility at intersections or dim path entrances. Something like a mini clip-on USB-C LED light is the kind of affordable backup I like for low-friction weekday running.
Step 8: Name your routes so they become repeatable
This sounds small, but it works. When a route has a name, it becomes a tool instead of a vague idea.
Try names like:
- School Loop
- Park 5K
- Bridge and Back
- Tuesday Steady
- Greenway Add-On
That makes choosing your run easier. You’re not inventing a route after work. You’re picking from a menu you already trust.
That same idea shows up in how I organize training-day essentials in What I Carry for a Café-to-Track Training Day. Less scrambling means more running.
Step 9: Use this 20-minute weekend checklist
If you want a repeatable coaching framework, this is the one I’d hand to a couch-to-5K runner.
- Walk or map one short loop near home.
- Remove any awkward turnaround or dangerous crossing.
- Add one clear midpoint landmark.
- Test whether you can remember the route without your phone.
- Build a second loop around smoother flow and better landmarks.
- Extend that second loop into a longer version with two bailout options.
- Check lighting, water access, and end-of-run safety.
- Name all three routes.
Here’s the quick audit table I’d use:
| Route Type | Main Goal | Must Have | Avoid |
|---|---|---|---|
| Short Reset Loop | Keep the habit alive | Close to home, simple shape, easy exit | Busy crossings, confusing turns |
| Steady Midweek Loop | Build rhythm and consistency | Reliable landmarks, smooth surface, gentle flow | Frequent stops, early hills, distance guesswork |
| Confidence Long Loop | Stretch endurance safely | Water access, bailout points, familiar finish | Isolation, dark sections, no way home early |
The Bottom Line
If weekday runs keep falling apart, the fix may be your route, not your willpower. Building three decision-light loops gives you fewer friction points, better mental checkpoints, and safer, simpler choices on tired days. You don’t need to obsess over splits to run more consistently; you need routes that are easy to start and easy to finish. A few low-cost extras can help with visibility and carry, but the real win is smart structure.
Disclaimer: As an aliexpress Associate, I earn from qualifying purchases.