How I Spot Fake Fitness Gear Claims Fast
That moment right before you tap order is usually the messiest part. You’re staring at a wall of nearly identical shoes, resistance bands, earbuds, and trackers on AliExpress, and every listing seems…
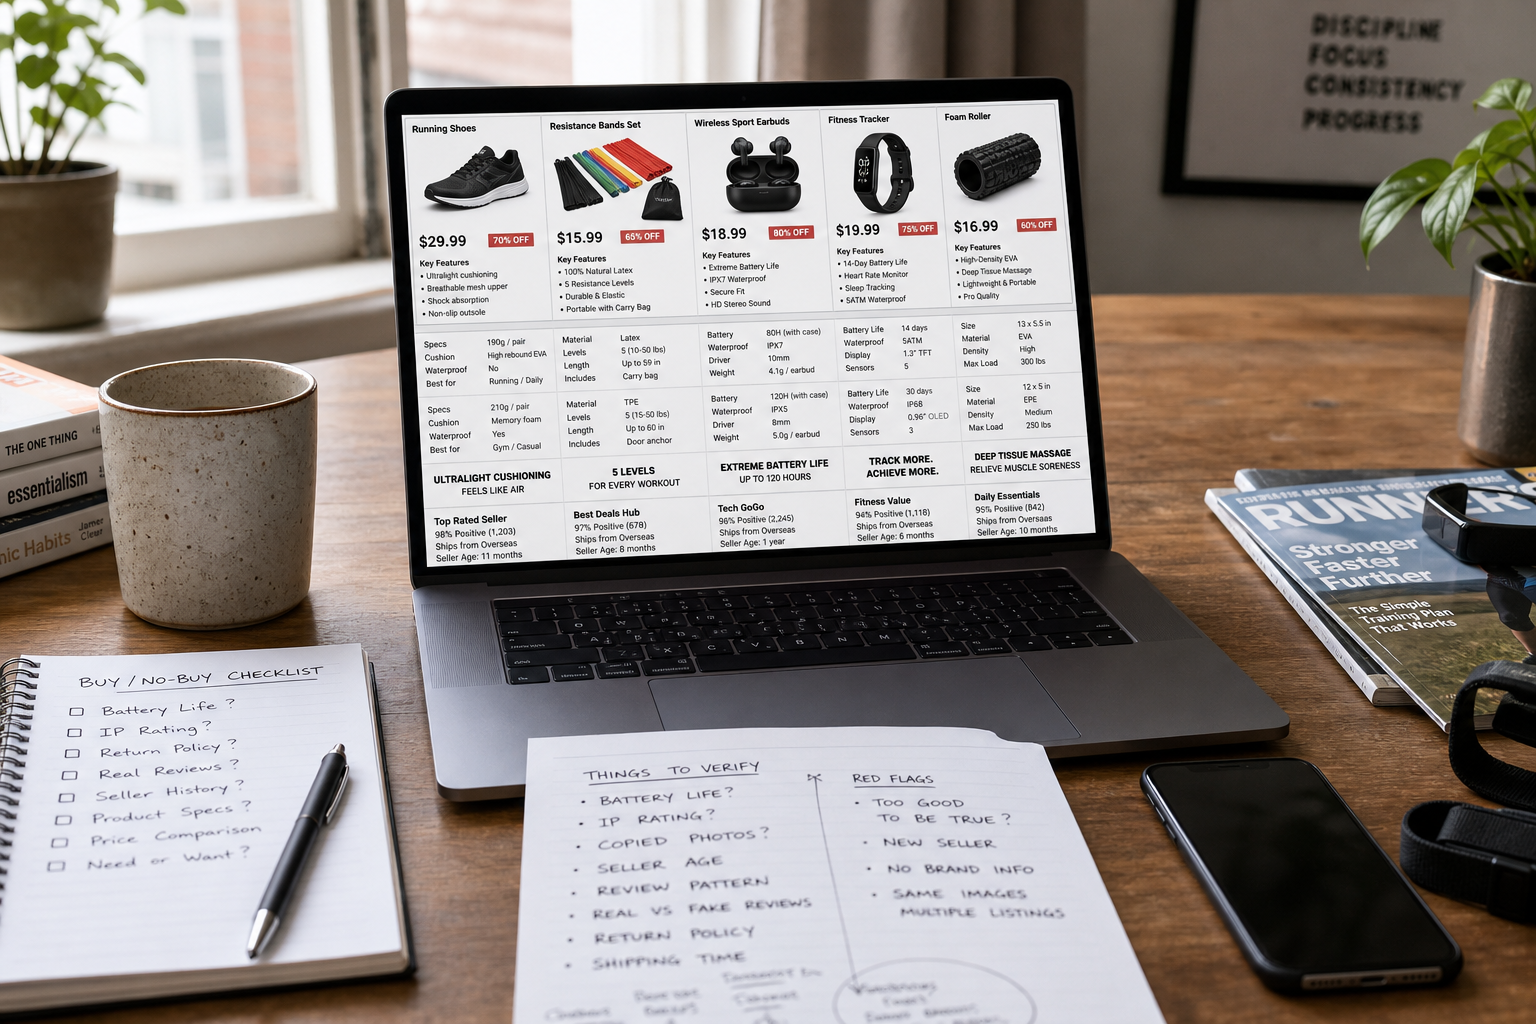
That moment right before you tap order is usually the messiest part. You’re staring at a wall of nearly identical shoes, resistance bands, earbuds, and trackers on AliExpress, and every listing seems to promise impossible performance for almost no money.
One pair of shoes claims elite cushioning, marathon durability, and featherweight build for less than a takeout lunch. A set of earbuds says “waterproof,” “sports,” “gaming,” and “low latency” in the same breath. A recovery tool looks useful, but the photos feel borrowed from three different brands. That’s the exact shopping moment where bad buys happen.
I’m not against cheap gear. I’m against gear that is described dishonestly. The goal here is simple: build a five-minute filter you can use before buying budget fitness gear, so you can separate real value picks from listings designed to look like them.
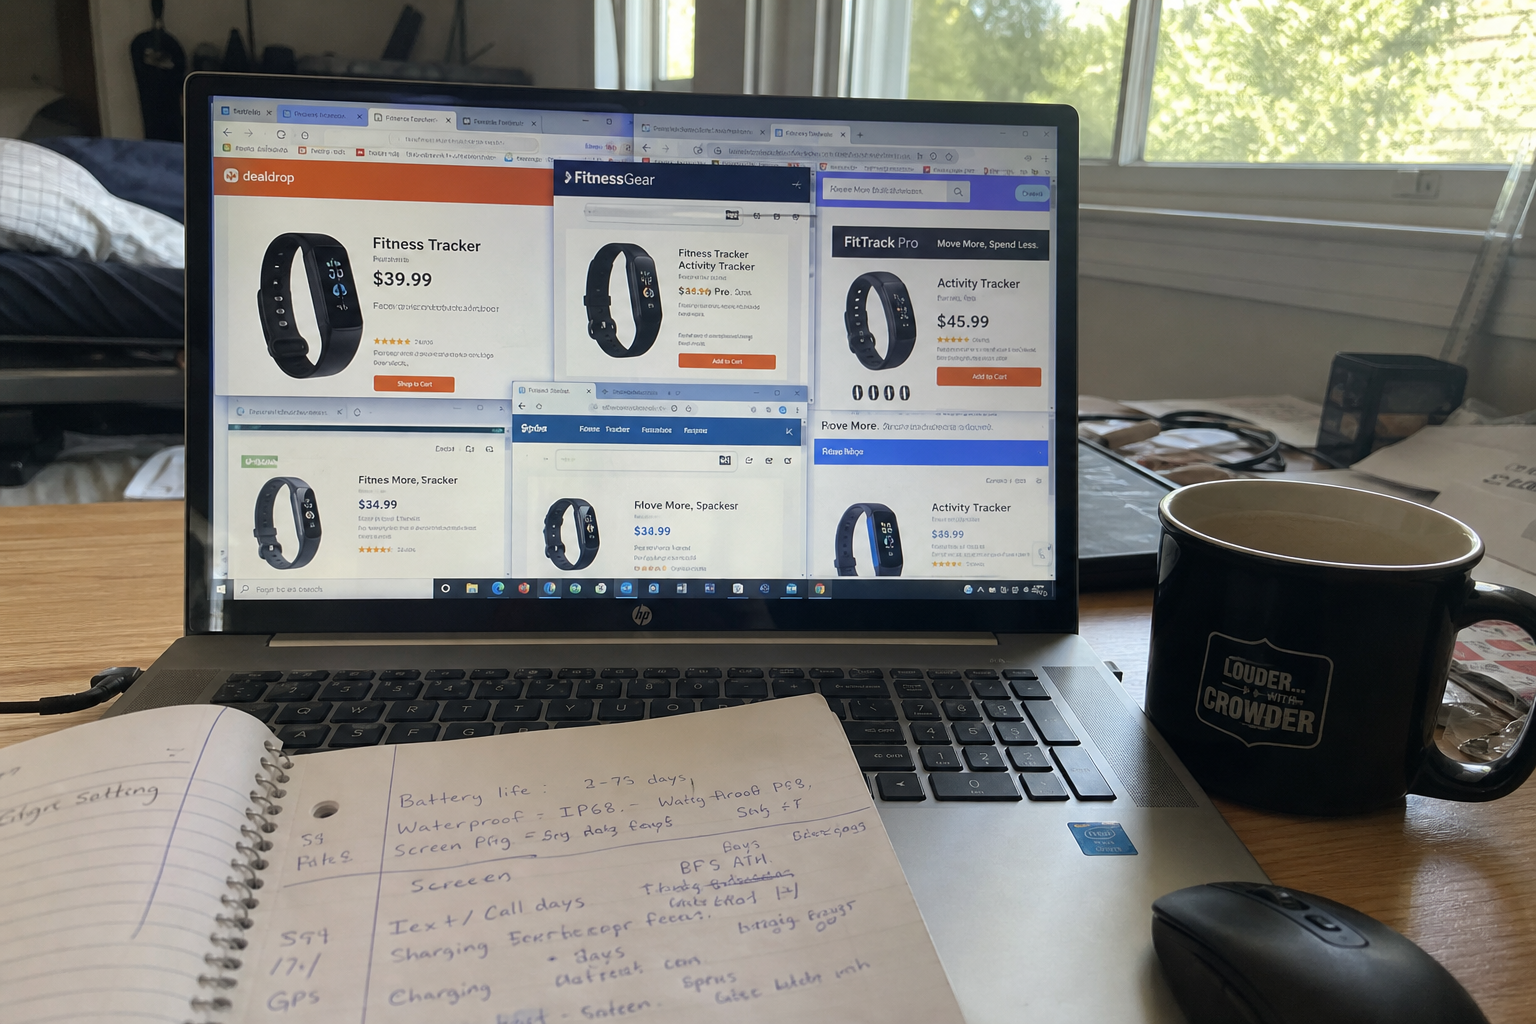
Step 1: Start with the claim that sounds too good
The fastest way to get clearer is to identify the single claim doing the most work in the listing. Usually it’s battery life, waterproofing, cushioning, compression level, heart-rate accuracy, or “professional” quality.
- Read the title once without clicking anything.
- Pick the boldest promise in the title or first image.
- Ask whether that one claim would still sound believable if a known brand made it.
If the answer is no, slow down. Dirt-cheap gear can be good, but it rarely rewrites physics.
- Earbuds with tiny cases do not usually deliver fantasy-level battery life.
- Ultra-soft foam in bargain shoes usually does not stay lively for long mileage.
- “Waterproof” and “sweat resistant” are not interchangeable.
When a listing promises premium performance in every category at once, that’s usually the first warning, not the first win.
Step 2: Check the photos for copied branding and visual contradictions
Listing photos tell on bad sellers faster than most spec sheets do. I look for inconsistency before I look for polish.
- Zoom into logos, box labels, and close-up product shots.
- Compare the branding across all images in the same listing.
- Look for edited-over logos, blurry patches, or mismatched model names.
- Check whether the product color, shape, or charging case changes between photos.
These are the photo problems that make me leave a listing fast:
- One image shows a branded product, the next shows a blank version.
- The product is clearly photographed in different factories or styles.
- Text on the image says one model name, while the title says another.
- The product is shown performing in situations its specs don’t support.
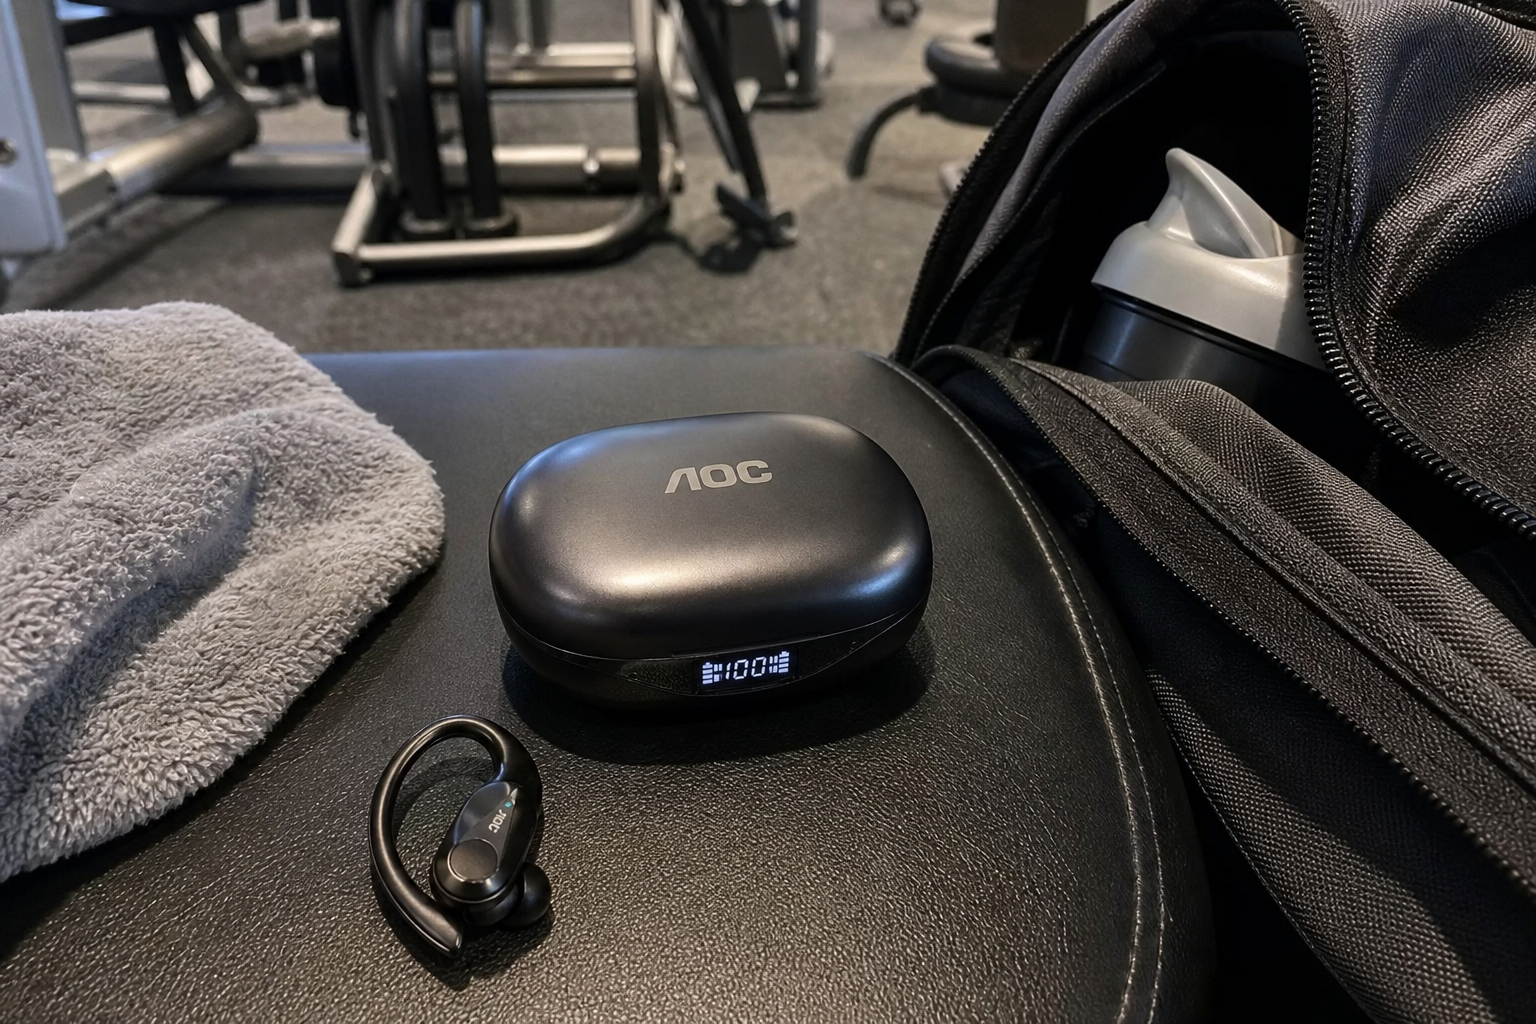
For example, if I were looking at the AOC sports headset LP75, I’d want the photos to agree on the exact case shape, display style, and ear hook design. If three images show what looks like three different products, I assume the specs are just as loose.
Step 3: Ignore vanity numbers and read the seller profile
A flashy title can be fake. Seller history is harder to fake at scale. I care less about one giant promise and more about whether the store behaves like a real operation.
- Open the seller page.
- Look for how long the store has been active.
- Check whether it sells one random batch of everything or a narrower set of products.
- Scan recent buyer feedback for consistency, not perfection.
Seller metrics that matter most to me:
- Store age: brand-new stores are not automatic skips, but they get less trust.
- Category consistency: a shop selling running shoes, bike lights, wigs, and kitchen knives together makes me more cautious.
- Recent feedback volume: steady, recent activity is more useful than old bulk sales.
- Problem patterns: repeated complaints about wrong color, wrong model, weak battery, or fake sizing matter more than generic praise.
This is also where weird inventory can be a clue. If a “performance gear specialist” also pushes something like the short cosplay wig alongside “elite sports equipment,” I don’t love that signal. Cheap marketplaces are full of mixed catalogs, so this isn’t a deal-breaker by itself, but it lowers my confidence when the performance claims are already aggressive.
Step 4: Read reviews like you’re looking for a script
Botty review language has a rhythm. Once you see it, you can’t unsee it.
- Sort for the most recent reviews first if possible.
- Read the 3-star and 4-star reviews before the 5-star ones.
- Look for specific use details: fit, charge time, grip, sweat handling, sizing, or materials.
- Compare phrasing across multiple reviews.
Review patterns I trust less:
- Short praise with no specifics: “good product, fast, recommend seller.”
- Multiple reviews using nearly identical wording.
- Lots of excitement, no mention of real use.
- Reviews that repeat listing keywords too neatly.
Review patterns I trust more:
- Photos taken in real homes, cars, locker rooms, or sidewalks.
- Comments that mention tradeoffs, like “sound is decent but case feels light.”
- Sizing notes that compare the item to a known brand or normal expectation.
- Honest mixed verdicts instead of all-glowing reactions.
This is the same reason I value real-world testing setups over marketing language. In How I Build a No-Gimmick Night Training Setup, I talked about how quickly reality strips the gloss off gear. Reviews that sound like reality are always more useful than reviews that sound like ad copy.
Step 5: Sanity-check the technical claim against category norms
This is where you save the most money. You do not need lab equipment. You just need a rough sense of what’s normal in each category.
Here’s the quick framework I use:
| Category | Claim to Question | My Reality Check |
|---|---|---|
| Running shoes | Max cushioning, ultralight weight, premium durability, tiny price | Usually you get one or two of those, not all four. |
| Earbuds | Huge battery life in a tiny case, full waterproofing, premium sound | Battery and water protection are often overstated on bargain listings. |
| Trackers | Medical-grade accuracy, long battery, bright display, endless features | Cheap trackers often do basics acceptably, but not clinical accuracy. |
| Recovery tools | Therapeutic-grade materials, pro-level density, no wear over time | Foam density and finish quality vary a lot; simple tools can still be fine. |
Caution: vague waterproof claims are one of the biggest traps in budget fitness gear. If a listing says “waterproof” but does not clearly explain the intended use, I assume sweat and light splashes at best, not swimming, repeated soaking, or shower use.
Step 6: Use a simple buy or no-buy field test
This is the part that turns the whole process into a repeatable checklist. Here are three hypothetical examples I’d run through before ordering.
Example 1: Budget sports earbuds
You’re looking at the LP75 earbuds.
- Buy if the photos are consistent, reviews mention stable fit and decent battery, and the listing mostly promises basic workout use.
- No-buy if the title piles on “gaming,” “sports,” “waterproof,” “hi-fi,” “pro bass,” and impossible battery claims while reviews say almost nothing concrete.
My verdict: budget earbuds can absolutely be worth testing, but only when the listing sounds restrained enough to be believable.
Example 2: Recovery tool
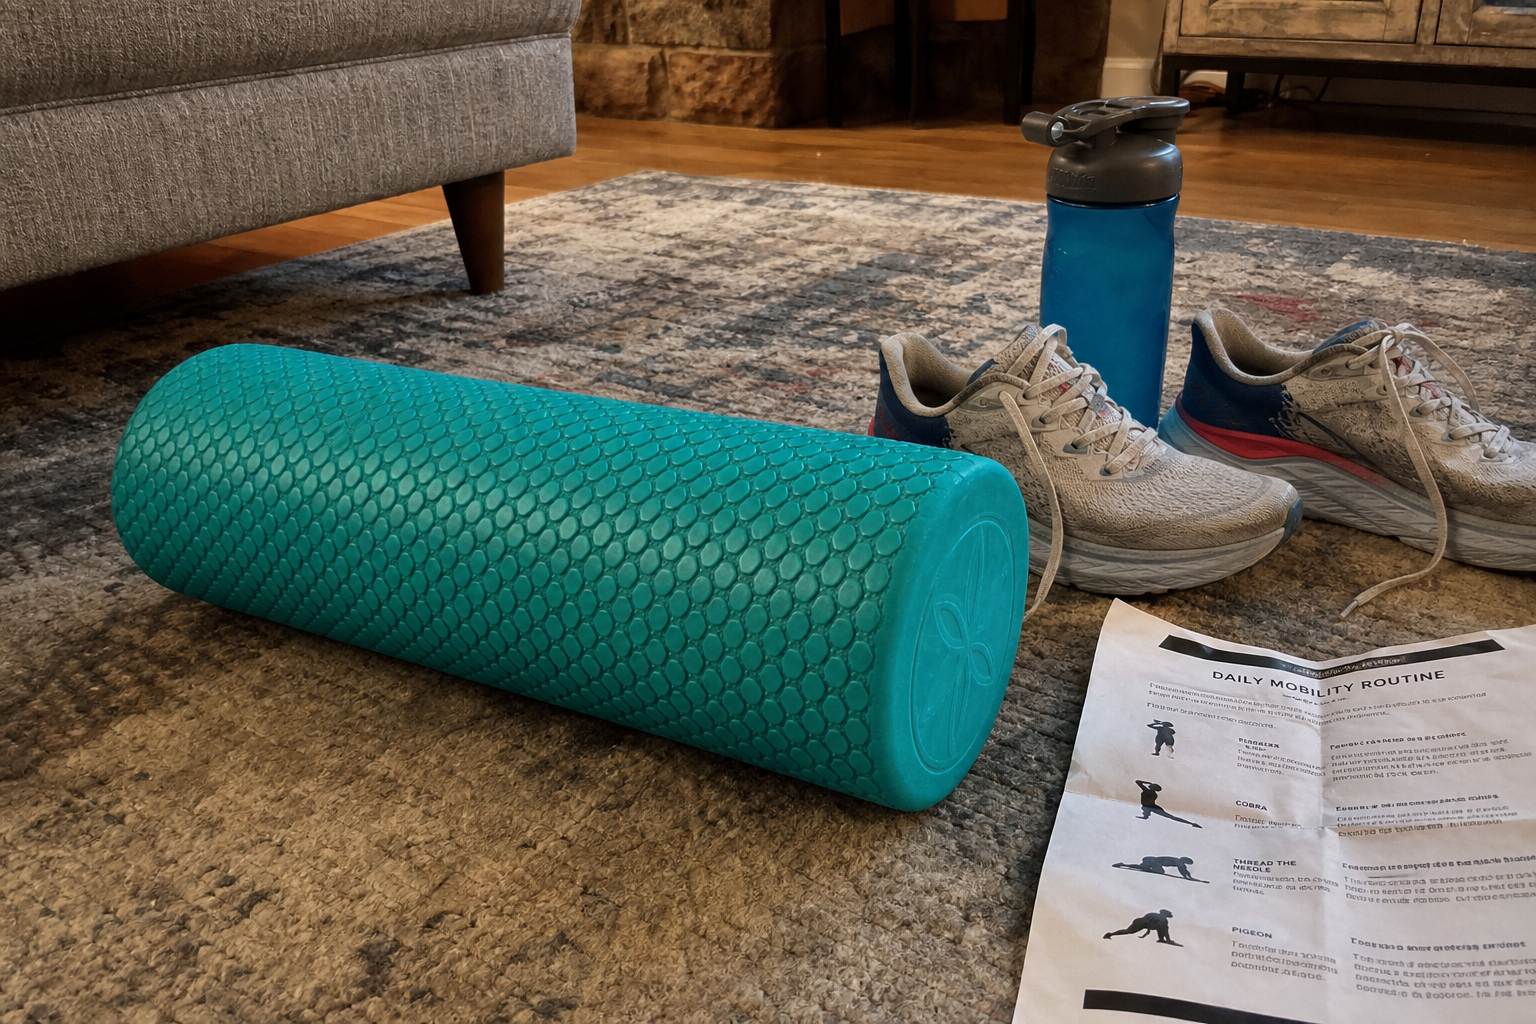
You’re considering a compact foam roller.
- Buy if dimensions are clear, density is described plainly, and customer photos show the actual texture and finish.
- No-buy if the listing jumps straight to “professional therapy results” or uses medical-sounding claims instead of just telling you how firm the foam is.
My verdict: simple gear is often the safest place to shop cheap because there’s less tech to fake.
Example 3: Small training accessory
A simple accessory like this silicone suction phone holder isn’t exactly performance gear, but it’s a good example of where cheap can be perfectly fine.
- Buy if the listing clearly shows the mounting surface, material thickness, and angle adjustment.
- No-buy if the photos dodge the actual suction surface or promise universal grip on every surface without limits.
My verdict: accessories with straightforward functions are easier to vet because you’re judging materials and design, not miracle performance.
Step 7: Run the five-minute pre-purchase checklist
If you want the short version, this is the checklist I’d actually use before ordering any budget shoes, bands, earbuds, tracker, or recovery tool.
- Find the biggest claim and decide if it sounds physically plausible.
- Inspect the photos for mismatched branding, edited logos, or different products in one listing.
- Check the seller profile for age, category consistency, and repeated complaint patterns.
- Read recent reviews for specifics, real use language, and buyer photos.
- Compare the specs to normal category expectations, not to the hype in the title.
- Prefer simple gear when you’re taking a chance on a very low price.
If a listing passes four or five of those checks, I’ll consider it. If it fails two badly, I’m out.
My Verdict
Cheap and bad are not the same thing, and that distinction matters. AliExpress has plenty of noisy listings with fake-feeling claims, but it also has a smaller group of budget gear options that are described honestly enough to deserve a closer look. If you can check photos, seller behavior, review language, and category norms in five minutes, you’ll dodge most of the junk without missing the real value picks.
Disclaimer: As an aliexpress Associate, I earn from qualifying purchases.