How I Build a No-Gimmick Night Training Setup
I do a lot of testing after dark because that’s when bad gear gets exposed fast. A shoe that feels fine in daylight can turn sketchy on uneven pavement at 9 p.m. A wearable that looks impressive on…
I do a lot of testing after dark because that’s when bad gear gets exposed fast. A shoe that feels fine in daylight can turn sketchy on uneven pavement at 9 p.m. A wearable that looks impressive on paper can become annoying once you’re sweaty, tired, and trying to glance at your pace under streetlights. And the cheap accessories that actually help? They usually aren’t the flashy ones.
If you want one practical setup for night runs, evening gym sessions, and a post-work focus block at home, this is the exact checklist I’d build around. The goal is simple: better visibility, easy tracking, and enough comfort to stay alert without wasting money on gimmicks.
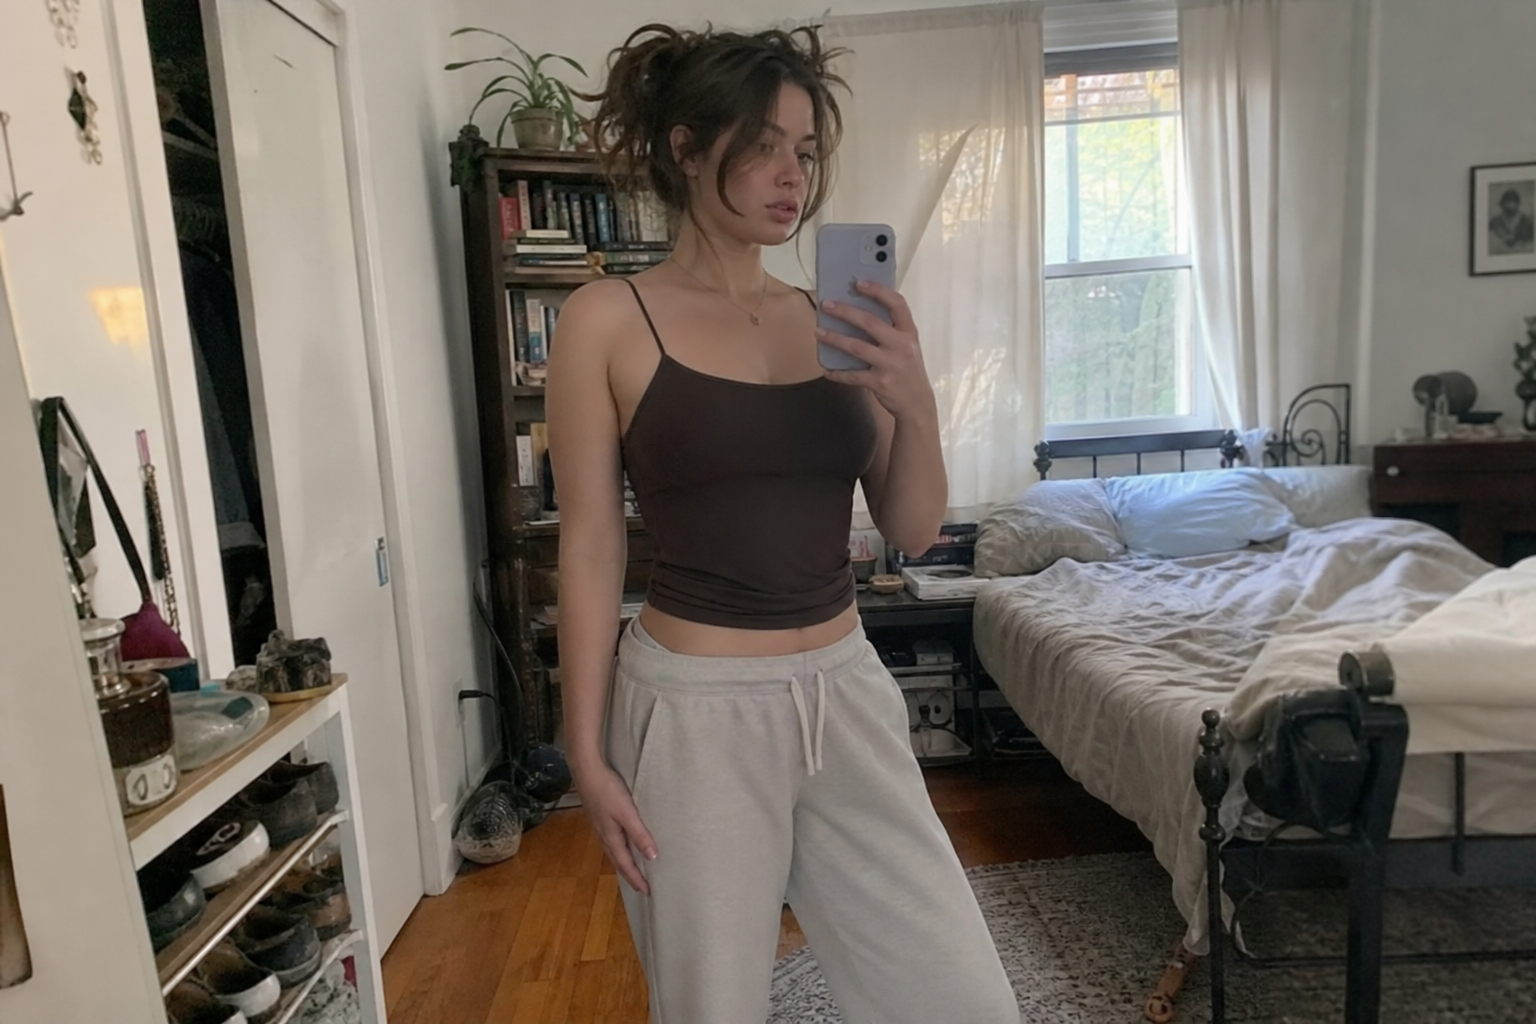
Step 1: Start with the three things that matter most at night
Before you buy anything, decide what problem you’re solving. At night, I care about three priorities in this order:
- Being seen by cars, cyclists, and other people.
- Seeing clearly enough to avoid bad footing, puddles, and curbs.
- Reducing friction so I can train or work without constantly adjusting gear.
That sounds obvious, but it keeps you from overspending on “performance” features that don’t help after dark. Fancy finishes, oversized battery specs, and random “pro athlete” branding usually matter less than visibility, comfort, and simplicity.
What I skip
- Bulky chest rigs that bounce
- Overbuilt lights with too many unnecessary modes
- Wearables with complicated menus but weak real-world readability
- Shoes that feel soft standing still but unstable once you’re actually moving
Step 2: Build your visibility layer first
If you only add one piece of gear for late-night training, make it reflective equipment. I’d rather wear a simple reflective vest than trust dark clothing plus wishful thinking.
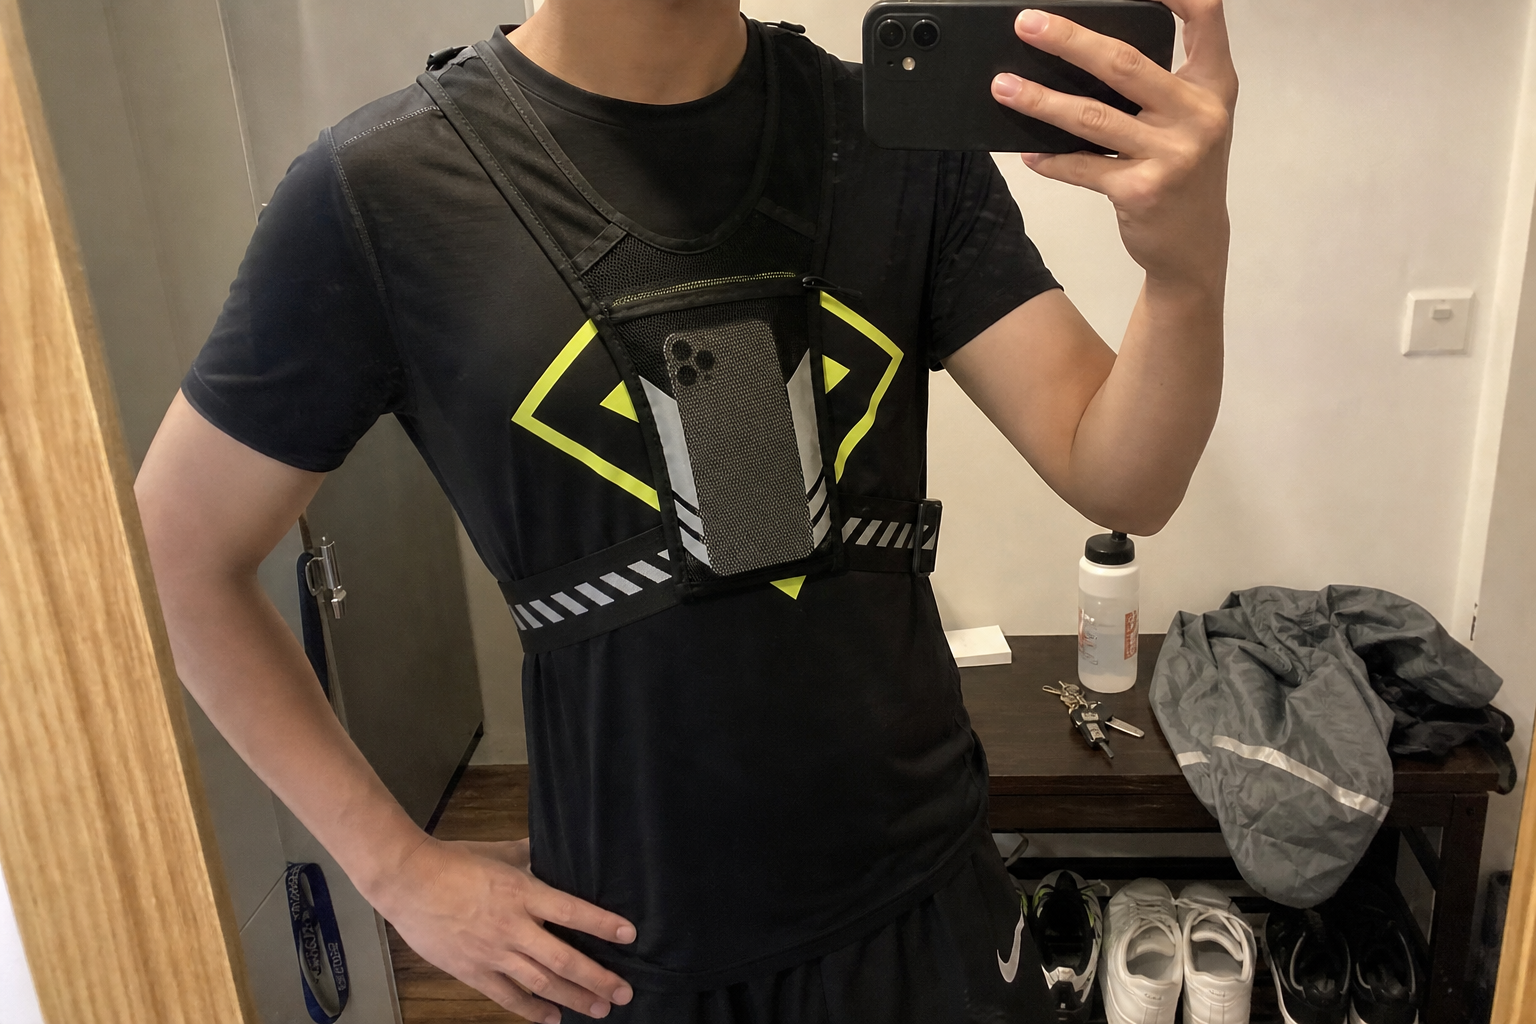
For most runners and walkers, an Reflective Running Vest with Phone Holder & Key Pocket is the right kind of upgrade because it solves multiple problems at once: visibility, phone storage, and less pocket bounce. I like that this style stays pretty minimal instead of turning into a tactical costume.
What matters most in a reflective running vest:
- Adjustability so it fits over both a T-shirt and a hoodie
- Low bounce when your phone is loaded in
- Reflective coverage from more than one angle
- A simple pocket setup for keys and one essential item, not ten
What’s overpriced: LED-heavy vests with built-in gimmicky lighting patterns. In my testing, reflective material plus one reliable light source is usually the smarter setup.
Step 3: Add one reliable light, not a whole lighting system
For dark sidewalks, parking lots, trails, or poorly lit apartment complexes, I want a light that helps me spot footing without making me fiddle with controls every minute. That’s why I’d rather use one practical headlamp than stack multiple clip-on lights.
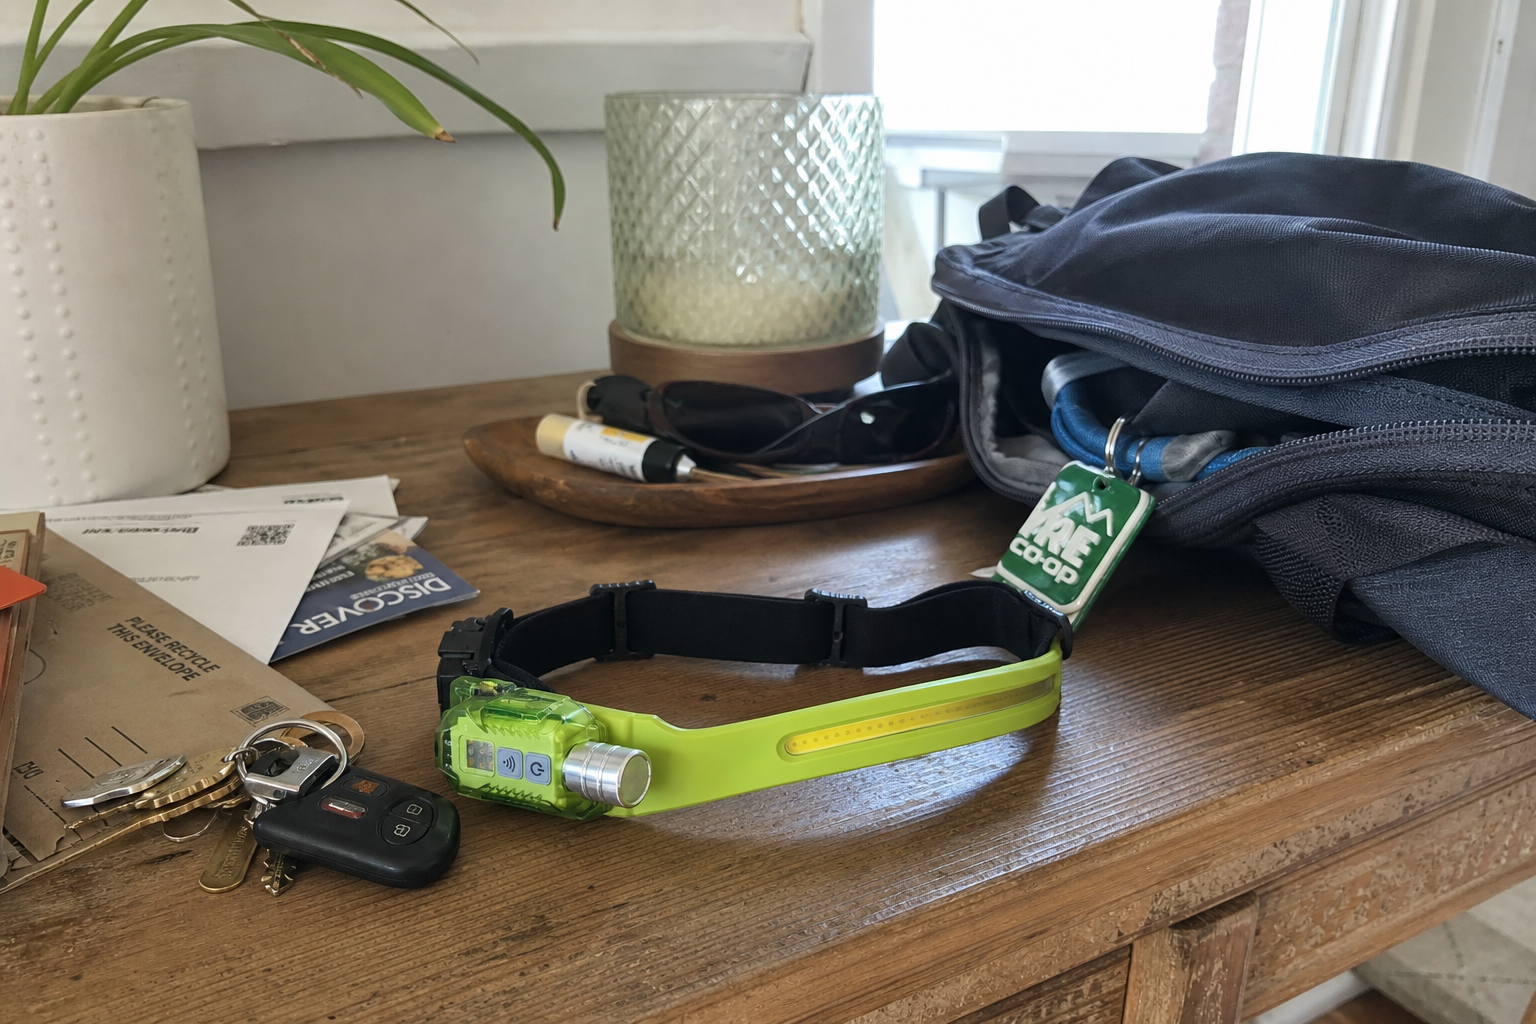
A Powerful LED Headlamp Portable Rechargeable Head Flashlight makes sense if you keep it simple and use the low or medium setting for most sessions. Nine lighting modes sounds like classic overkill on paper, and honestly, I rarely need that many. But if the lamp is rechargeable, comfortable, and bright enough to scan the ground ahead, that’s what counts.
When I test headlamps, I care about:
- Whether the strap gets annoying after 20 minutes
- Whether the beam helps me see the ground instead of just blasting straight ahead
- How easy it is to switch modes with sweaty hands
- Whether the weight causes bounce on a run
Caution: Don’t run with the brightest setting just because it’s available. It can kill battery life faster, create glare, and actually make it harder to see naturally in mixed lighting.
Step 4: Choose shoes for stability, not marketing fluff
Night running shoes do not need magical foam language or “energy return” buzzwords. At night, stable foot placement matters more than hype. I want grip, a predictable ride, and enough comfort that my feet don’t feel beaten up when I transition from a run to errands or a quick gym session.
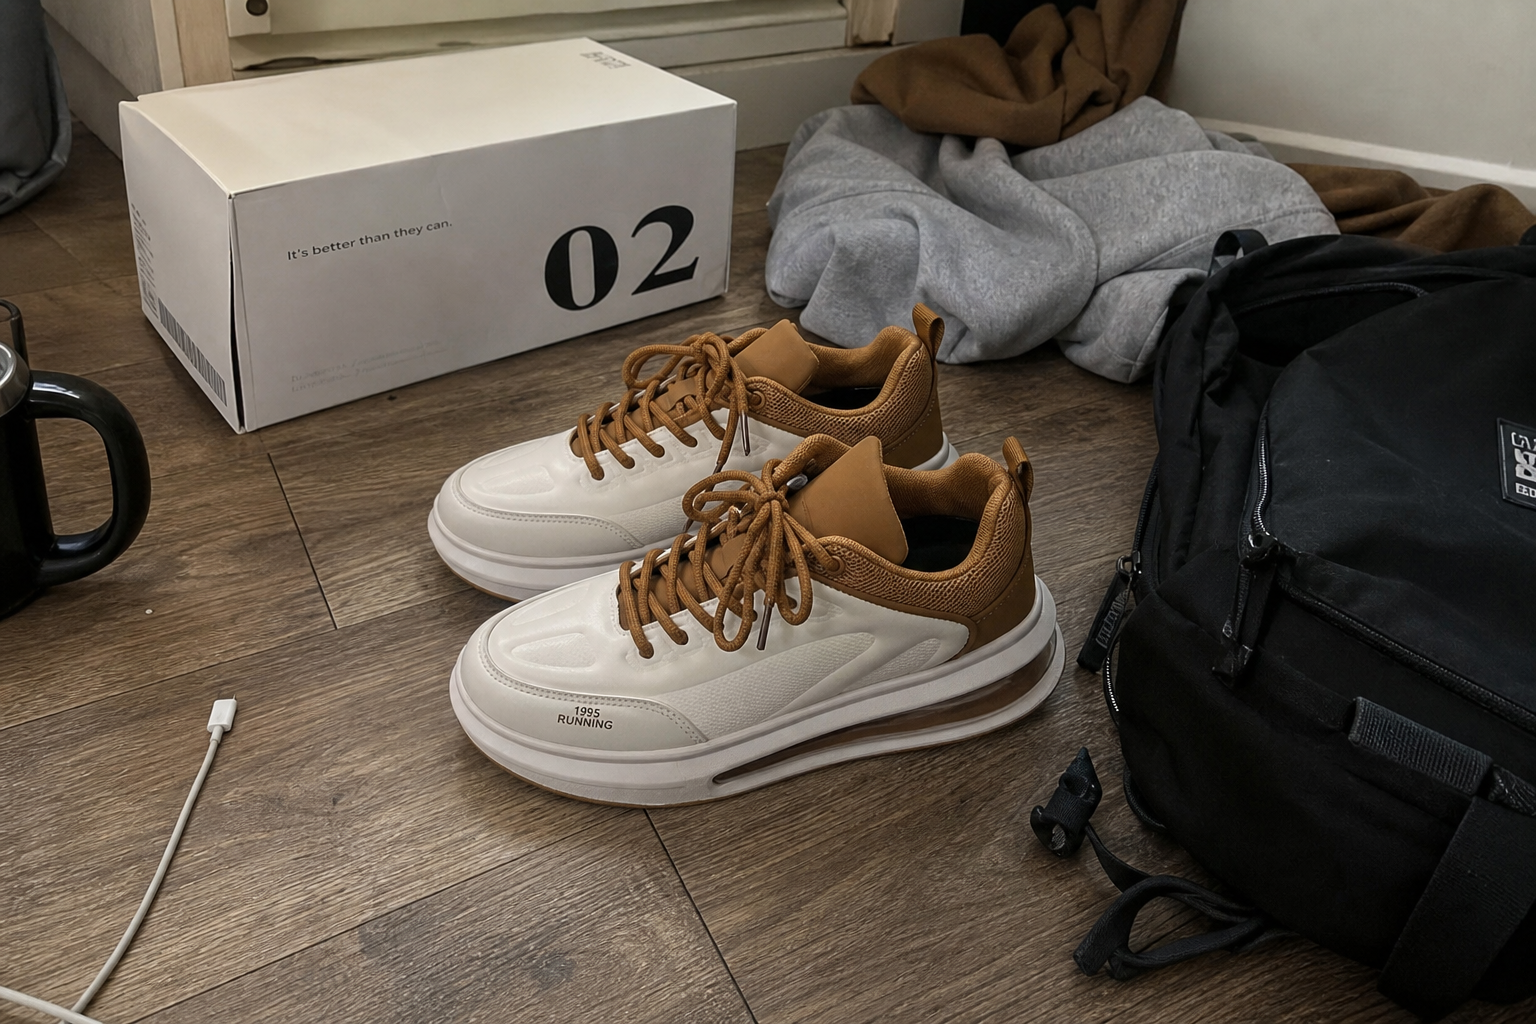
If you’re building a budget-friendly setup, a pair of Air Cushion Men Sports Running Shoes can work if your priority is lightweight comfort for shorter runs, treadmill sessions, walking, and general evening training. The feature that jumps out to me here is less the “air cushion” language and more the breathable upper and nonskid focus, because those are the things you’ll actually notice after dark.
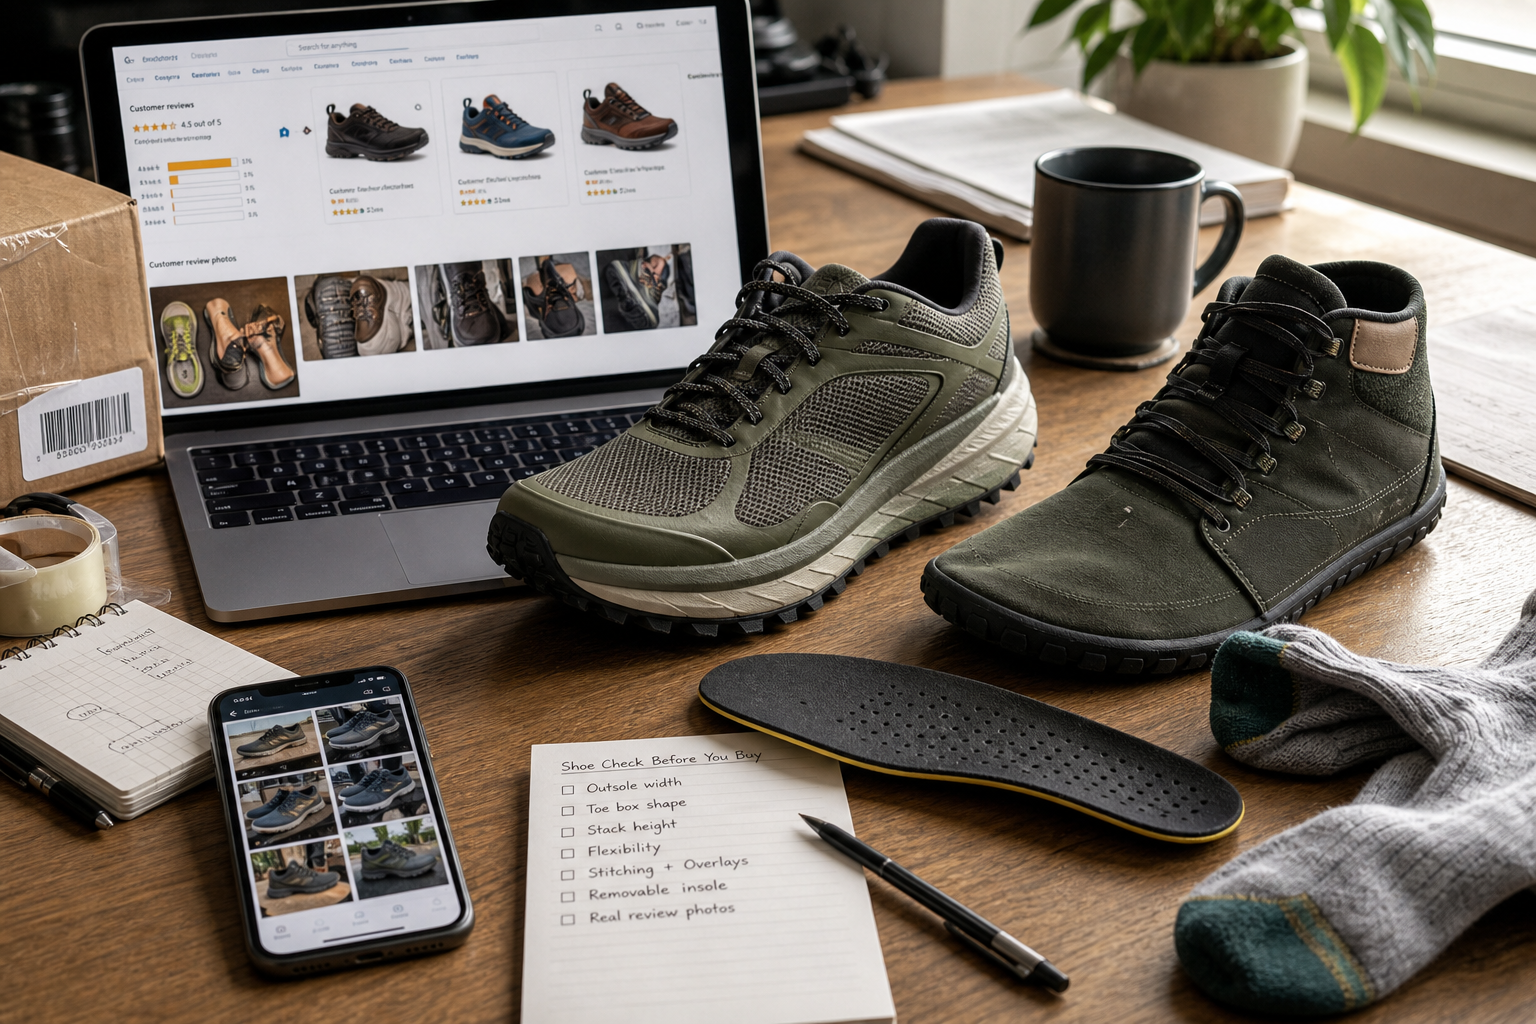
Here’s my quick shoe checklist for night use:
- Press the midsole with your thumb. Super soft isn’t automatically better.
- Twist the shoe gently. If it folds too easily, it may feel unstable outdoors.
- Check outsole texture. You want grip that looks usable on smooth pavement.
- Look for breathable upper materials if you train after a full workday.
- Make sure the heel feels secure so you’re not sliding inside the shoe.
What’s overpriced: “night run” shoes sold mainly because they have flashy reflective accents. Reflective details are nice, but they should never be the main reason you choose a shoe.
Step 5: Pick a wearable that keeps tracking simple
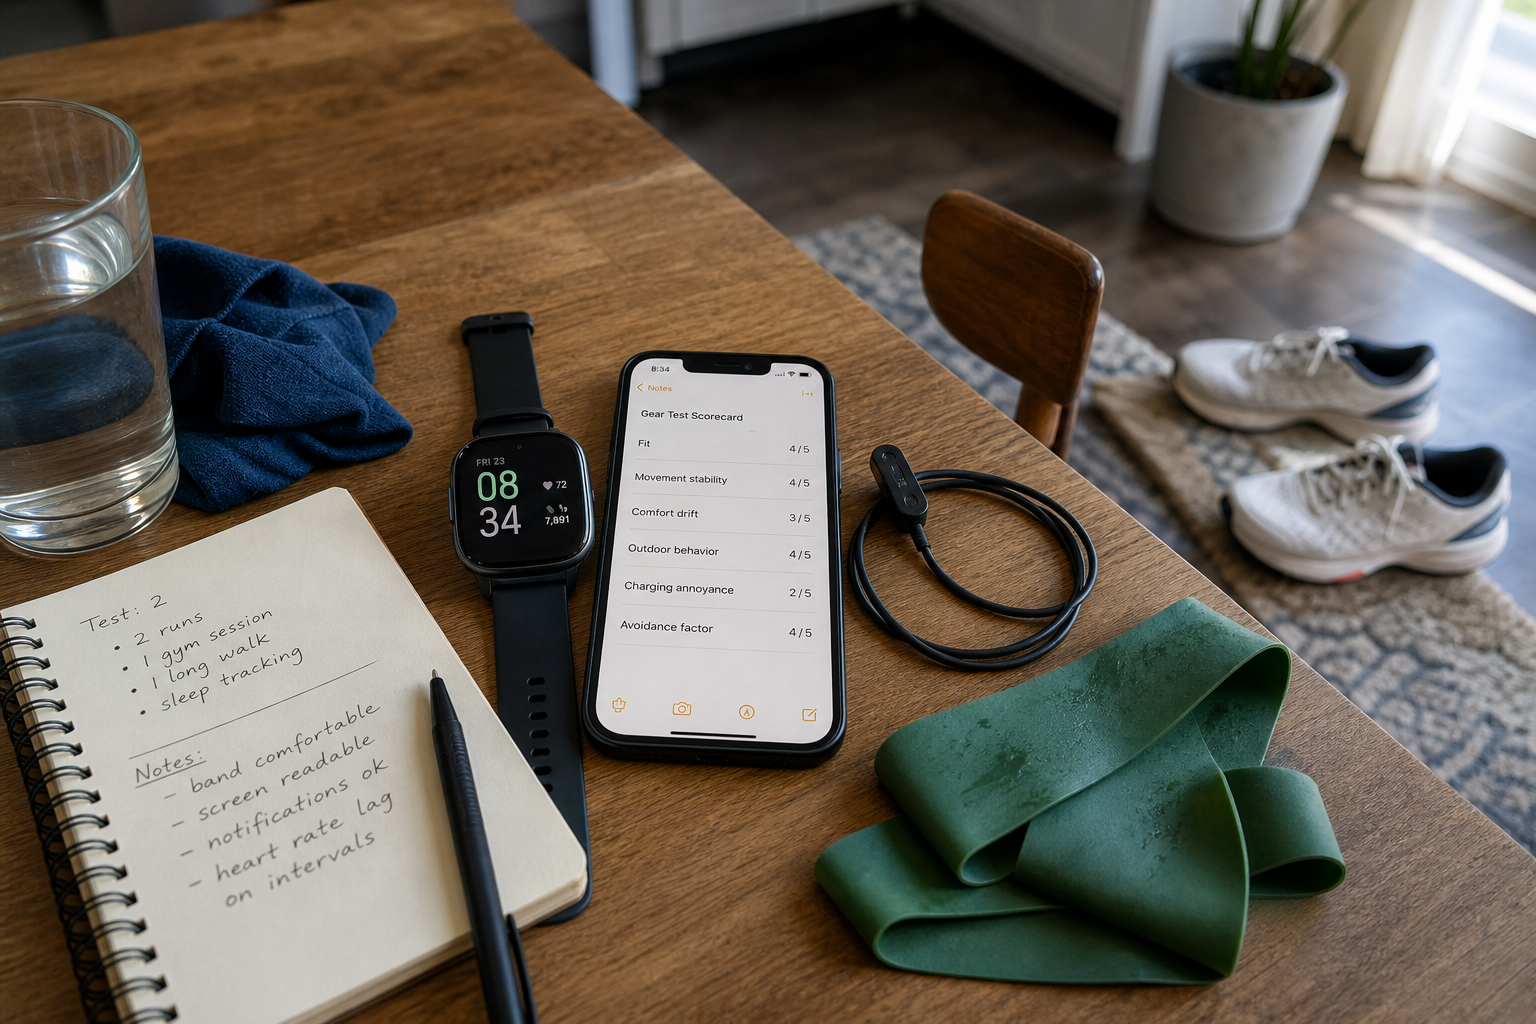
If you train late, you’re usually already mentally tired. That means your tracker needs to be easy to read and easy to trust. I don’t need a wearable trying to be a second phone on my wrist. I need it to log the basics cleanly: heart rate, steps, time, and run data without drama.
The Original vivosmart HR+ plus GPS running swimming fitness bracelet is the kind of older-school, straightforward wearable I appreciate for this use. It focuses on core fitness tracking instead of trying to wow you with a giant app ecosystem. For late-night training, that simplicity can actually be a strength.
What I look for in a wearable after dark:
- Readable display under dim light
- Reliable heart-rate tracking during steady efforts
- Comfortable band fit that doesn’t bug me during lifting or typing
- GPS usefulness if I’m leaving the gym and heading outside
What’s overpriced: smartwatches packed with features you’ll never use during a 35-minute night run or a quick gym circuit. If the extra features don’t improve visibility, tracking, or comfort, they’re not helping your setup.
Step 6: Set up one gear transition that works for run, gym, and study
This is where most people waste money. They build separate systems for cardio, strength work, and focus time at home. I’d rather create one simple flow.
My ideal late-night transition looks like this:
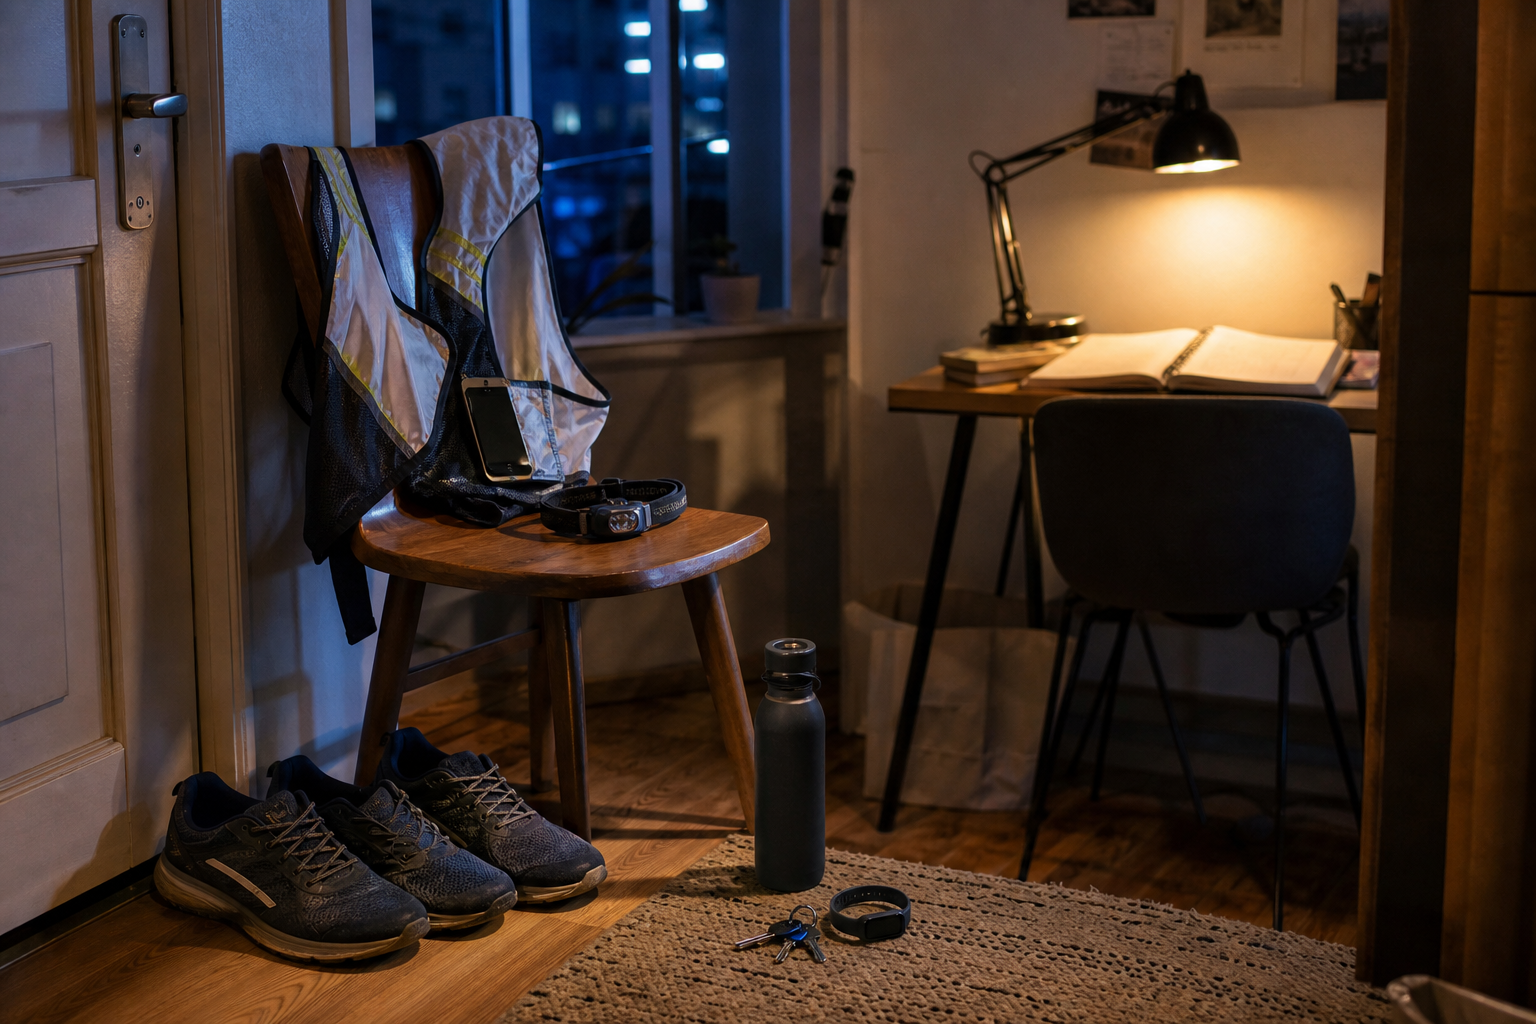
- Put on the shoes, vest, and wearable before leaving work or finishing dinner.
- Use the headlamp only if the route or parking area actually needs it.
- Keep keys and phone in the vest so you’re not repacking for every session.
- Do your run or walk first, then roll into the gym if that’s the plan.
- Come home, shower, keep the wearable on if you want movement or heart-rate data, and go straight into a short study block.
The big money-saving principle here is that the same gear should keep working once the workout ends. If something only solves a hyper-specific “fitness” problem and becomes annoying the rest of the night, I usually don’t keep it.
Step 7: Make your post-work focus block easier, not fancier
Late-night productivity is less about hacks and more about reducing the chance you quit. After training, I don’t want a complicated recovery setup. I want a chair, water, decent lighting, and zero friction between finishing my workout and sitting down to work.
Here’s the simple routine I use:
- Drink water immediately after training
- Change into dry clothes so I don’t feel gross at my desk
- Keep my phone in the same place every night instead of scrolling on the couch
- Use wearable data only as a quick reference, not a reason to obsess
- Start with a 20- to 30-minute study block instead of promising myself two perfect hours
If your night routine falls apart, it’s usually not because you need more gear. It’s because your setup has too many steps. The best comfort upgrade is often just having your essentials already organized.
Step 8: Use this exact no-gimmick gear checklist
If I were building a practical late-night fitness and focus setup from scratch, this is what I’d use:
| Category | What I’d Choose | Why It Earns a Spot |
|---|---|---|
| Visibility | Reflective Running Vest with Phone Holder & Key Pocket | Helps you get seen and cuts down on pocket bounce |
| Lighting | Powerful LED Headlamp Portable Rechargeable Head Flashlight | Lets you see footing without juggling a handheld light |
| Tracking | Original vivosmart HR+ plus GPS running swimming fitness bracelet | Covers the basics without turning your wrist into a distraction |
| Footwear | Air Cushion Men Sports Running Shoes | Budget-friendly choice for light runs, walking, and gym crossover use |
Step 9: Know where spending more actually helps
If you have a little more room in the budget, spend extra in this order:
- Better shoes if you run frequently or deal with foot pain
- A more comfortable wearable if you track every session
- A better light only if your routes are consistently dark
I would not spend extra first on novelty accessories, blinking gadgets, or recovery gear that promises instant focus and energy after workouts. Most of that stuff just clutters your routine.
My Verdict
A late-night training and focus setup does not need to be expensive to work well. If you focus on visibility, stable shoes, simple tracking, and one or two comfort upgrades you’ll actually use, you can cover night runs, evening gym sessions, and short study blocks without buying junk. This approach makes the most sense for people who want practical gear that pulls double duty, but if you run long distances in very dark areas, it’s worth being pickier about your shoes and lighting.
Disclaimer: As an aliexpress Associate, I earn from qualifying purchases.